How to Adjust Advanced RTH Mode on DJI Drone
Peter Leslie
22 May 2026

Advanced RTH is the toggle that decides whether your DJI drone plans its own way home around the trees or climbs straight up to a height you have stored and flies back in a straight line. It lives in the same place on every current DJI drone — inside DJI Fly, under Safety, in the Return to Home (RTH) block — and the click path does not change between models.
Drones this applies to
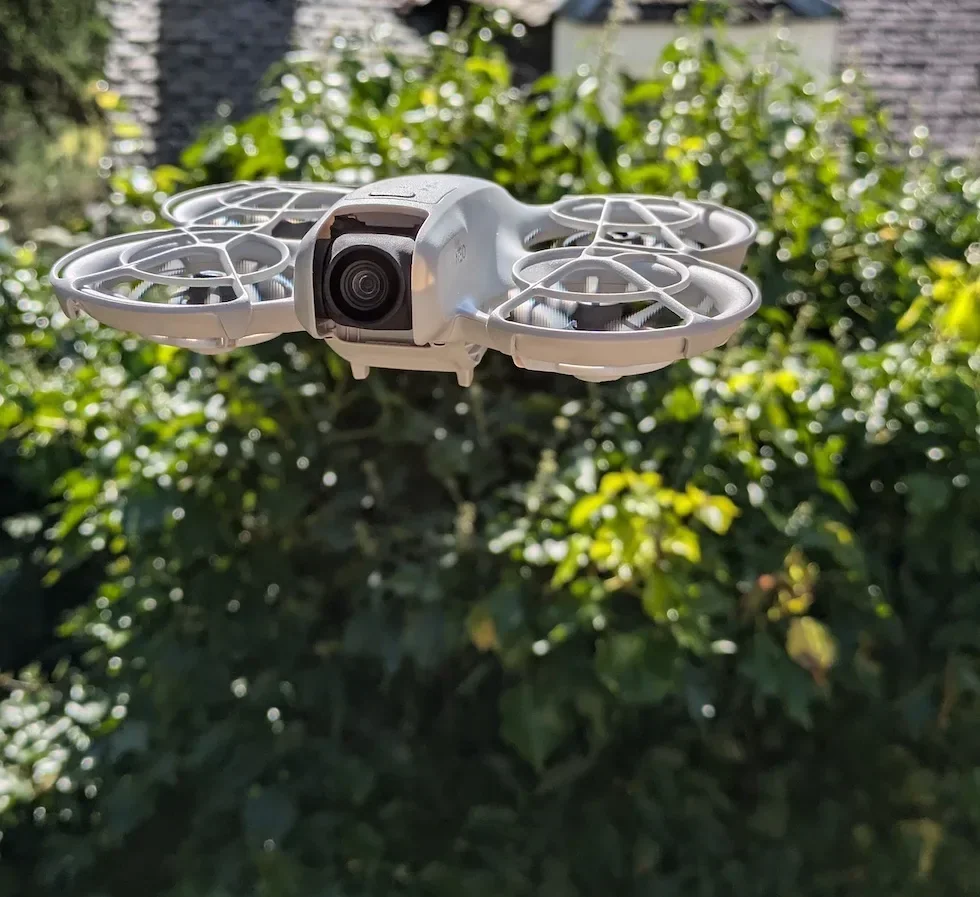
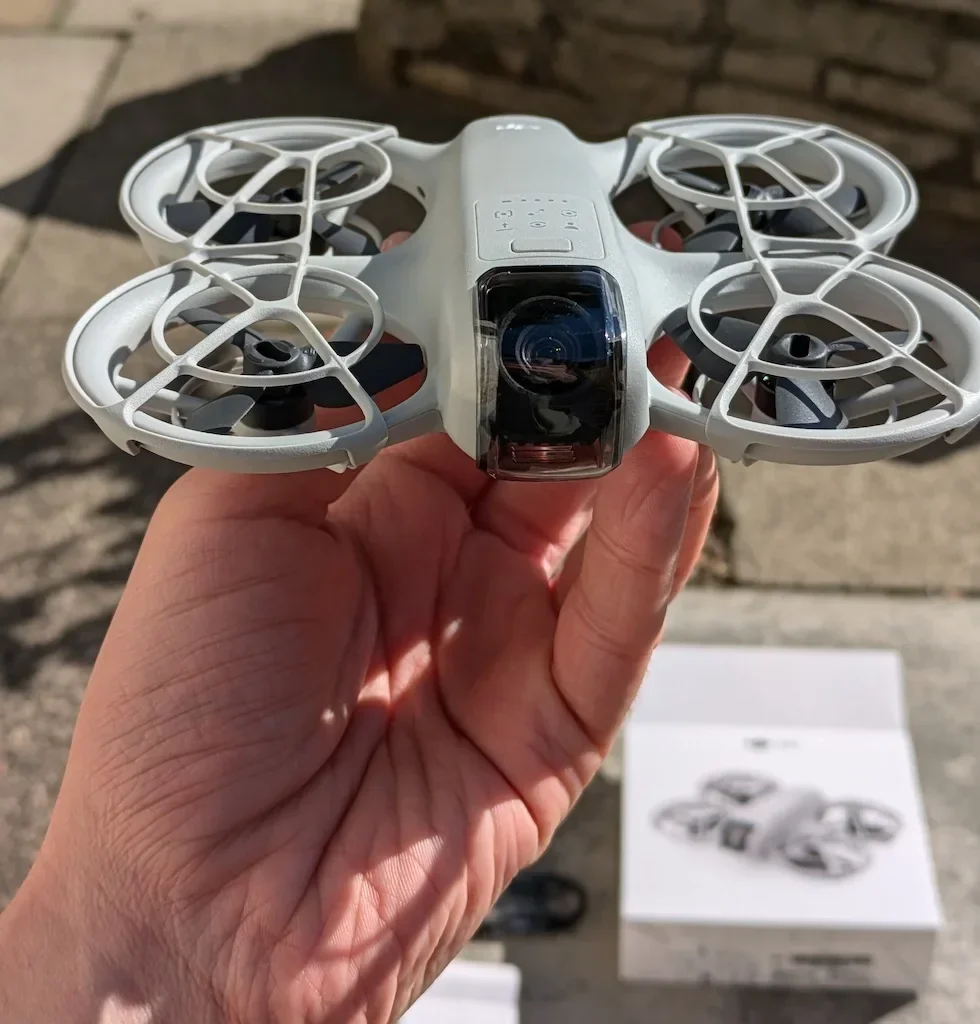
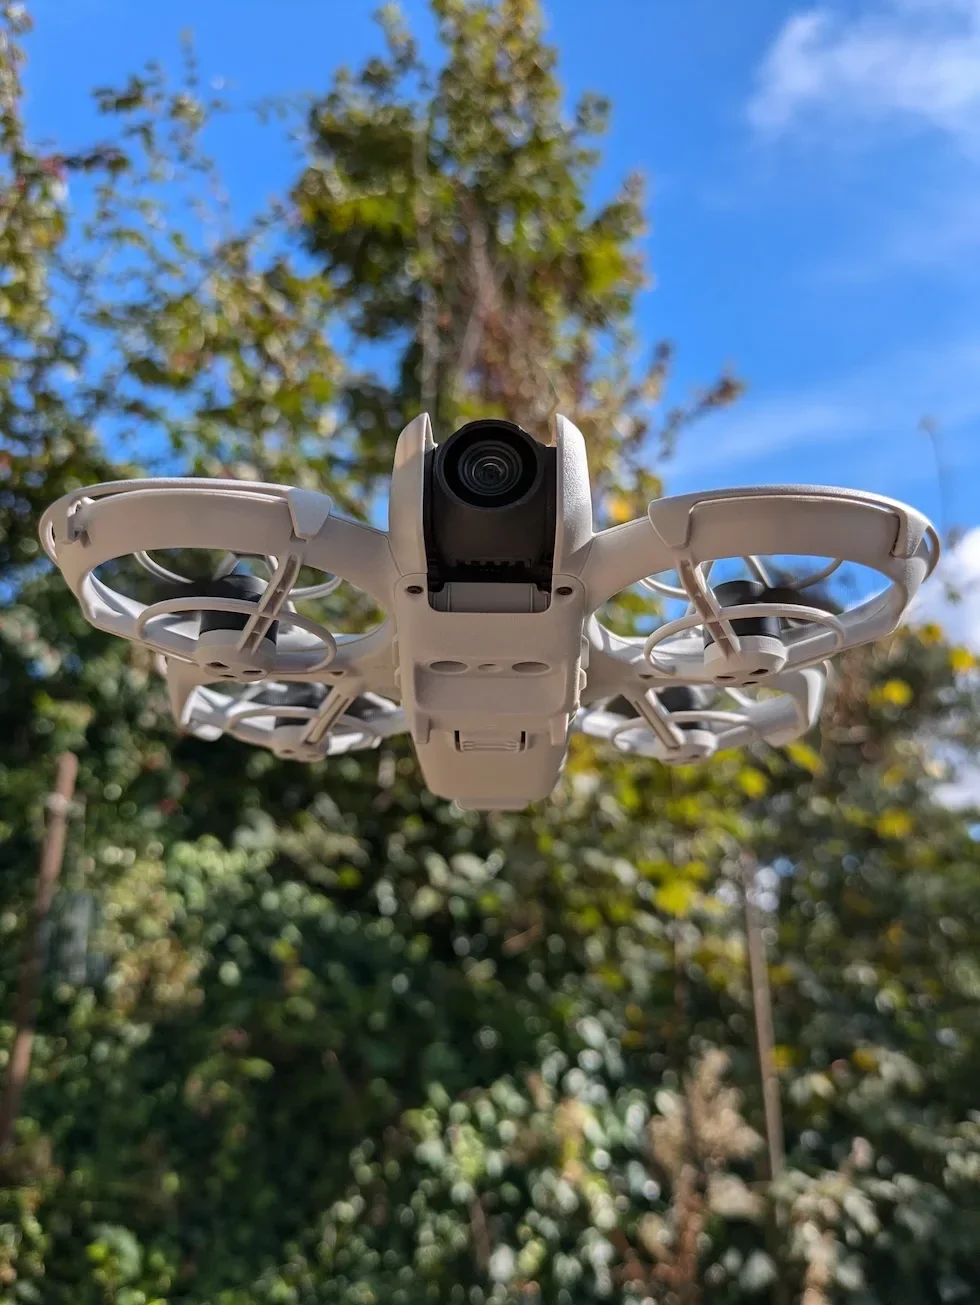
DJI Neo 2, DJI Mini 5 Pro, DJI Avata 2, DJI Air 3 Pro, DJI Mavic 4 Pro. The same procedure works on any drone running DJI Fly v1.21.2 or later with forward-facing vision sensors — only the visual styling of the selection screen varies.
Quick guide
To adjust Advanced RTH on a DJI drone, go to DJI Fly → Settings → Safety → Return to Home (RTH) → Advanced RTH. Optimal plans the shortest path home using the vision system; Preset climbs to your stored RTH Altitude and flies back in a straight line.
Step-by-step: How to Adjust Advanced RTH Mode on DJI Drone
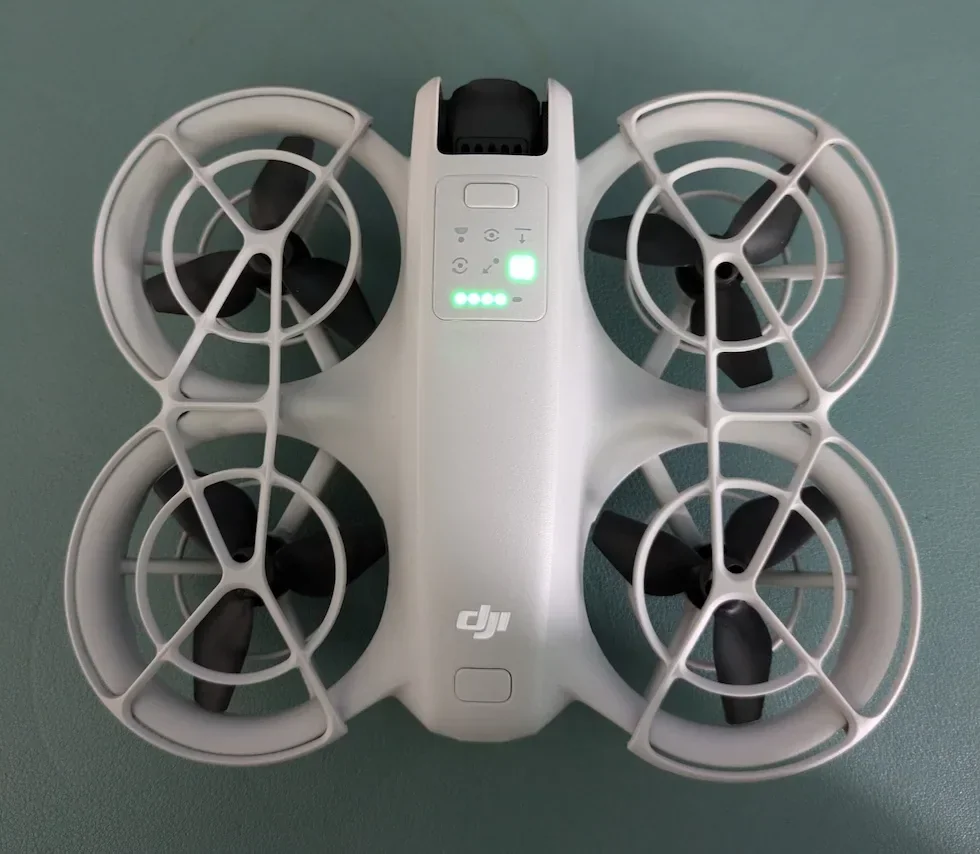
Follow these top to bottom the first time, and the path is muscle memory the second time. The screenshots are taken on a DJI Neo 2, but the labels and order are identical on every drone in the callout above.
Open the DJI Fly Settings menu from the camera view
With the drone connected and DJI Fly on the camera view, tap the Settings icon in the top right of the screen. The settings panel slides in with the category tabs down the left.
Tap the Safety category in the Settings panel
Safety is the second tab down the left of the settings panel, below Control. Tap it and the right-hand pane updates to show every safety-related option for the connected drone.
Scroll down to the Return to Home (RTH) block inside Safety
Scroll past Max Altitude and Max Distance until the Return to Home (RTH) sub-heading appears. The Advanced RTH row sits inside that block, just below the RTH Altitude slider.
Tap the Advanced RTH row to open the selection
Tap the Advanced RTH row and the panel expands to show two options stacked vertically — Optimal at the top, Preset below it. The current selection is highlighted in the brand blue so you can read where the drone is set before you change anything.
Tap Optimal to let the vision system plan the return path
Optimal is the default on every current DJI drone with forward-facing vision. With it selected, the drone uses its vision system to plan the shortest practical route home and ignores the RTH Altitude value as long as the lighting and surroundings are suitable. If the vision system loses confidence mid-flight, the drone falls back to Preset behaviour on the stored altitude.

Tap Preset to force a fixed-altitude climb before the return
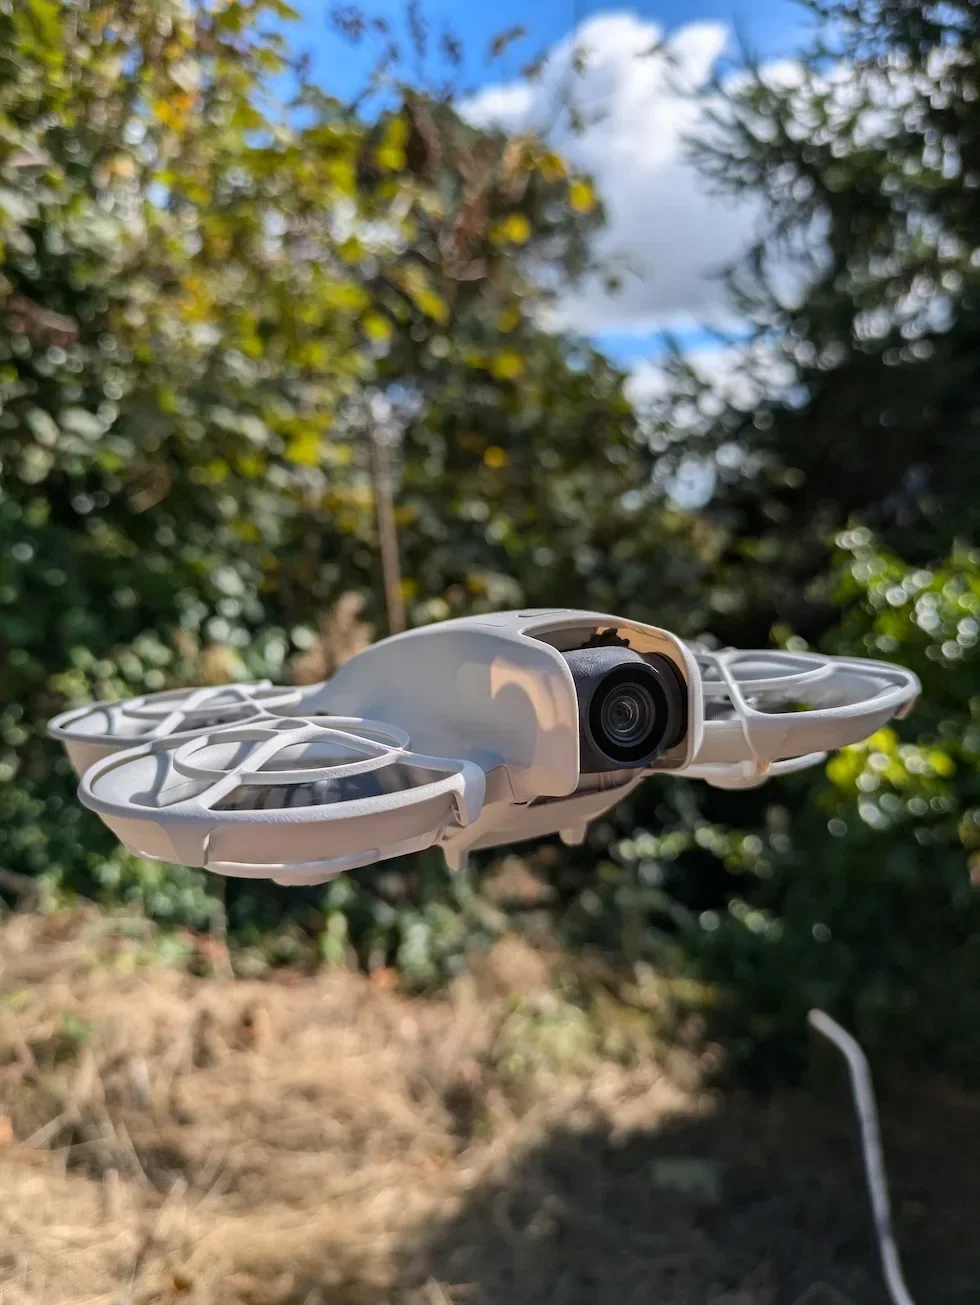
Preset forces the drone to climb vertically to the stored RTH Altitude before flying back in a straight line. It is the right pick when there are power lines, transmission towers, or tall trees on the likely return path that the drone cannot safely bypass at low level. Use it at dusk and in low-contrast scenes where the vision system is going to struggle anyway.
Check the RTH Altitude value above the Advanced RTH row
The RTH Altitude slider sits a row above Advanced RTH. Preset uses that number as a hard floor, so set it above every obstacle on the likely return path before you back out. A Preset climb to an altitude lower than your tree line is the worst of both worlds. UK drone pilots should also keep the value at or below 120 metres to stay inside the Drone Code limit.
Close the Settings panel to save the new Advanced RTH mode
Tap outside the panel or hit the back arrow. The selection is live straight away, including in the air — there is no need to land and restart for the new Advanced RTH mode to take effect. Glance at the camera view to confirm DJI Fly is not throwing a yellow warning about an unsafe RTH path.
Peter's tip
My default is Optimal on a clean open site and Preset the moment the return path passes anywhere near a cable run or a tree line. I set the RTH Altitude before I take off — not when DJI Fly throws the warning mid-flight — and I move the slider up by ten metres past whatever I think the tallest obstacle is, because trees are always taller than they look from the launch spot.
Optimal vs Preset — when each is right
The click path is identical across the current DJI line-up. Picking between the two modes is the part that matters. Here is what each one does and when to use it.
| Mode | What the drone does | When it is the right pick |
|---|---|---|
| Optimal | Uses the vision system to plan the shortest practical route home, adjusting altitude based on what it can see. Ignores the stored RTH Altitude as long as the lighting and surroundings are good enough. | Open sites in good daylight with no power lines or tall obstacles on the return path. Saves battery on long returns by holding a sensible altitude rather than climbing to the stored value. |
| Preset | Climbs vertically to the stored RTH Altitude first, then flies home in a straight line at that height before descending over the Home Point. The vision system is not used to alter the path. | Power lines, transmission towers, or tall trees on the return path. Dusk, dawn, or any low-contrast scene where the vision system will struggle. Anywhere you would rather the drone obey a number you set than a guess it makes. |
The pattern most experienced drone pilots end up with is Optimal as the default and Preset as the deliberate switch the moment the site has anything on the return path that the vision system might miss.
Frequently asked questions
What is the difference between Optimal and Preset on Advanced RTH?
Optimal lets the drone plan the shortest path home using its forward-facing vision system, adjusting altitude based on what it sees and ignoring the RTH Altitude value when the lighting and surroundings are good enough. Preset forces the drone to climb vertically to the RTH Altitude you have set, then fly home in a straight line at that height before descending over the Home Point.
When should I switch a DJI drone to Preset RTH?
Switch to Preset whenever there are power lines, transmission towers, or tall trees on the likely return path that the drone cannot safely bypass at low altitude. Preset is also the safer pick at dusk or in low-contrast scenes where the vision system struggles. Set the RTH Altitude higher than every obstacle before you take off.
Does the RTH Altitude value matter in Optimal mode?
Only as a fallback. In Optimal the drone plans the shortest path and adjusts altitude based on what its vision system sees, regardless of the RTH Altitude setting. If the lighting drops or the surroundings stop being suitable, the drone falls back to Preset behaviour and uses the RTH Altitude value you have stored.
Can I change Advanced RTH while the drone is returning home?
Yes. Flipping between Optimal and Preset is allowed mid-RTH and the drone will brake and reroute to the new setting once you change it. The RTH Altitude itself cannot be changed mid-RTH on most current DJI drones, so set that value before takeoff.
What does Original Route RTH mean and how is it different from Advanced RTH?
Original Route RTH is an automatic failsafe the drone falls back to when the lighting and environment are not suitable for the vision system and the remote controller signal has been lost. The drone retraces a short section of its outbound flight path before entering Preset behaviour for the rest of the trip home. It is not a user selection — Advanced RTH only exposes Optimal and Preset in the menu.
Does Advanced RTH work the same way in Mobile App Control without a controller?
No. When the drone is flown phone-only without a remote controller, RTH route settings are not supported and the drone returns along the optimal path by default. The Advanced RTH menu row will not give you a Preset option in that mode. To force a Preset return path the drone needs a physical controller — DJI RC-N3, RC 2, or Motion Controller 3 depending on the model — connected.
Which DJI drones have Advanced RTH and which only have Original Route?
Advanced RTH lives on every current DJI drone that ships with a forward-facing vision system — DJI Neo 2, DJI Mini 5 Pro, DJI Avata 2, DJI Air 3 Pro, and DJI Mavic 4 Pro all expose the Optimal and Preset selection in DJI Fly. Older drones without forward obstacle sensors fall back to Original Route only, and the Advanced RTH row does not appear in their Safety menu.
What if I cannot find the Advanced RTH row in DJI Fly?
Make sure the drone is powered on and connected to the controller — some safety options are hidden until the link is live. Then check you are inside the Safety category, not Control or Camera, and scroll all the way down to the Return to Home (RTH) block. If the row still does not appear, update DJI Fly to the current build and restart the app so the new safety section loads.
Advanced RTH is one of the few safety choices on a current DJI drone that genuinely depends on the site you are flying — not on the drone, not on the controller, but on what is between the drone and the Home Point. Build the call into your pre-flight habit and you will not lose a propeller to a tree line you forgot about.
Got a site where Optimal keeps planning a path that worries you, or a question about how Preset interacts with low-battery Smart RTH? Drop a note to peter@hiredronepilot.uk and I will come back to you directly.
References
Primary source material for this article is the official DJI user documentation for each drone in the callout and the UK Civil Aviation Authority Drone Code. External links open in a new tab.
- DJI Fly — App download and release notes · The app where the Advanced RTH selection lives across every current DJI drone. Release notes record any menu reshuffles between versions.
- DJI — UK consumer drone product line-up · Per-drone user manuals carry the Advanced RTH section under §Return to Home with the Optimal and Preset definitions.
- UK Civil Aviation Authority — The Drone and Model Aircraft Code (CAP2320) · 120-metre maximum flight altitude in the UK Open category, which sets the practical upper bound for any UK return-to-home altitude regardless of what the slider allows.
Peter Leslie
Founder & GVC Drone Pilot
Peter is the founder of HireDronePilot. With thousands of logged commercial flight hours, he writes about drone technology, commercial surveying tactics, and UK aviation compliance.
Connect on LinkedIn