How to Change Video Resolution on DJI Drone
Peter Leslie
22 May 2026

If you flew a DJI drone for the first time, watched the footage back, and noticed it looked softer than the marketing reel promised, the setting you are looking for is the video resolution chip on the camera view inside DJI Fly. Every current DJI drone ships in Auto mode at 1080p — fine for a quick social upload, way short of what the sensor can actually do.
Drones this applies to
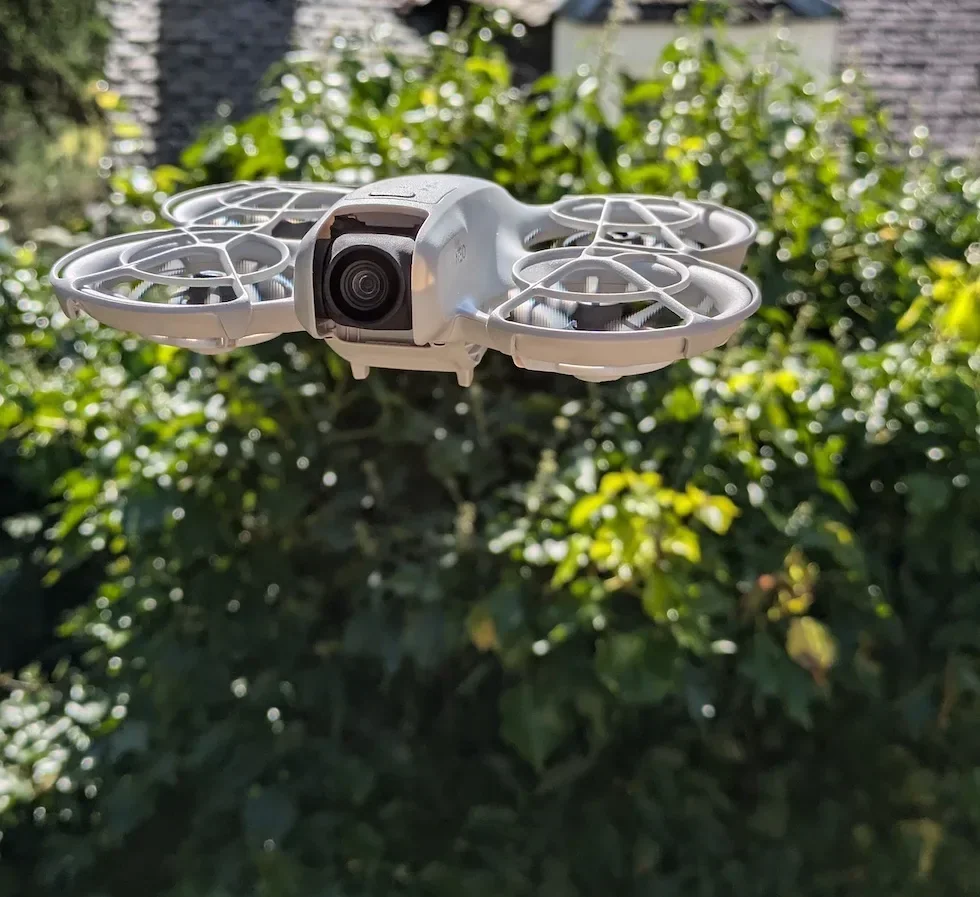
DJI Neo 2, DJI Mini 5 Pro, DJI Avata 2, DJI Air 3 Pro, DJI Mavic 4 Pro. The same camera-view chip and Pro mode Preferences route works on any drone running DJI Fly v1.21.2 or later — only the maximum resolution and the frame-rate ceiling vary between models.
Quick guide
To change the video resolution on DJI Drone, go to DJI Fly → Camera view → Video mode → Resolution chip. Tap the chip and pick 4K for maximum detail, 2.7K for a vertical aspect ratio, or 1080p for high frame-rate slow motion and smaller files.
Step-by-step: How to Change Video Resolution on DJI Drone
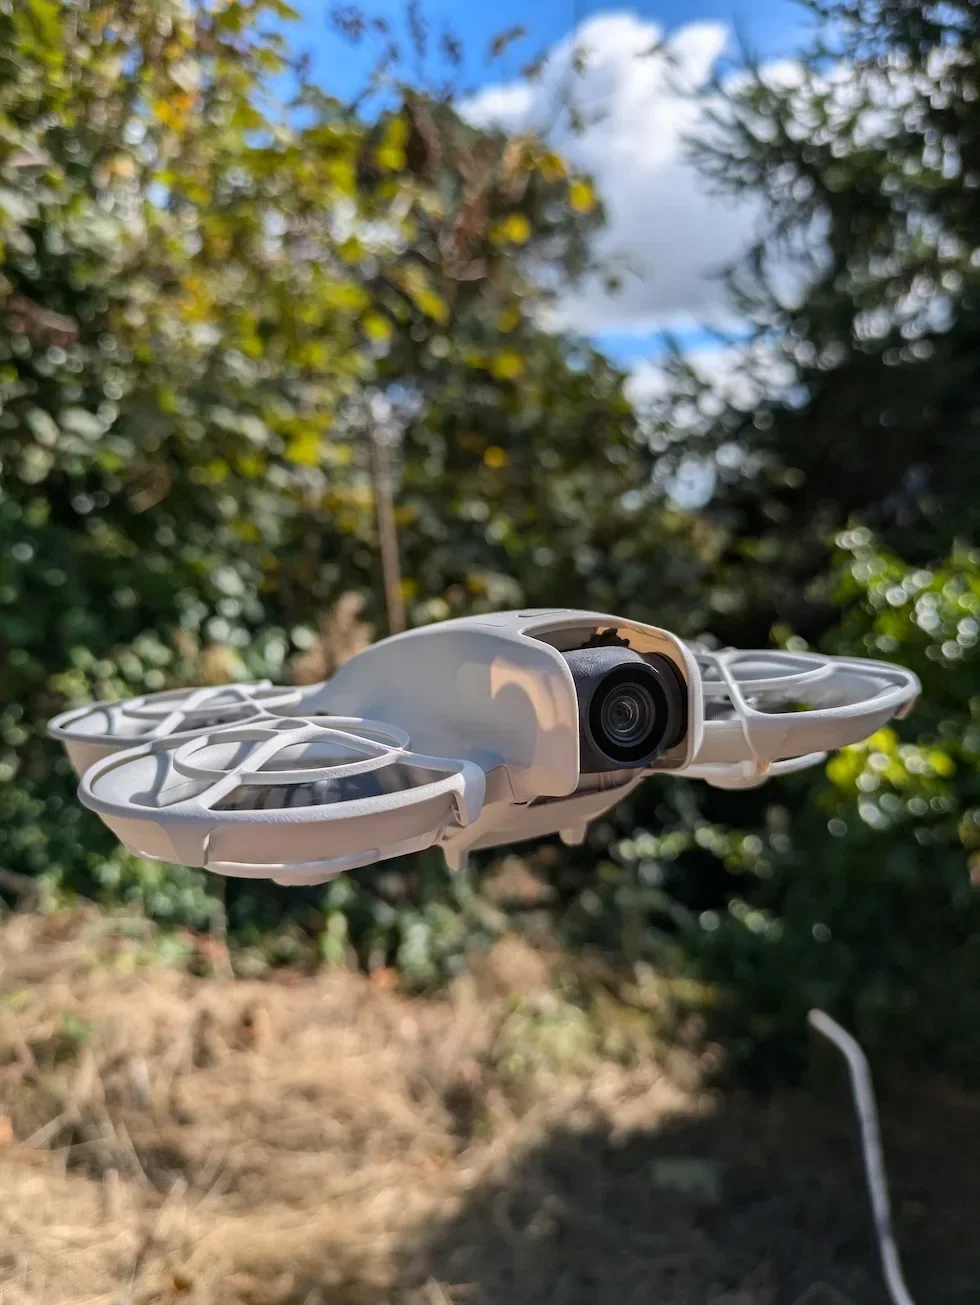
Follow these top to bottom the first time, and the path is muscle memory the second time. The labels and order are identical on every drone in the callout above — the screenshots below are taken on a DJI Neo 2.
Open DJI Fly to the camera view with the drone connected
Power the drone and the controller on, wait for DJI Fly to connect, and tap into the camera view from the home screen. The live feed from the drone fills the centre of the screen and the shooting-mode controls run down the right-hand edge.
Switch the drone into video shooting mode on the right-hand column
Tap the shooting-mode icon on the right-hand control column and select Video from the list that slides out. The resolution chip only appears once video is selected — in photo mode you get megapixel options instead, which is the most common reason drone pilots cannot find the resolution control.
Find the resolution chip on the right-hand edge of the camera view
The current resolution shows as a small chip on the right-hand edge of the camera view, just below the shooting-mode icon. Out of the box on every current DJI drone, that chip reads 1080p — the default that catches first-flight footage looking softer than expected.
Tap the resolution chip to open the picker panel
Tap the chip once and the resolution picker slides out as a small panel beside it. Three rows on most drones: 4K, 2.7K, and 1080p. The currently-selected value is highlighted in the brand yellow so it is obvious which row is active.
Pick 4K, 2.7K, or 1080p from the resolution picker
Tap the resolution you want. 4K records the full sensor detail and the most cropping headroom in post. 2.7K shoots a vertical aspect ratio on drones that support it, ready for Reels, TikTok, and YouTube Shorts. 1080p runs the highest frame rate on every drone and produces the smallest files for fast transfer.

Confirm the chip on the camera view updated to the new resolution
The picker closes the moment you tap, and the chip on the right-hand edge updates to show the resolution you just picked. The selection is sticky — the drone remembers the value across power cycles and uses it for every video clip until you change it again.
Alternative route — change the resolution via Pro mode Preferences
Tap the Auto/Pro toggle in the top corner of the camera view to switch the drone into Pro mode. Tap anywhere on the parameter row and the Preferences tab opens with the same resolution rows alongside the frame-rate selector and the colour-profile control. Pick the resolution the same way.
Peter's tip
I leave whatever DJI drone I have flown that day on 4K for every horizontal client job and flip it to 2.7K for any vertical edit going straight to Reels or TikTok. The only flight I deliberately drop to 1080p is when I want slow motion — 100 frames per second through a 25 fps timeline is properly cinematic and every current DJI sensor handles it cleanly.
4K vs 2.7K vs 1080p
Three options, three very different jobs. Use this table to pick before the flight, not while the drone is in the air.
| Resolution | Quality and file size | When to pick it |
|---|---|---|
| 4K (3840 x 2160) | Full sensor detail. Roughly four times the file size of 1080p — fills internal storage and slows QuickTransfer significantly. | Horizontal client work, landscape edits, anything destined for a 4K television or a properly graded colour edit. Headroom for cropping in post. |
| 2.7K (1512 x 2688 vertical) | Mid-range files. Native 9:16 aspect ratio on drones that support it, so no pixels lost to cropping a horizontal frame down. | Vertical edits for Reels, TikTok, and YouTube Shorts. Pick this when the final delivery is vertical, not horizontal. |
| 1080p (1920 x 1080) | Smallest files, fastest transfer. The highest frame rate the drone supports — typically 100 or 120 fps — for proper slow motion. | Slow motion at 100 or 120 fps, social-media-only deliveries, and shoots where internal storage is tight or battery transfer time matters. |
Maximum video resolution by DJI drone
The click path is the same across the line-up, but the rows inside the picker change with the drone you have connected. Confirm the maximum your drone supports before planning a shoot.
| Drone | Maximum video resolution |
|---|---|
| DJI Neo 2 | 4K (3840 x 2160) up to 100 fps |
| DJI Mini 5 Pro | 4K HDR (3840 x 2160) up to 100 fps |
| DJI Avata 2 | 4K (3840 x 2160) up to 60 fps |
| DJI Air 3 Pro | 4K (3840 x 2160) up to 120 fps |
| DJI Mavic 4 Pro | 6K (or 8K on the Hasselblad main camera) |
Frequently asked questions
What is the default video resolution on a DJI drone?
1080p in Auto mode on every current DJI drone, regardless of what the sensor is actually capable of. That is why most first flights come out softer than the marketing reel — the drone is recording at the lowest of the three available options out of the box. Switch the chip to 4K manually for the first real shoot and the setting is sticky from then on.
Does every DJI drone record 4K?
Every current DJI drone records at least 4K, and the Mavic 4 Pro reaches 6K. The per-drone table further down lists the exact maximums by model — the click path is identical across the line-up, but the rows that show up inside the picker change with the drone you have connected.
Is there a real quality difference between 4K and 2.7K on a phone screen?
Almost none. The sensor and the pixel pitch are the same regardless of the output resolution, so on a phone screen the two look near-identical. On a 4K television or a properly graded edit 4K pulls ahead on fine detail — leaves, fence wire, skin texture. The real reason to drop to 2.7K is the vertical aspect ratio for social-media uploads, not the pixel count.
Why would I record at 1080p instead of 4K?
Three reasons. Frame rate — 1080p tops out at 100 or 120 frames per second on most current DJI drones, which gives you proper slow motion in a 30 or 25 fps timeline. File size — a 1080p clip is roughly a quarter the size of 4K, useful when internal storage is tight. And social platforms re-compress everything to 1080p anyway, so a clean 1080p master beats an over-compressed 4K one for Instagram and TikTok deliveries.
Can I change video resolution while the drone is in the air?
Yes, but only between clips. The picker is greyed out while the drone is actively recording — you have to stop the clip, change the resolution, and start a new one. Switching resolutions mid-flight is fine in itself; just expect a tiny pause as the drone reconfigures the camera before the next clip rolls.
Does Pro mode unlock any extra resolutions?
No. Auto mode and Pro mode share the same resolution options. Pro mode adds the Preferences tab where you can also pick the frame rate and the colour profile manually — Auto handles all of that for you. If all you want is a resolution change, the camera-view chip is the faster route.
What if the resolution chip is missing from the camera view?
Two things to check. First, make sure the drone is in video shooting mode — the chip only renders when video is selected, not photo. Second, check that DJI Fly is fully connected to the drone; the chip stays hidden until the live feed loads. If both are right and the chip is still missing, force-quit DJI Fly and relaunch — a stale session sometimes hides the camera-view controls.
Does video resolution affect flight time?
No, not meaningfully. Recording at 4K versus 1080p costs you a couple of percent of battery at most because the motors burn the vast majority of the power, not the video encoder. Plan flight time off the drone's quoted figure for the battery, not the resolution you are recording at.
Resolution is one of the two settings most DJI drone owners never change after the first flight — and it costs them quality every time they hand a clip over to a client or a platform. Pick the right one deliberately for the delivery, not once and forgotten.
If you want a second opinion on which resolution to pick for a specific shoot, drop the details to peter@hiredronepilot.uk and I will come back to you directly. The video version of this walkthrough is on YouTube and the comments are open.
References
Primary source material for this article is the official DJI documentation for each drone in the callout and DJI Fly. External links open in a new tab.
- DJI Fly — App download and release notes · The app where the camera-view resolution chip and the Pro mode Preferences tab live across every current DJI drone. Release notes record any menu reshuffles between versions.
- DJI — UK consumer drone product line-up · Per-drone specification pages list the available video resolutions, the maximum frame rates, and the recording bitrate ceilings for each model in the callout.
- UK Civil Aviation Authority — The Drone and Model Aircraft Code (CAP2320) · The privacy and data-handling guidance that applies whenever a drone records video over people or property in the UK.
Peter Leslie
Founder & GVC Drone Pilot
Peter is the founder of HireDronePilot. With thousands of logged commercial flight hours, he writes about drone technology, commercial surveying tactics, and UK aviation compliance.
Connect on LinkedIn