How to Set a Timer in Photo Mode on DJI Drone
Peter Leslie
22 May 2026

If you want a photo of yourself, a group, or a vibration-free still off a DJI drone, the setting you are looking for is the photo timer inside DJI Fly. It sits in the shooting-mode tray directly above the shutter button, behind a tap into Timed Shot, and the delay selector that follows is where you pick how long the camera waits before firing.
Drones this applies to
DJI Neo 2, DJI Mini 5 Pro, DJI Avata 2, DJI Air 3 Pro, DJI Mavic 4 Pro. The same procedure works on any drone running DJI Fly v1.21.2 or later — only the available countdown values vary slightly between models, and the per-drone delay set is listed in the comparison table below.
Quick guide
To set a timer in photo mode on DJI Drone, go to DJI Fly → Camera view → Photo mode → Shooting-mode icon above the shutter → Timed Shot → pick a delay from 2 to 60 seconds. Short delays damp vibration; medium delays cover self-portraits; long delays cover stage-managed shots.
Step-by-step: How to Set a Timer in Photo Mode on DJI Drone
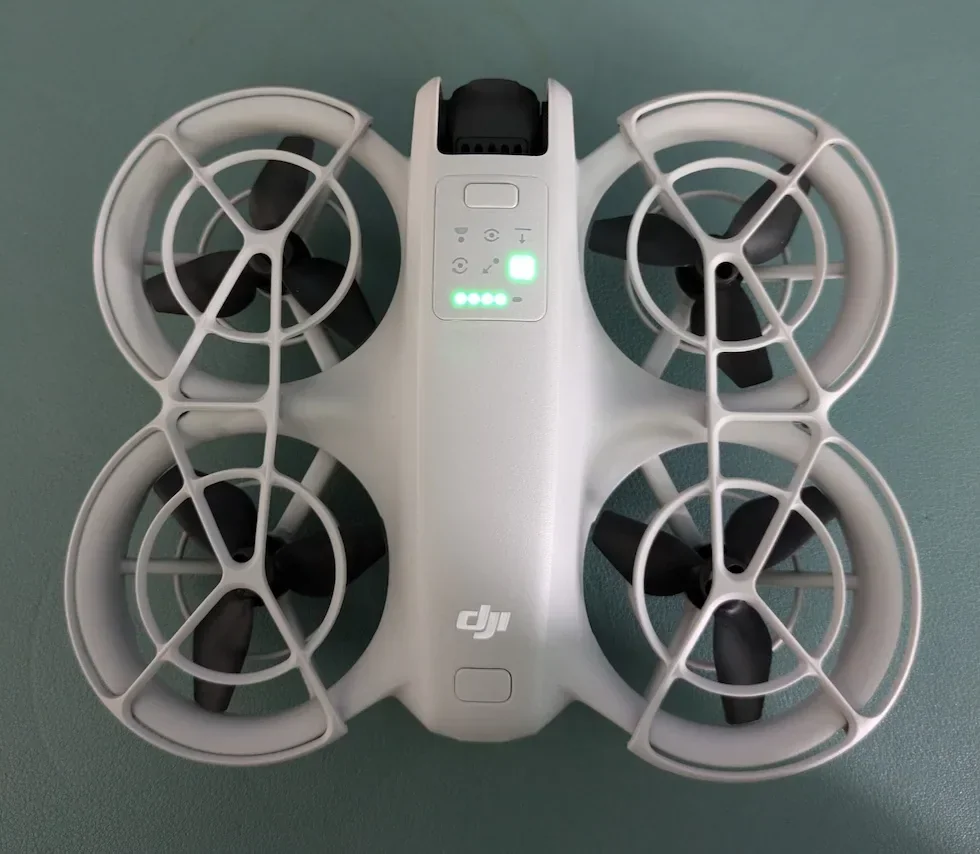
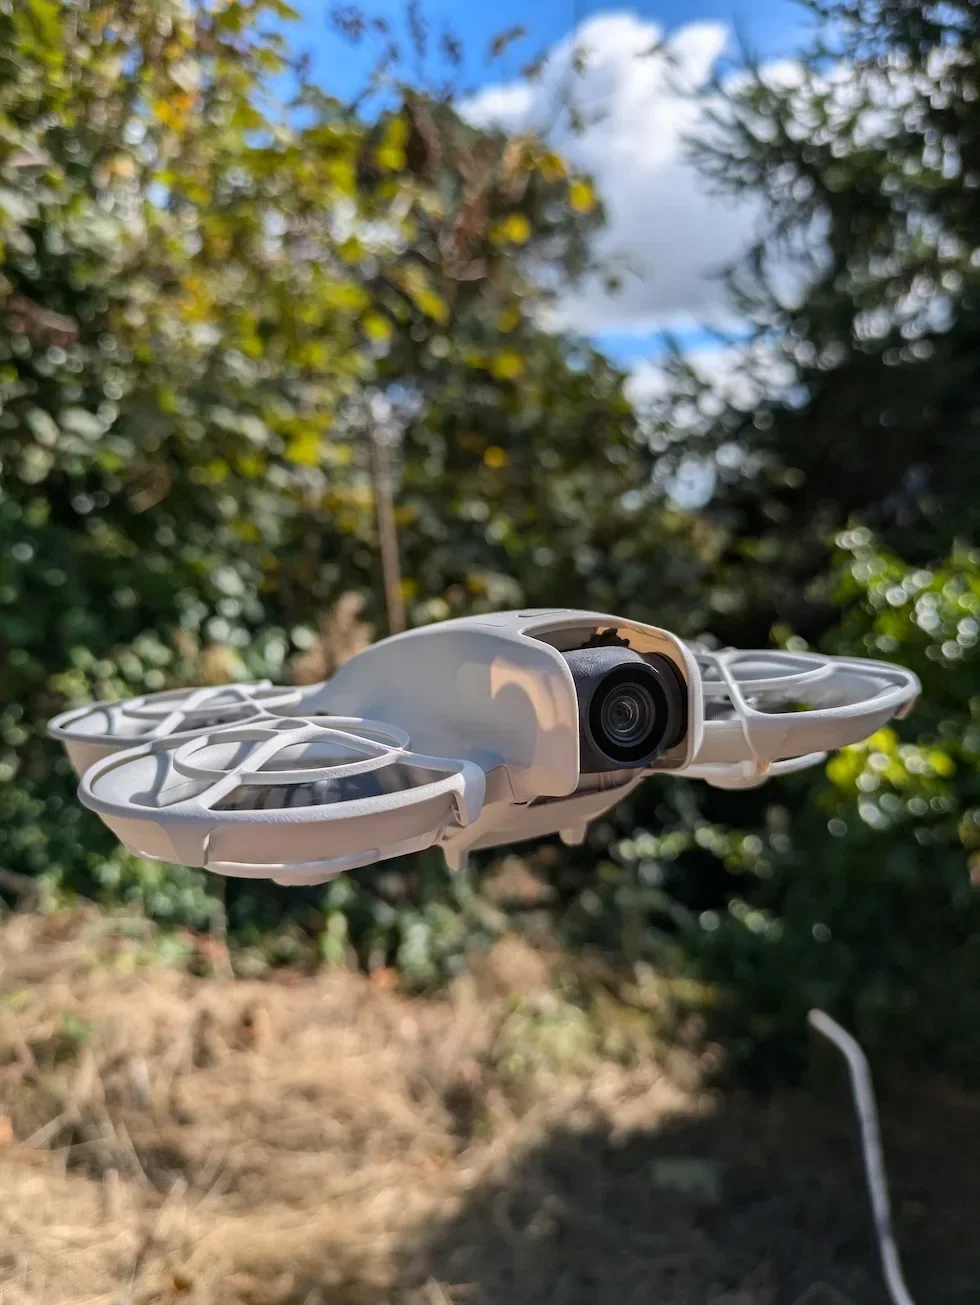
Follow these top to bottom the first time, and the path is muscle memory the second time. The labels and order are identical on every drone in the callout above — the screenshots are taken on a DJI Neo 2.
Switch DJI Fly to photo mode from the camera view
With the drone connected and DJI Fly on the camera view, look at the shutter button on the right of the screen. Tap the Photo / Video toggle directly above it so the shutter button turns white — white is photo, red is video. The Timed Shot option only exists while the camera is in photo mode.
Confirm the shutter button is white before opening the tray
Glance at the shutter colour before you go any further — DJI Fly uses the colour as the at-a-glance confirmation of which mode is live. White means a photo will be taken on the next press; red means a video recording would start. The shooting-mode tray only carries Timed Shot while the shutter is white.
Tap the shooting-mode icon directly above the shutter
DJI Fly stacks the photo shooting modes behind the small icon that sits directly above the shutter button. Tap it once and a tray slides out with the available shooting modes — Single, Burst, Auto Exposure Bracketing, and Timed Shot. This is the tray that holds the photo timer on every current DJI drone.

Select Timed Shot from the shooting-mode tray
Tap Timed Shot inside the tray. DJI Fly replaces the tray with a delay selector — a row of numbers covering every countdown option the connected drone supports. The selector is the second-tier menu where you pick how long the camera should wait before firing.
Pick a delay in the Timed Shot selector
Tap the delay you want from the row in front of you. The highlighted value confirms the choice and the delay saves the moment you tap it; the panel does not need a separate confirm press. The exact set of values depends on the drone — see the comparison table below.
Compose the shot in the DJI Fly viewfinder
With the timer armed, frame the shot in the DJI Fly viewfinder. If the drone is hovering, settle it on the composition before the countdown starts; if it is sat on a flat surface for a self-portrait, point the camera and check the framing on the phone screen. The viewfinder updates in real time so the composition is locked before the shutter fires.
Press the shutter to start the countdown
Press the shutter button on the remote controller or tap the on-screen shutter in DJI Fly. The countdown starts immediately at the delay you picked and a number ticks down on the screen. Hold the drone steady — or step into the frame — through the countdown.
Switch the shooting-mode tray back to Single when you are done
DJI Fly leaves Timed Shot armed after a timed photo, so the next shutter press starts another countdown at the same delay. When you want the next shot to fire instantly, open the shooting-mode tray above the shutter again and tap Single. The drone reverts to immediate capture.
Peter's tip
I default to 2 seconds for any hand-held or palm-launched still, even when I am not stepping into the frame, because the press of the shutter is enough to wobble the drone. Two seconds is long enough for the drone to settle, short enough that the moment is not lost. For self-portraits I go straight to 10 — five is a sprint, 10 is a walk, and the drone pilots I shoot with always thank me for the extra five seconds.
Which delay to pick
Five common delay bands and what each one is for. Pick before the flight, not during one.
| Timer delay | When it works | Where it bites |
|---|---|---|
| 2 seconds | Vibration damping. Long enough for the drone to settle after the shutter press, short enough that nothing in the frame moves between arming and firing. Good for hand-held stills and tight low-altitude compositions. | Too short to step into the frame. Anyone trying to use 2 seconds for a self-portrait will end up running into the shot. |
| 5 seconds | Solo self-portrait if you are close to the drone. Five seconds gets one person back into frame from a few paces and is fine for a quick selfie where the pose is already rehearsed. | Feels rushed for groups. The last person into frame still looks like they are arriving rather than posing. |
| 10 seconds | The comfortable default for self-portraits and small groups. Long enough to walk into frame, settle, and breathe before the shutter fires. Use this one if you are not sure which delay to pick. | Overkill for vibration damping. Adds eight seconds of dead time to a hand-held still where two would have done the job. |
| 30 seconds | Larger groups, multi-camera sequences, or any scenario where people have to walk into position from off-camera. Also useful for long-exposure landscapes where any contact with the drone would smear the frame. | Easy to misjudge the wait — people drop out of position before the shutter fires. Cue the group at the halfway mark. |
| 60 seconds | Stage-managed compositions, hands-off long exposures, or a sequence where multiple cameras have to start at the same time. The maximum safety margin between arming the shot and the camera firing. | Tempting to fill the minute by adjusting the framing — which defeats the purpose. Arm it, walk away, leave the drone alone. |
The exact delay set varies by drone — the DJI Neo 2 exposes the full nine-step ladder (2, 3, 5, 7, 10, 15, 20, 30, 60 seconds), while older or smaller drones may drop the in-between values. Open the selector once on your drone and you will see the full list available.
Frequently asked questions
Which DJI drones support a photo timer in DJI Fly?
Every current consumer DJI drone running DJI Fly has Timed Shot inside the shooting-mode tray. The available delay values vary slightly by model, but the menu path through Photo mode and the shooting-mode icon above the shutter is identical on the DJI Neo 2, DJI Mini 5 Pro, DJI Avata 2, DJI Air 3 Pro, and DJI Mavic 4 Pro.
Does the photo timer work in both Auto and Pro camera modes?
Yes. Timed Shot is a shooting mode, not a camera-mode setting, so it sits in the same tray above the shutter whether the drone is in Auto or Pro. Pick the camera mode you want for exposure first, then open the shooting-mode tray and switch to Timed Shot.
Why is my shutter button red?
Red means the camera is in video mode, not photo. DJI Fly colour-codes the shutter — white for photo, red for video — so a glance at the button tells you which mode is live. Tap the Photo / Video toggle above the shutter to switch back to photo before the timed shot is available.
Can I cancel the countdown once it has started?
Yes. Tap the shutter button again during the countdown and DJI Fly aborts the timed shot before the camera fires. Useful if a person walks into frame or the drone drifts off composition during a long delay.
Does the photo timer stay armed after the shot fires?
Yes. DJI Fly leaves Timed Shot selected after a timed photo, so the next shutter press starts another countdown at the same delay. Switch back to Single in the shooting-mode tray when you want the next shot to fire instantly.
When should I pick the 10 second timer?
For self-portraits and small groups. Ten seconds is enough time to set the drone down on a stable surface, walk into frame, and arrange the shot before the shutter fires. The five second delay can feel rushed if you have to walk more than a few paces; 10 seconds is the comfortable default for any composition where you are in the frame.
What is the 60 second timer for?
Stage-managed compositions where everything has to be ready before the camera fires. A group of ten people walking into position from off-camera, a tripod-style hands-off long-exposure landscape, or a sequence where multiple cameras have to start at the same time. Sixty seconds is also the safety margin when you want to be absolutely sure no contact with the drone is influencing the final frame.
Does the timer setting save between flights?
No. DJI Fly resets the shooting mode back to Single when the drone is powered off, so the timer does not carry over between flights. Worth a quick glance at the shooting-mode tray on the first shot of a session if you want a timed shot — the drone will not assume your last setting.
The photo timer on a DJI drone is one of those settings that looks cosmetic until the day you need a self-portrait, a long exposure, or a shake-free still. Pick the delay deliberately for the shot rather than reaching for 10 seconds every time and the timer earns its place in the workflow.
If you want a second opinion on which delay to default to for the kind of shooting you do, drop the details to peter@hiredronepilot.uk and I will come back to you directly. The video version of this walkthrough is on YouTube and the comments are open.
References
Primary source material for this article is the official DJI user documentation for each drone in the callout and DJI Fly. External links open in a new tab.
- DJI Fly — App download and release notes · The app where the shooting-mode tray above the shutter and the Timed Shot delay selector both live across every current DJI drone. Release notes record any menu reshuffles between versions.
- DJI — UK consumer drone product line-up · Per-drone user manuals carry the exact set of Timed Shot delay values exposed for each model under §Camera Settings.
- UK Civil Aviation Authority — The Drone and Model Aircraft Code (CAP2320) · The visual-line-of-sight rule that frames how long you can sensibly leave a drone hovering on a long timer in open category flight.
Peter Leslie
Founder & GVC Drone Pilot
Peter is the founder of HireDronePilot. With thousands of logged commercial flight hours, he writes about drone technology, commercial surveying tactics, and UK aviation compliance.
Connect on LinkedIn