
When your drone propeller refuses to spin, don't panic—it's a common issue with several potential fixes.
You'll need to determine if the problem stems from motor failure, physical obstructions, power issues, or connection problems. Start by checking for visible debris and testing your motors individually at low throttle.
A non-spinning propeller doesn't always mean expensive repairs; often the solution is simpler than you'd expect.
As a GVC licensed drone pilot, I've seen this issue countless times on various sites, from fields to industrial rooftops. Trust me, a methodical approach will solve the problem 9 times out of 10 without needing to spend a penny.
Your 5-Step Troubleshooting Checklist
Before you begin, ensure your drone is powered off and on a stable, flat surface.
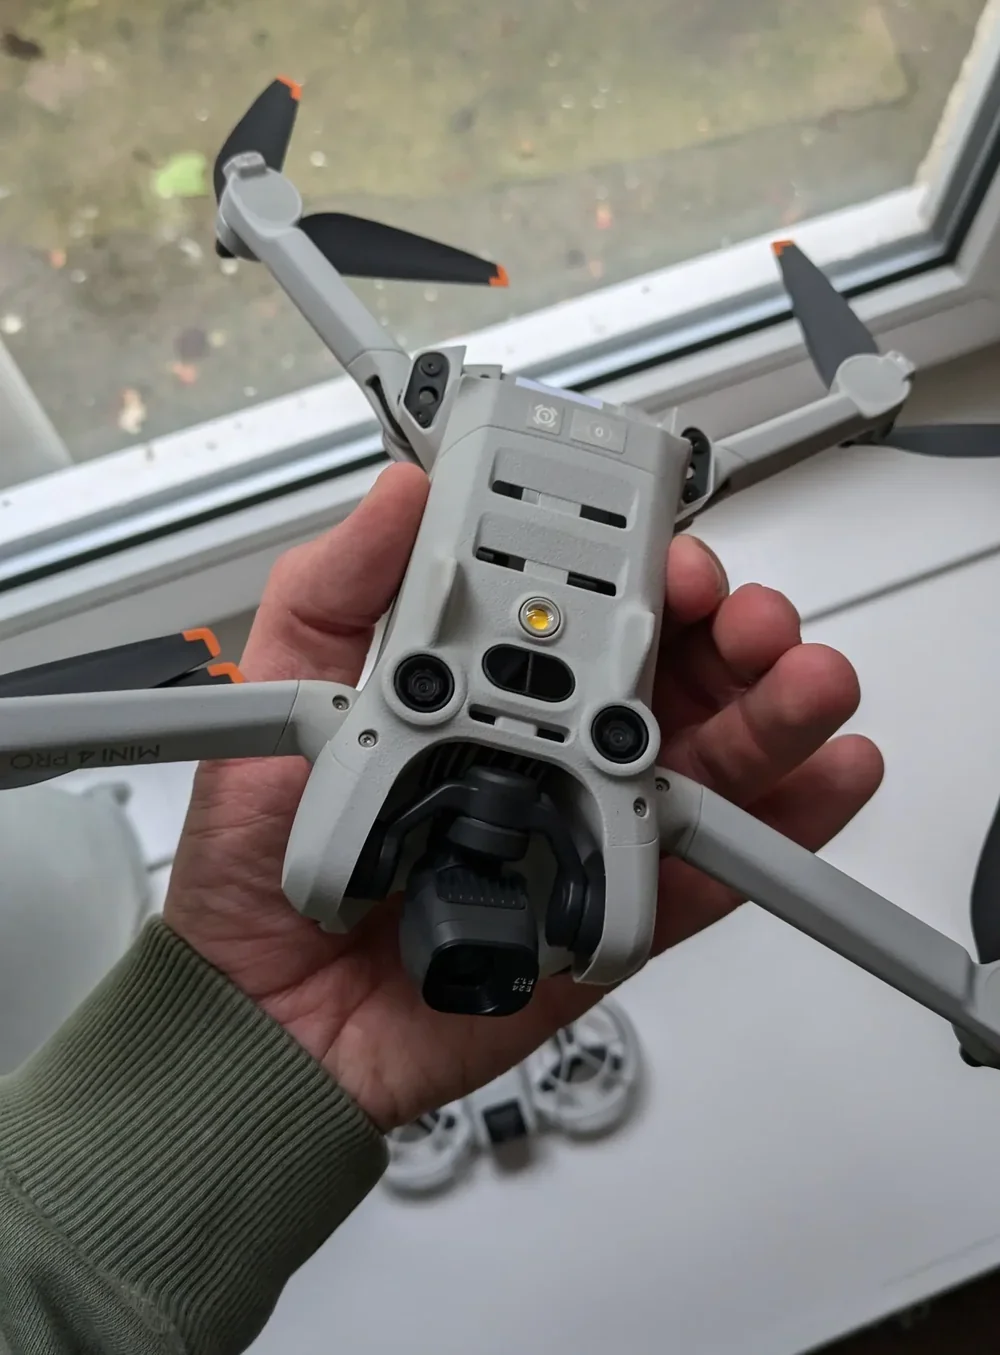
Visual Inspection (Props Off): Remove all propellers. Look closely at each motor for tangled hair, grass, or other debris. Check for any visible damage to the motor housing or arms.
Manual Spin Test: Gently spin each motor with your fingertip. Does it spin freely? Or do you feel resistance, grinding, or a gritty texture? Resistance can indicate debris inside the motor or a damaged bearing.
Power System Check: Insert a fully charged battery you know is in good health. Check that the connection is secure and the contacts on both the battery and drone are clean.
Motor Test (Props Still Off): Power on the drone and controller. Apply a tiny amount of throttle. Observe if all motors twitch or spin at the same time. Note which ones are unresponsive, stuttering, or making unusual noises.
Propeller & Mounting Check: Inspect each propeller for cracks, chips, or warping, especially at the hub. When re-attaching, ensure they are on the correct motor (clockwise/counter-clockwise) and that they sit flush and secure.
Key Takeaways
- 1Remove obstructions like hair, grass, debris, or dirt from the motor shaft and propeller
- 2Check for proper connection between flight controller and motors, ensuring all wires are secure
- 3Verify battery is sufficiently charged and power connections aren't damaged or corroded
- 4Ensure propellers are correctly attached, sitting flush with no cracks or chips
- 5Test each motor individually with propellers removed to identify specific problematic components
A drone propeller may not spin due to motor faults, obstructions, or connection issues
When your drone propeller refuses to spin, several common culprits might be responsible. Motor faults often occur after crashes or extended use, resulting in burnt-out windings or damaged bearings that prevent rotation.
Check for unusual resistance when turning the propeller by hand.
Physical obstructions frequently cause propeller issues. Hair, grass, dirt, or debris can become tangled around the motor shaft, creating friction that stops movement.
"In my experience flying commercially, long grass and fine strands of hair are the biggest enemies. I once had a motor stop mid-flight check because a single human hair had wrapped itself perfectly around the shaft, melting from the friction. It’s a tiny detail that can ground a whole operation."
Carefully inspect and clean the area around each propeller.
Connection problems may also be the source of your troubles. Loose wiring between the flight controller and motors interrupts power delivery. Examine all solder joints and connectors for signs of damage or disconnection.
Similarly, ESC (Electronic Speed Controller) failures can prevent your motors from receiving proper signals, leaving propellers motionless despite power reaching the drone.
Motor function can be tested by running the drone at low throttle and checking for response
Safety should be your priority when testing motor function on a problematic drone. Always remove the propellers before conducting motor tests to prevent injuries if motors suddenly activate.
"This isn't just a suggestion; it's a golden rule. I call it the 'props-off protocol.' Before any motor test, the very first thing I do is remove all propellers. A spinning prop, even at low throttle, can cause a serious laceration. Don't take the risk."
To test your drone's motors, first ensure your battery is charged and properly connected. Place the drone on a flat surface, then power it on and connect to your controller.
Gently increase the throttle to its lowest setting—just enough to signal the motors to spin. Watch each motor carefully for any movement or unusual sounds.
If some motors spin while others remain still, you've identified the problematic ones. No response from any motors could indicate a controller connection issue or a power distribution problem.
Inconsistent spinning or stuttering suggests electrical connectivity issues that need addressing before reinstalling propellers.
Understanding Drone Motor Sounds
Your drone's motors can give you audible clues to the problem. Listen carefully during your tests:
Normal: A smooth, quiet whirring sound.
Grinding or Scraping: This almost always means a bad bearing or debris caught inside the motor itself. The motor needs to be cleaned or replaced.
Twitching and Beeping (No Spin): A motor that twitches and beeps but doesn't spin often points to an issue with the Electronic Speed Controller (ESC) or a bad connection between the ESC and the motor.
High-Pitched Squeal: This can indicate a motor that is struggling under strain, possibly from a bent shaft or a failing internal component.

Low battery charge or faulty power connections can prevent the propeller from spinning
A drone's power system forms the foundation of all propeller movement, and insufficient power is often the culprit behind stationary propellers. First, check your battery's charge level—even if it's partially charged, it might be below the threshold needed for motor operation.
Inspect all power connections for signs of damage or corrosion. Look for loose wires between the battery, flight controller, and motors. You'll need to carefully tighten any loose connections and replace damaged wires.
Battery health deteriorates over time. If your battery is old or has been through numerous charge cycles, it may no longer provide sufficient power even when fully charged. Try a known working battery to determine if this is your issue.
"As part of my commercial pre-flight checklist, I not only check the charge level but also give the battery terminals and drone contacts a quick visual inspection. I've seen minor corrosion, almost invisible to the naked eye, cause intermittent power failures that mimic a dead motor."
For persistent problems, examine the voltage regulator, as it controls power distribution to critical components.
Removing debris and ensuring the propeller is securely attached can fix many spinning issues
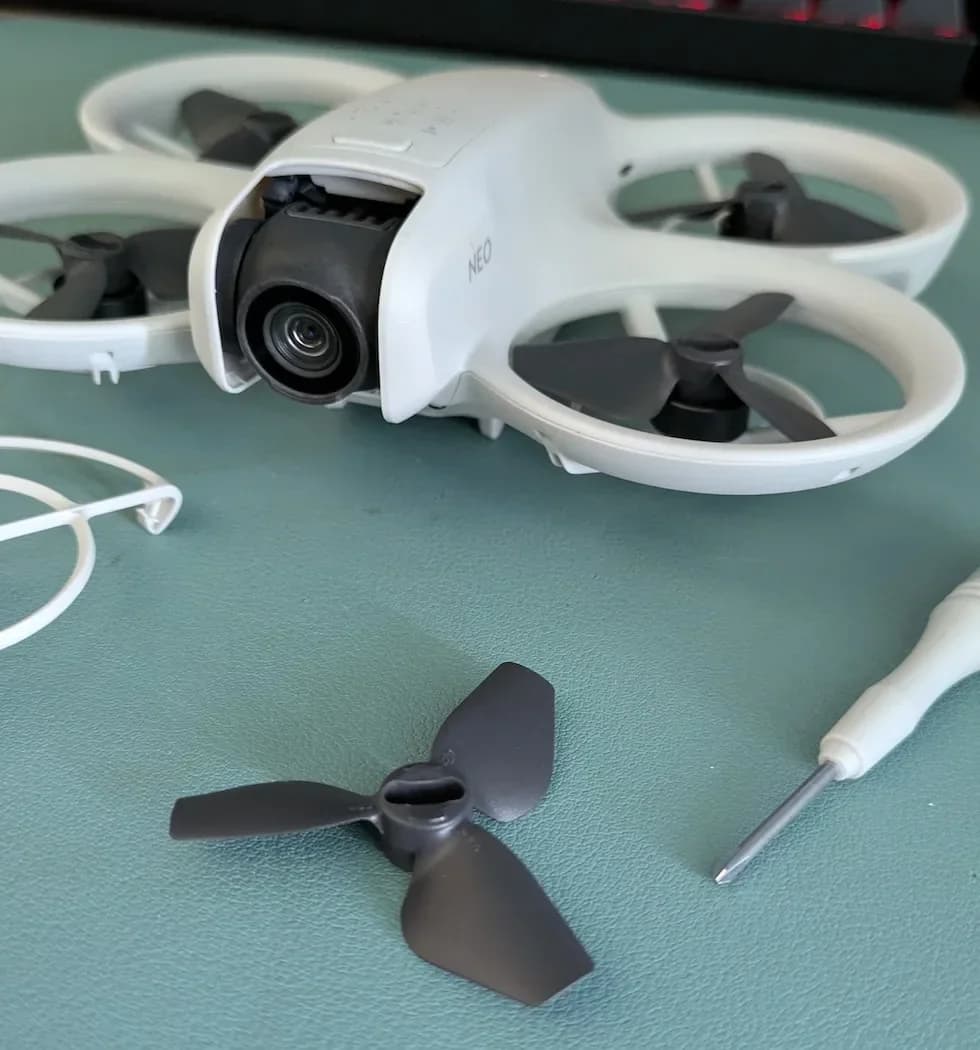
Beyond power issues, physical obstructions often prevent propellers from spinning properly. Check for hair, string, or dust wrapped around the motor shaft or caught in the propeller housing. Gently remove these obstructions using tweezers or a small brush.
"I always carry a can of compressed air and a set of non-metallic dental picks in my flight kit. The compressed air is perfect for blasting out fine dust from inside the motor housing, and the picks are invaluable for teasing out tightly wound fibres without scratching any components."
Next, verify that your propeller is securely attached to the motor. A loose propeller won't spin efficiently or might not spin at all.
Remove the propeller and inspect the mounting mechanism for damage. When reattaching, ensure it clicks firmly into place and sits flush against the motor housing.
If you notice any cracks or chips in the propeller itself, replace it immediately. Damaged propellers create imbalance, reducing performance and potentially damaging motors. After cleaning and securing the propeller, test it by powering up your drone in a safe location.
If the problem persists, professional repair or motor replacement may be necessary
When persistent propeller issues defy your troubleshooting efforts, it's time to consider more serious solutions.
Motor failure is often the underlying cause when basic fixes don't work. Look for warning signs like unusual noises, overheating, or intermittent performance.
You'll need to decide between professional repair and DIY motor replacement. Professional service is ideal for expensive drones or complex models, though it may cost £50-£150 depending on the damage. If you're technically inclined, replacement motors typically range from £15-£40 per unit.
"From a professional standpoint, if my primary commercial drone has a suspected motor failure after these checks, I send it for professional repair. For commercial operations, having a certified technician sign off on the repair is crucial for insurance and liability."
Before proceeding with replacement, check your warranty status—repairs might be covered. Document the disassembly process with photos if you attempt it yourself.
Always use manufacturer-recommended parts to ensure proper fit and performance with your drone's electrical system.
Preventative Maintenance Routine
Adopting a simple routine can prevent most propeller and motor issues before they start.
Check | Pre-Flight | Post-Flight |
Propellers | Inspect for nicks, cracks, and stress marks. | Wipe clean and check for any new damage from the flight. |
Motors | Check for debris around the shaft. | Give a quick manual spin to feel for resistance or new gritty sounds. |
Battery | Ensure it's fully charged and securely latched. | Inspect contacts for dust or corrosion before placing on charge. |
Connections | N/A | Check that motor arms and mountings are still secure and tight. |
Frequently Asked Questions
Can Propeller Direction Affect Drone Flight Stability?
Yes, propeller direction significantly affects your drone's flight stability.
Drones use counter-rotating propellers (two spinning clockwise, two counterclockwise) to balance torque forces. If you install propellers in the wrong direction, you'll experience immediate instability, spinning, or crashes.
Always follow your drone's manual for correct propeller placement. Check arrow markings on propellers and motor hubs to ensure proper installation. Maintaining correct propeller direction is essential for stable, controlled flight.
How Often Should Drone Propellers Be Replaced?
You should replace your drone propellers every 20-30 flight hours for recreational use. If you fly professionally, consider changing them every 10 hours.
Always replace them immediately if you notice any cracks, chips, bends, or after any crash. Regular inspections before flights will help you catch damage early. Worn propellers significantly reduce flight performance and can compromise your drone's stability and safety.
Are Aftermarket Propellers Compatible With All Drone Models?
No, aftermarket propellers aren't compatible with all drone models. You'll need to match them specifically to your drone's make and model.
Propellers vary in size, pitch, mounting mechanism, and rotation direction. Always check the manufacturer's specifications before purchasing replacements.
Some brands design proprietary connection systems that limit third-party options. When buying aftermarket props, look for those explicitly stating compatibility with your drone to ensure proper fit and performance.
Can Temperature Changes Affect Propeller Performance?
Yes, temperature changes can affect your drone's propeller performance. In cold weather, propellers become more brittle and may crack easier.
Heat can cause propellers to soften and lose rigidity, reducing thrust efficiency. Extreme temperatures also impact battery performance, indirectly affecting propeller spin power.
You'll notice reduced flight time and stability in extreme conditions. Always allow your drone to acclimate to ambient temperature before flying for optimal propeller function.
What Tools Are Needed for Proper Propeller Installation?
You'll need a small screwdriver set (Phillips and flathead), a propeller wrench or nut driver that fits your drone's specific propeller nuts, tweezers for small parts, and a cleaning brush.
It's also helpful to have isopropyl alcohol for cleaning contacts, a soft cloth, needle-nose pliers, threadlocker for secure installation, and a multimeter if you're troubleshooting electrical issues. Always keep your drone's manual nearby for reference during installation.
Conclusion
You've now tried all the basic troubleshooting steps for your non-spinning drone propeller. If it's still not working, you'll need to consider motor replacement or professional repair.
Remember that proper maintenance prevents most propeller issues. Don't fly with damaged components, as this can lead to crashes and further damage.
"My final piece of advice: make a habit of a quick post-flight inspection. It takes 30 seconds to check each motor for new debris or resistance after you land. This simple routine has saved me from having to perform these troubleshooting steps on-site more times than I can count."
With the right care, you'll be back in the air soon!