Drone Roof Inspection Service UK.
Compare proposals from credential-checked independent pilots for visual or thermal roof capture, without making working at height the first option.

“For every verified profile, we record the insurance and CAA credentials supplied at the time of review.”
Peter Leslie · Founder & GVC Drone Pilot
Trusted by site managers & agencies across the UK
Need a roof inspected?
Post your details once. HireDronePilot aims to review the brief within one working day before introducing relevant independent roof-inspection pilots.
Add the service, full project postcode, timing and project details so we can review a useful brief.
Telephone and budget are optional. Privacy policy.
Drone roof inspection specialisms
From thermal scans to gutter checks, compare relevant credential-checked pilots for the job.

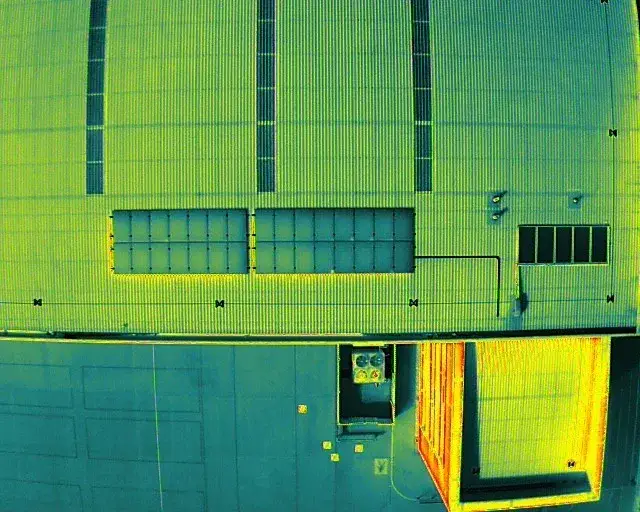
Thermal roof survey
Spot heat loss, trapped moisture and failing insulation with radiometric thermal imagery from the air.
Get thermal roof quotes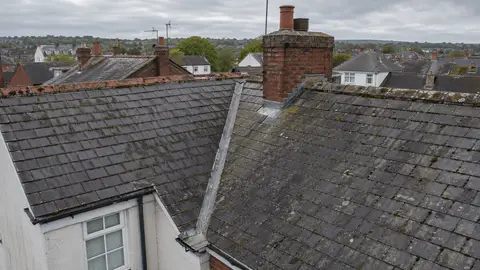
Roof mapping & orthomosaic
Scaled, georeferenced roof maps you can measure — ideal for quoting repairs or quantifying tile area.
Get roof mapping quotes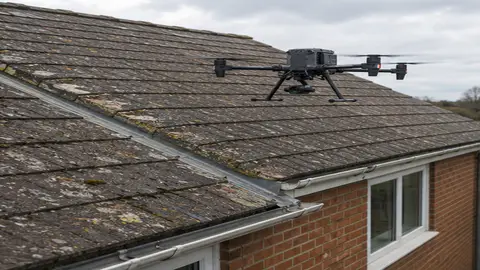
Gutter & flashing check
Close-range imagery of gutters, flashings and valleys — catch blockages and lifted details before a leak develops.
Request a gutter check


Whatever the problem with your roof, our drone pilots can find it.
From a single slipped tile on a semi-detached house to thermal heat-loss on a 50,000 sq ft warehouse. We capture exactly what you need to see.
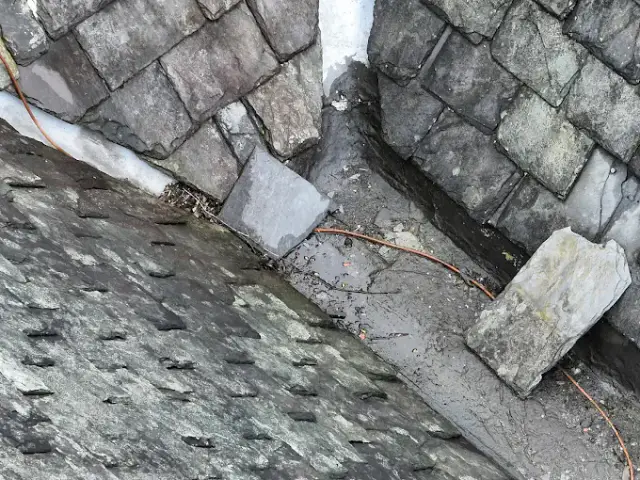
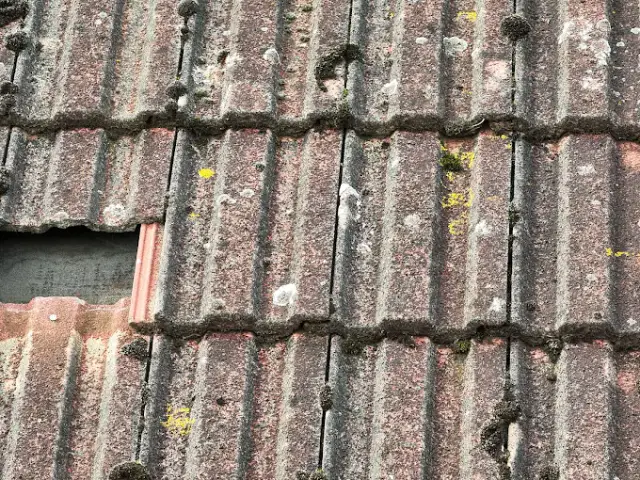
Mysterious Leaks
Water getting in but your roofer can't find the source? High-resolution optical zoom can spot hairline cracks in tiles and failing leadwork that the human eye misses.
Flat Roof Moisture
If water gets under a commercial flat roof membrane, it destroys the insulation. Our drone pilots use thermal cameras to map out exact areas of trapped moisture.
Failing Solar Panels
Losing energy efficiency? A thermal drone survey can instantly pinpoint defective solar cells, blown diodes, and string failures across your entire roof array.
Dilapidation Reports
Need to prove the condition of a roof for a lease event or property purchase? Get 4K, date-stamped photographic evidence of every single elevation and gutter.
Storm Damage Claims
Don't let loss adjusters dismiss your insurance claim. Undeniable high-res aerial photos ensure your storm damage claim is processed fairly and quickly.
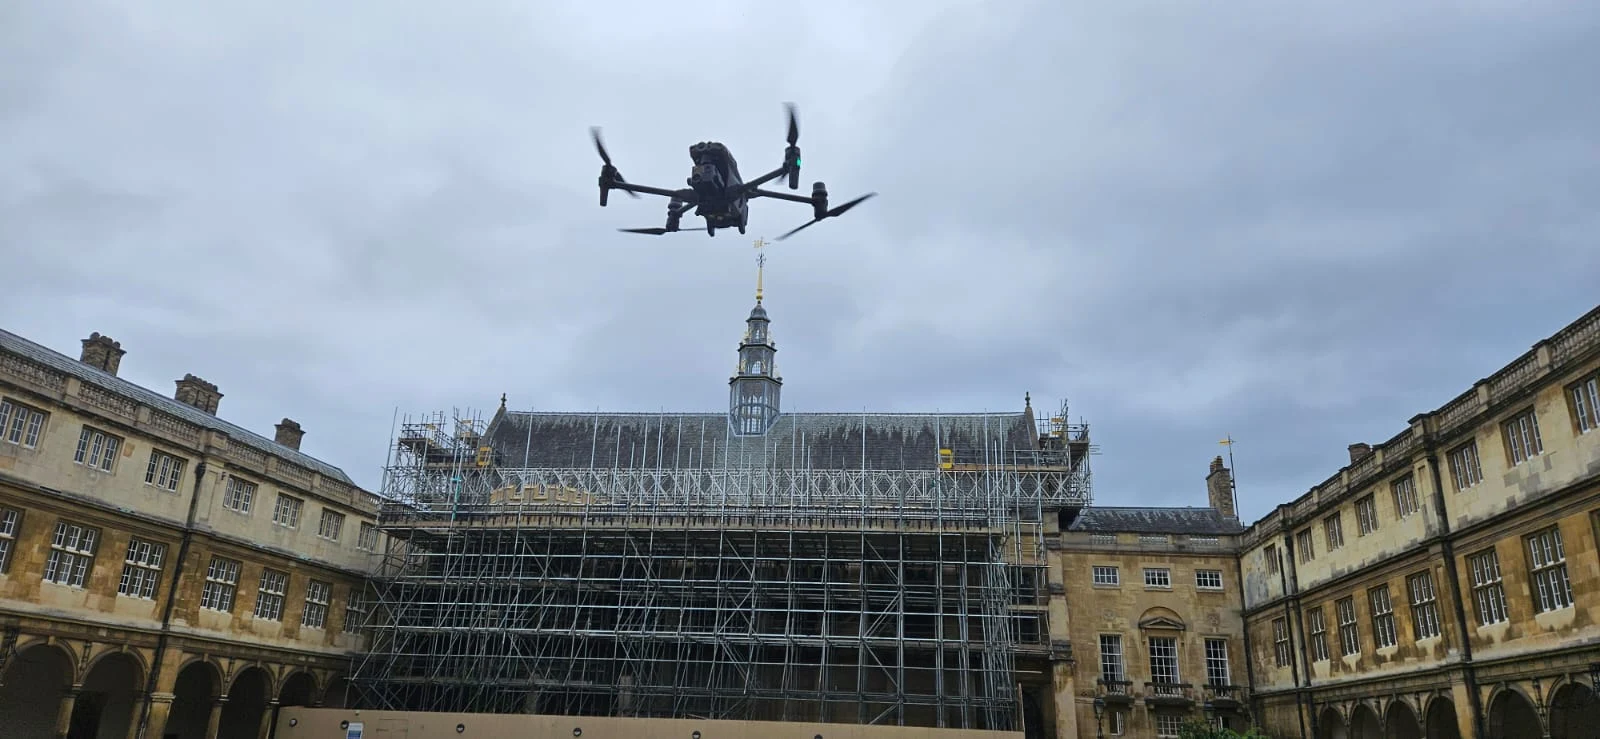
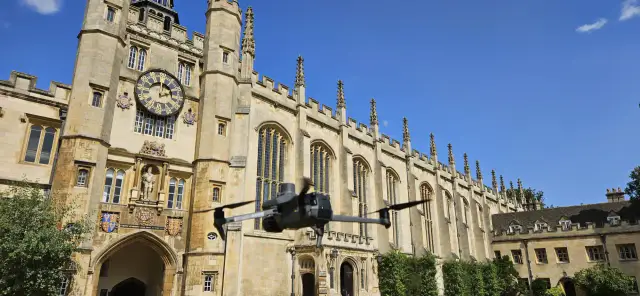
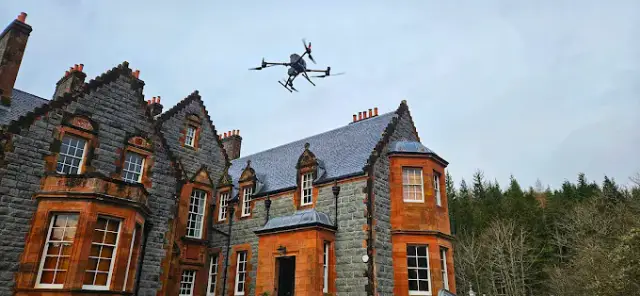
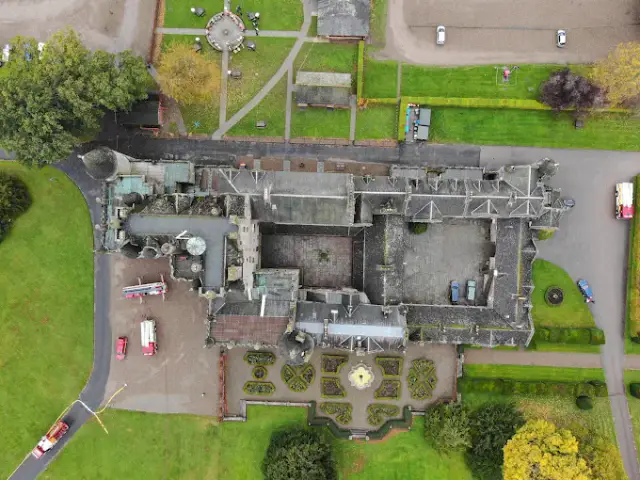
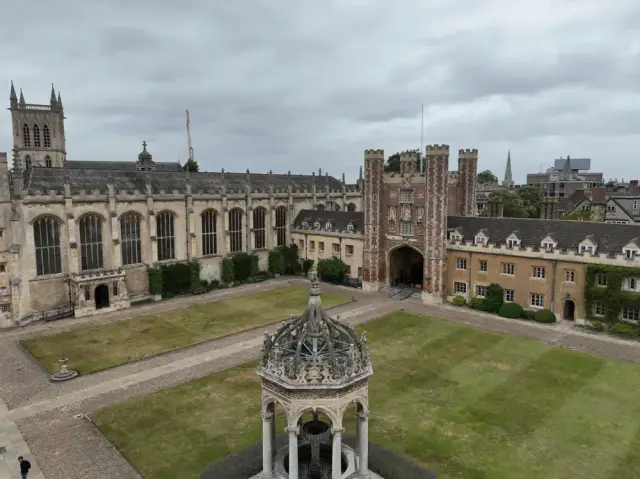
Fragile Heritage Roofs
Inspect fragile slates, historic masonry, and high chimney stacks safely. Drones capture the condition without laying a single finger on the historic building.
Hi, I'm Peter Leslie.
Founder & GVC Drone Pilot
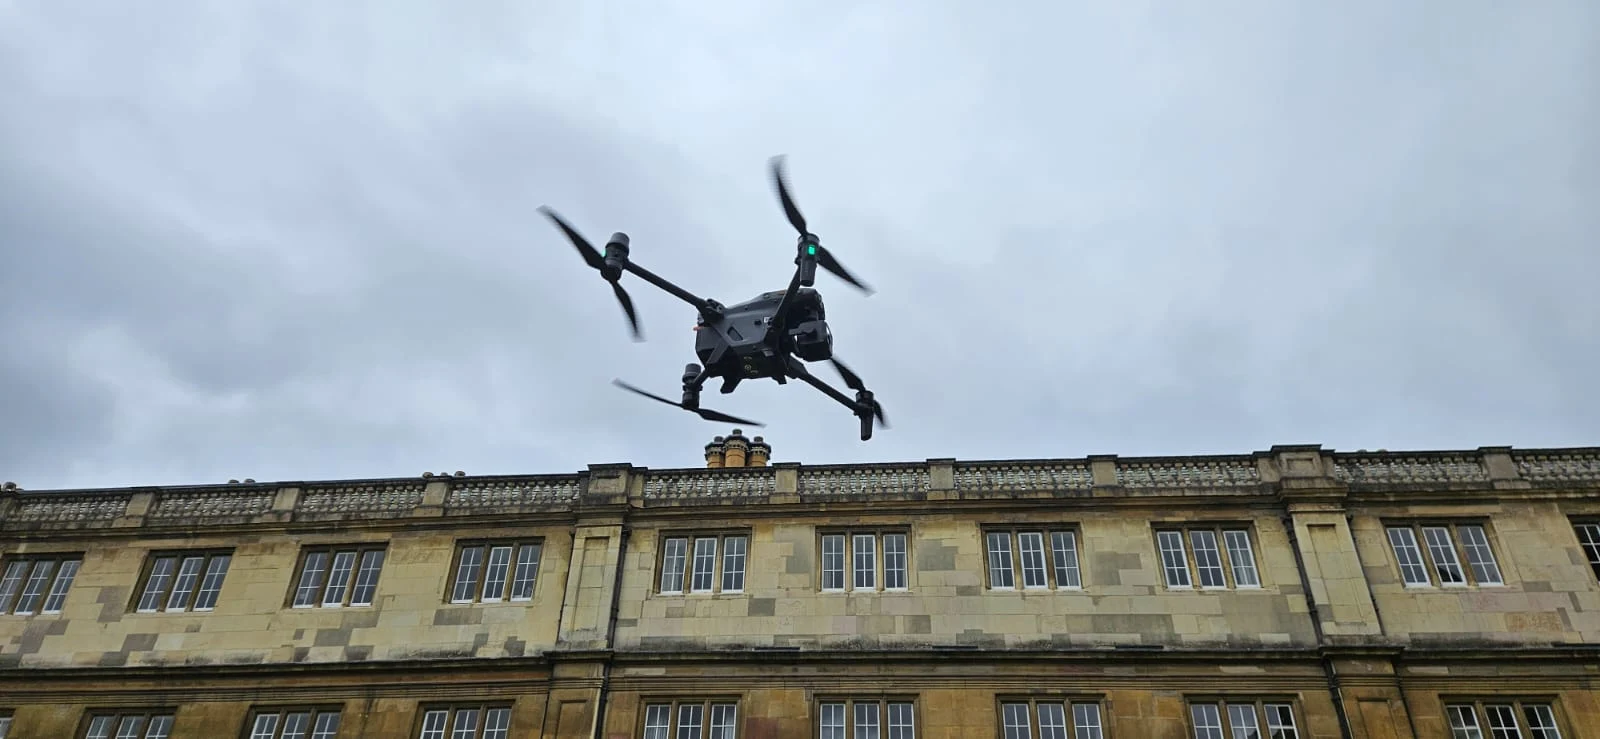
Roof inspections can involve close flight near buildings, people, neighbouring property, and complex airspace. The proposed operation needs an appropriate aircraft, plan, and risk assessment.
I built HireDronePilot to make it easier for property teams to compare the experience, equipment, insurance, and proposed deliverables of independent operators.
For verified profiles, we record checks of the insurance and CAA credentials supplied at publication. The chosen pilot remains responsible for assessing the site, permissions, flight, and deliverables, and contracts with you directly.
Credential Checks Recorded
Insurance and supplied CAA credentials
Why surveying with us beats traditional access.
We give you better data, much faster, for a fraction of the cost.
Save Thousands on Scaffolding
Stop paying £2,000+ just to "have a look". A drone survey costs a fraction of the price of scaffolding or a cherry picker, giving you the answers you need without the heavy access costs.
Reduce Work at Height
Drone capture can reduce the need for an initial person-at-height inspection. It does not remove every site risk or replace access where hands-on investigation is required.
Flexible Scheduling
A pilot can explain likely lead time after reviewing the location, airspace, access, weather, output, and permission requirements. Confirm capture and delivery dates in the written quote.
From ground to roof data in 3 easy steps.
We've built this system to be as hands-off as possible for you.
Tell Us What You Need
Tell us the location, roof type, timing, and whether you need standard photos or thermal capture. We aim to review the brief within one working day.
Compare Your Quotes
Interested independent pilots respond on their own timescales. Compare the proposed scope, price, equipment, timing, and deliverables.
Hire & Get Your Data
Choose the drone pilot that fits your budget. You deal directly with them for the shoot and delivery, ensuring clear communication and no hidden middleman fees.
Common Questions About Drone Roof Surveys
Everything you need to know before you post your project brief.
How much does a drone roof survey cost in the UK?
What deliverables do I actually receive?
Can you fly over busy high streets or commercial centres?
Can a drone see under tiles or through the roof?
Ready to inspect your roof safely?
Don't pay for scaffolding until you know you need it. Post your brief now and let the quotes come to you.
Start Your Roof Brief
Add the service, full project postcode, timing and project details so we can review a useful brief.
Telephone and budget are optional. Privacy policy.
Prefer to chat with our team? Call us directly at +44 1334 804554