Key Takeaways
- 1.You can legally inspect your own roof with a drone in the UK, but must register with the CAA if it weighs 250g-25kg.
- 2.You need a Flyer ID, online theory test completion, and must maintain visual line of sight during inspection.
- 3.Keep drone flights below 400 feet and maintain 50m distance from people, vehicles, and surrounding buildings.
- 4.Commercial roof inspections require additional CAA permissions and professional qualifications beyond basic registration.
- 5.Weather conditions must be suitable with winds under 20-25mph, good visibility, and no rain for safe operation.
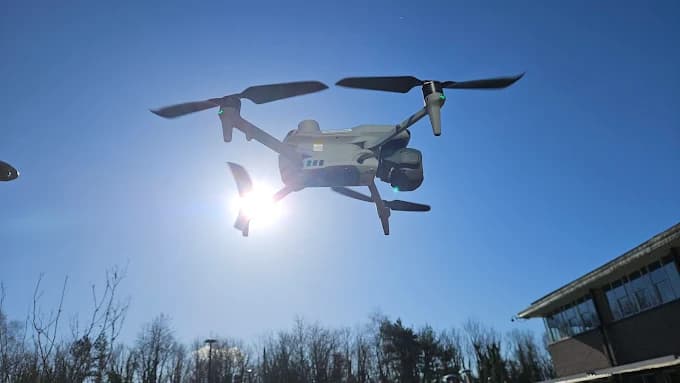
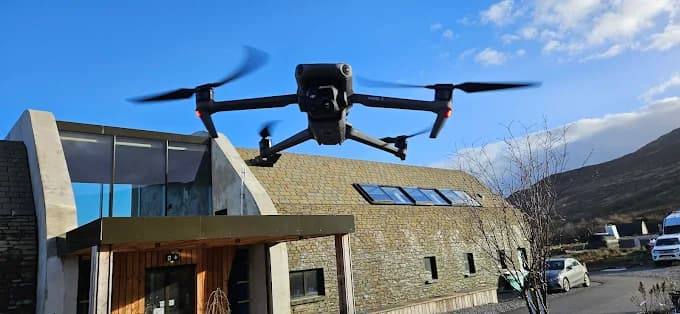
You absolutely can use a drone for your own roof inspection in the UK. As someone who flies commercially, I can tell you it's often the safest way to spot problems early.
The biggest hurdle isn't just the flying. It's having the control over the drone for the slow, methodical grid pattern a proper survey requires. This takes hours of experience being a drone pilot.
You also need to know that even the best sub-250g drones can get tossed around by the unpredictable wind currents you find above a roofline.
Whether you're trying to pinpoint a specific leak or just want to do a routine annual check-up, this guide will walk you through the practical steps I use on professional drone roof survey jobs, ensuring you can do it safely and get genuinely useful results.
Is it legal to use a drone for a roof inspection in the UK?
Yes, it's completely legal, and you absolutely can do your own drone roof inspection.
But before you get airborne, you need to follow the rules set by the Civil Aviation Authority (CAA). They're not there to make life difficult; they're in place to keep everyone safe.
Operator and Flyer IDs
This is your first, non-negotiable step. If your drone has a camera (which it will for an inspection), you must register as a drone operator with the CAA.
It’s a straightforward online process.
After that, you’ll need to pass a simple online theory test to get your Flyer ID. Trust me, it’s mostly common sense and ensures you understand the basic drone laws of the sky.
Fundamental Flight Rules
For any inspection, you must be able to see your drone with your own eyes at all times.
The two biggest rules to drill into your memory are staying below 400 feet (120m) and keeping at least 50 metres away from people and properties not under your control.
A tip from my experience: pace out 50 metres on the ground before you fly. It's often a lot further than people think, and it gives you a real-world sense of your exclusion zone.
Pre-Flight Preparations
Before I even think about taking off, I check the conditions. I recommend using an app like UAV Forecast; it gives you wind speed, satellite availability, and flags any flight restrictions in your area.
If the wind is gusting or it looks like rain, just postpone—the roof will still be there tomorrow.
Always do a full check of your gear: drone battery, controller battery, and your phone's battery. There's nothing worse than your controller dying mid-flight.
One last thing: give your flying area a quick scan for hazards like power lines or tree branches you might have missed from a distance.
How to Conduct Your own Drone Roof Survey
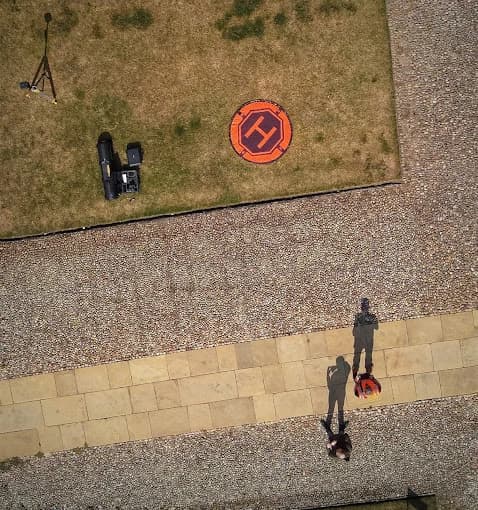
Step 1: Set Your Home Point and Take Off
Once you've found a clear, flat spot in your garden to launch, turn on your drone and wait for it to get a strong GPS lock. This is crucial.
Set your Return-to-Home (RTH) point here (the RTH button on the controller).
I always let the drone take off and hover about 10 feet off the ground for 30 seconds to make sure it's stable and holding its position correctly before I proceed. Then, approach the roofline slowly and cautiously.
Step 2: Start with an Aerial Overview
Your first job isn't to hunt for tiny cracks. It's to get the big picture.
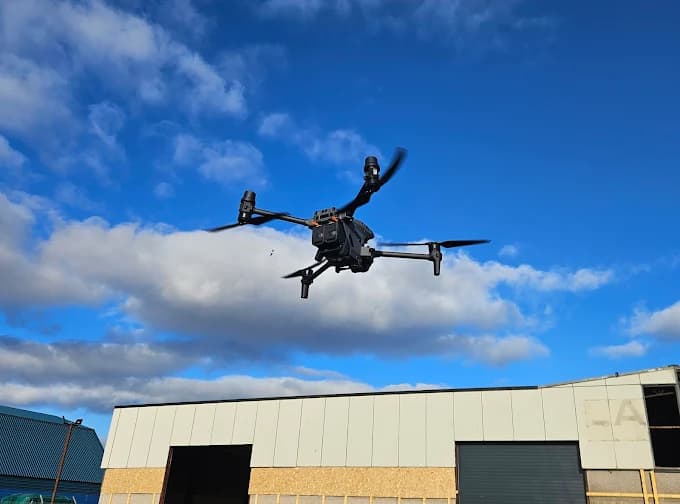
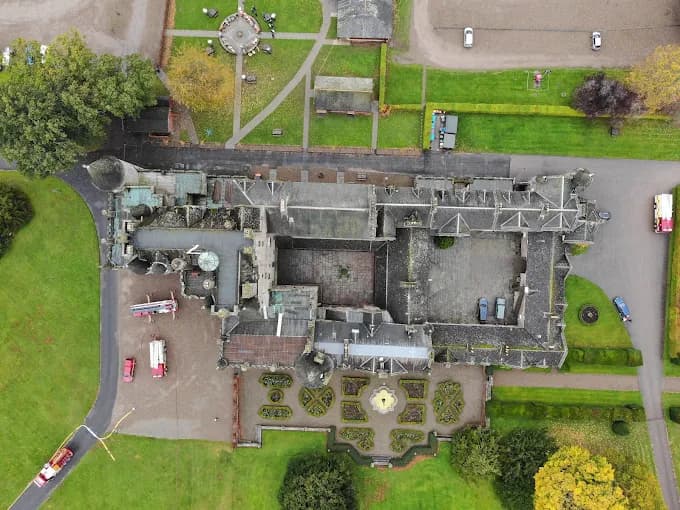
I fly the drone up to a high vantage point—well under the 400ft limit—and capture wide shots of the entire roof from all sides, plus a slow, smooth video fly-over. This overview is your baseline; it helps you spot obvious issues like a patch of missing tiles before you get lost in the details.
Step 3: Fly a Systematic Grid Pattern
Now for the detailed work. The best way to do this is to fly a methodical grid pattern, like you're mowing a lawn.
Start at one end, fly slowly across the roof, move over a bit, and fly back. Keep your speed low and your movements deliberate. Slow is smooth, and smooth is fast when you're doing this kind of work.
Overlap your photos slightly to ensure you don't miss a single tile.
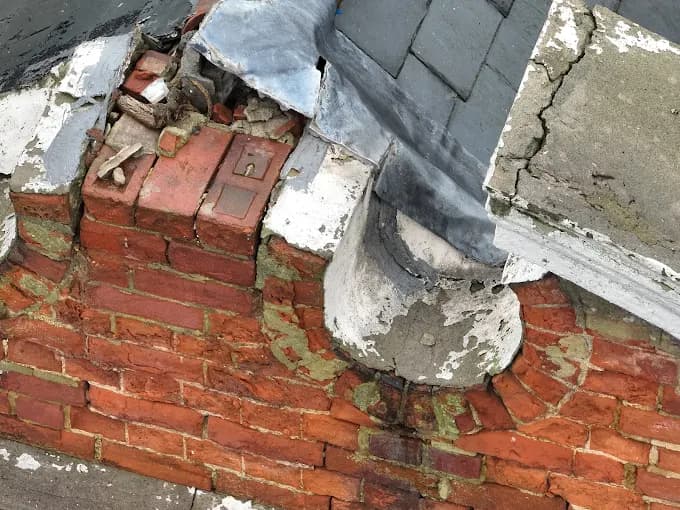
Step 4: Inspect Key Features Up Close
With the main surfaces covered, it's time to focus on the high-risk areas: the chimney stack, flashing, gutters, and vents. This is where you need to be most careful.
Approach these areas slowly and use your camera's zoom function. This is where a drone with good obstacle avoidance really earns its keep, but I never rely on it 100%.
Always be prepared to take full manual control.
Step 5: Land Safely Using RTH
When you're happy you've got all the footage you need, fly the drone back to a safe position away from the house.
For the easiest and safest landing, just use the RTH button. The drone will fly itself back to where it took off and enable auto landing.
Keep your eyes on it the whole way down, just to make sure the landing zone has remained clear.
What type of drone is best suited for roof inspections?
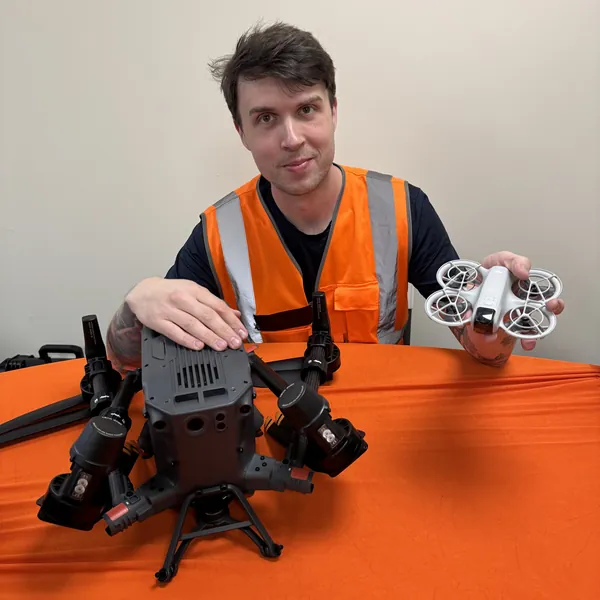
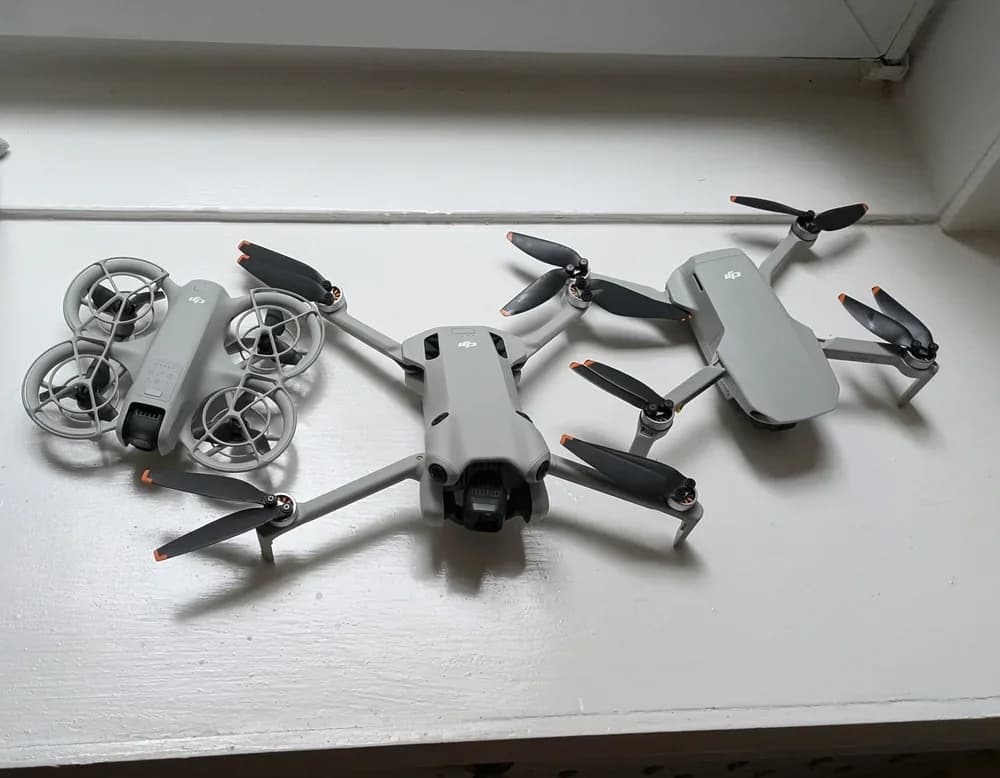
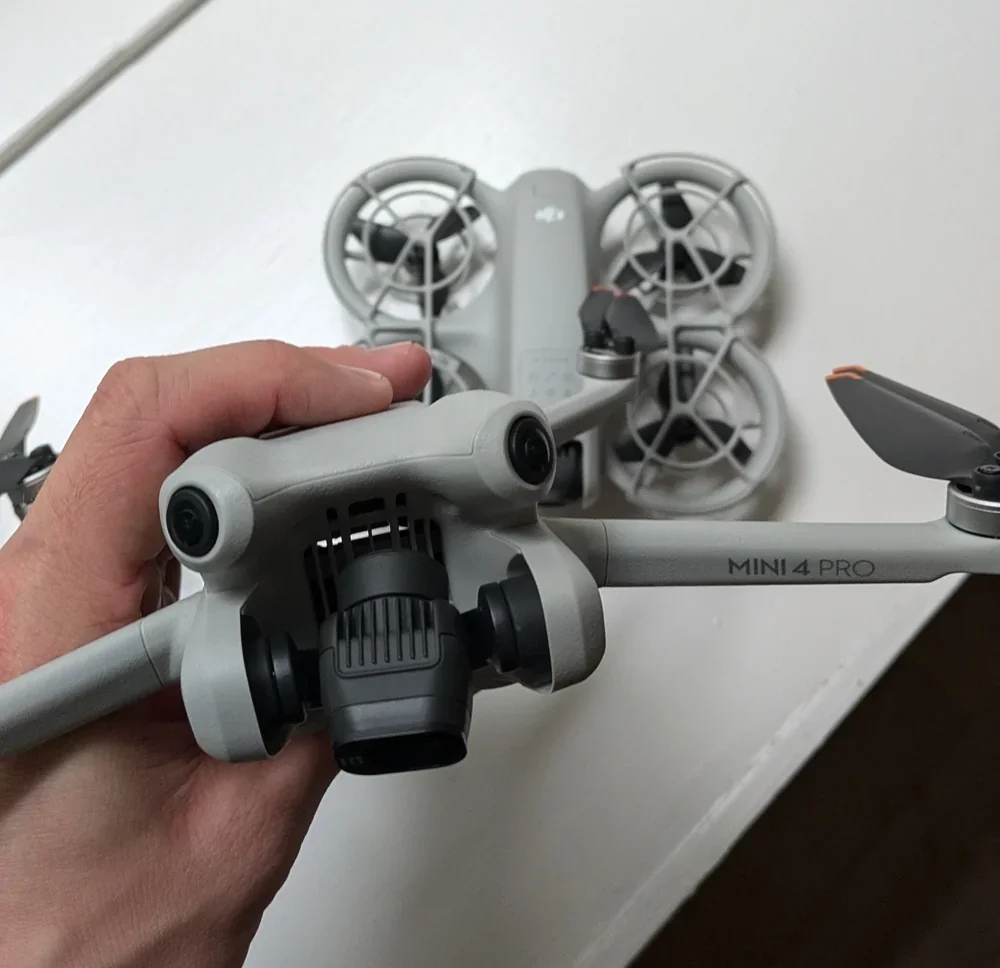
Choosing the right drone makes all the difference. My top recommendation for anyone wanting to do their own drone roof inspection is the DJI Mini 4 Pro.
The main reason is that it's incredibly easy to use, has advanced obstacle avoidance, and, crucially, its sub-250g weight means you don't need a full drone licence to fly it. It lowers the barrier to getting started legally and safely.
However, a word of warning. If it's your first time flying a drone, you're going to need a few hours of experience before you can handle the precise movements needed to slowly inspect a roof.
The controls for a drone are pretty twitchy when flying normally, never mind for the tiny, macro movements required for this kind of job.
A key tip here is to switch the drone into Cine mode. This setting slows down the drone's movements dramatically, making it much less twitchy and giving you the fine control needed for a careful inspection.
My advice is to take it to a park and just practice flying. Get a feel for the controls until those small adjustments become second nature.
Even with the Mini 4 Pro's amazing sensors, you can get some great photos of a specific issue like a chimney crack, but a full, methodical survey requires a steady hand.
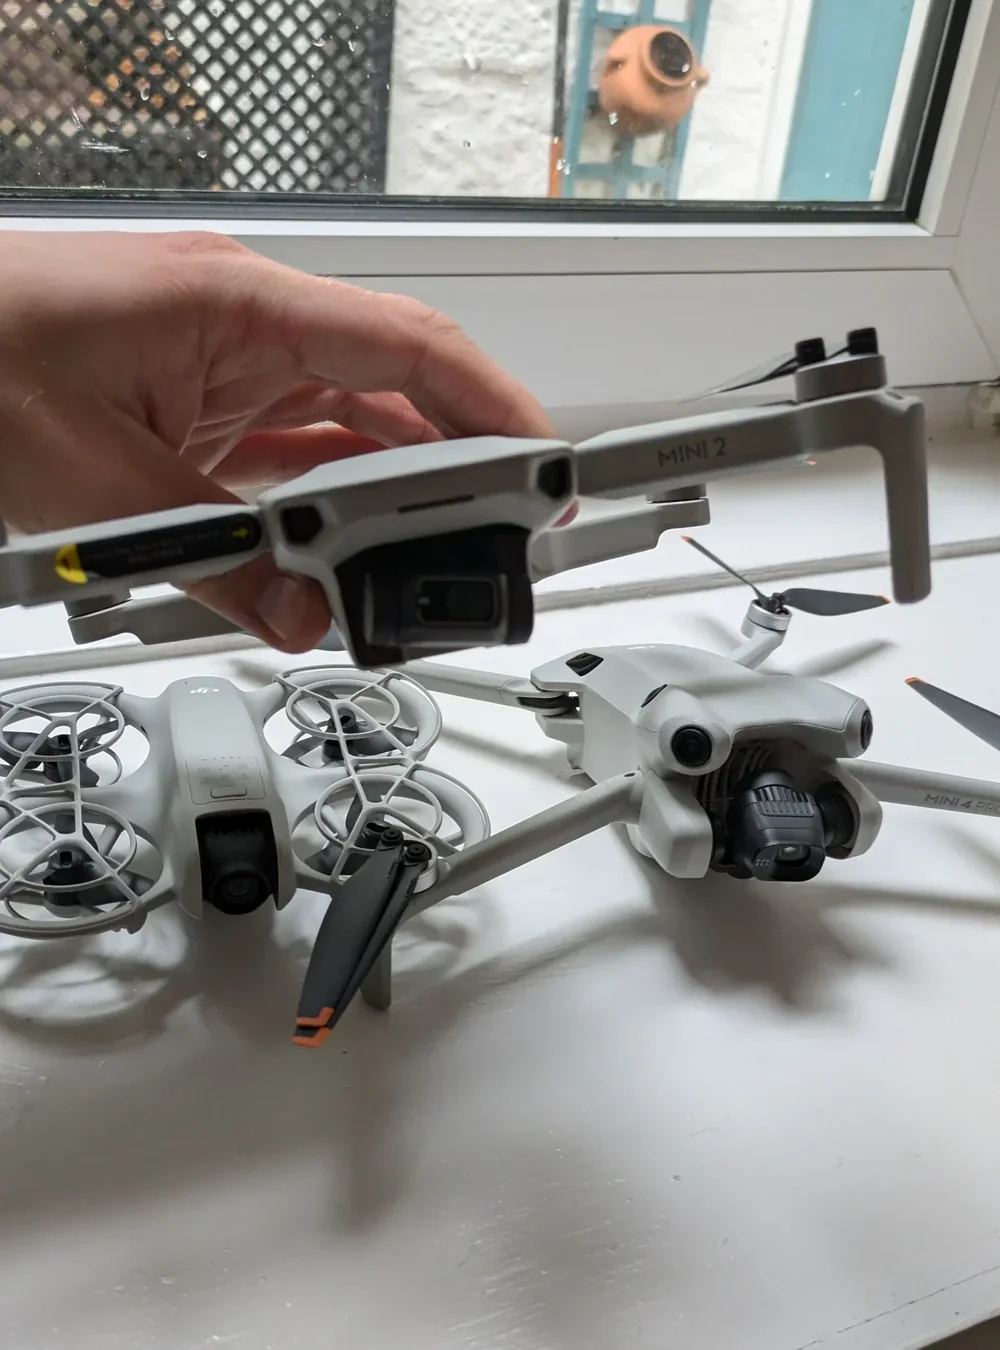
Budget-Friendly Option: DJI Mini 2
If your budget is tight, an older DJI Mini 2 can still do the job. It’s also under 250g, but it has no obstacle avoidance. You are the only thing preventing a crash, so you have to fly with much more caution and from a greater distance.
Drones to Avoid for This Task
FPV drones like the DJI Avata are not suitable—they're built for speed, not stable inspection work. Larger drones like the DJI Mavic 3 have incredible cameras, but they require an additional licence (the A2 CofC) and the extra cost and training just aren't necessary if your only doing your own drone roof inspection.
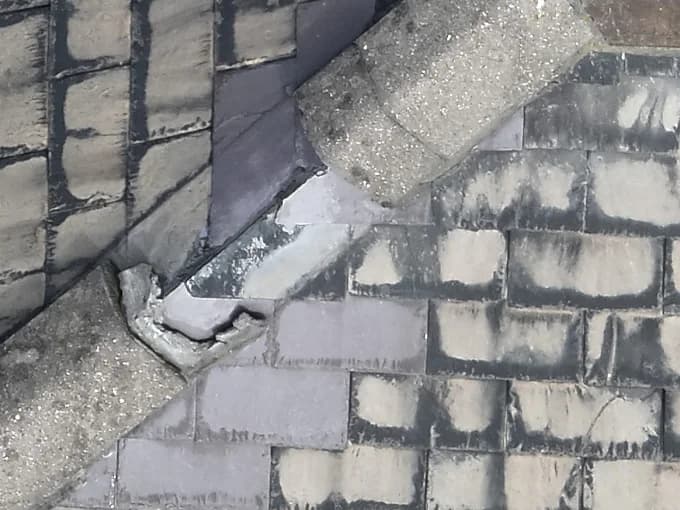
What kind of roof damage can a drone identify?
With a good 4K camera, it's amazing what you can spot from the air. Here's what I typically look for on a job:
Surface Damage: Missing, cracked, or loose tiles, as well as areas of moss or algae growth.
Component Issues: Damaged flashing around chimneys and vents, broken or blocked gutters, and deteriorating sealants.
Structural Problems: Signs of water pooling that can indicate poor drainage, or sagging roof sections.
Subtle Indicators: Minor color changes in roofing materials that might signal aging or weather damage.
Hidden Issues (with Thermal): Drones with thermal cameras can spot heat leaks and areas of moisture trapped beneath the roof's surface.
Analyzing and Using Your Drone Footage
Once you're back inside, load the footage onto a computer. Don't try to review it on a small phone screen.
On a monitor, you can zoom in and really see the detail.
A quick tip: I always create separate folders for photos and videos for each job right away. It keeps things organised, and you'll thank yourself later.
This footage is perfect for sharing with a professional roofer to get an accurate quote, saving them a trip up a ladder.
When should you hire a certified drone pilot instead of doing it yourself?
Look, while I'm a big advocate for doing your own drone roof inspections, there are definitely times when calling in a pro is the smart move.
You should leave it to someone with advanced permissions and insurance when:
Your property is in a tricky location: This includes congested urban areas, being near an airport, or if your home has a very complex roof structure.
You need footage for an official claim: If you're gathering evidence for an insurance claim, a certified drone pilot's report carries more legal weight and credibility.
The job requires professional gear and protection: A professional will have the right insurance, advanced equipment, and the experience to get the job done safely and efficiently without any risk to you or your property.
Get Your Roof Professionally Inspected
While this guide shows you can inspect your own roof, sometimes the best solution is to call in an expert.
For a guaranteed, safe, and fully compliant survey, especially if you need evidence for an insurance claim, HireDronePilot provides the perfect solution.
Our network is composed of certified drone pilots with specific experience in high-quality property and roof inspections.
As the UK's premier managed marketplace, we specialise in connecting businesses with verified professional drone pilots for hire. We streamline drone services through competitive bidding, ensuring quality, compliance, and value for every aerial project across the United Kingdom.
Instead of spending hours searching for a qualified operator, you can get fast, no-obligation quotes from trusted local experts by visiting us at https://hiredronepilot.uk/.
Book a certified drone pilot today to get the detailed, actionable insights you need for your roof with complete peace of mind.