Key Takeaways
- The DJI Neo, the DJI RC-N3 remote controller, and the DJI RC Motion 3 all use the same power sequence: press once, then press and hold for two seconds
- Every Intelligent Flight Battery ships in hibernation and must be charged before the DJI Neo will power on for the first time
- Remove the gimbal protector before you press the power button, otherwise the DJI Neo cannot finish its self-diagnostics
- The DJI Neo must be activated through DJI Fly on a paired smartphone before the first flight, and any pending firmware update needs to finish
- When you fly with a remote controller, power the remote controller on first and the DJI Neo on second so the link has somewhere to land
The DJI Neo uses one of the simplest power-on sequences in the DJI range, but that simplicity hides a second press that catches first-time owners out every single time.
Whether you fly the DJI Neo from your palm, from the DJI Fly app over Wi-Fi, or with a remote controller, the button pattern is identical: one quick press, then a second press held for two seconds. Most new drone pilots get this right on attempt two or three.
This guide walks through powering on the DJI Neo itself, the DJI RC-N3 remote controller, and the DJI RC Motion 3 motion controller, sourced directly from the DJI Neo User Manual v1.2. If you have just unboxed the kit, start with the setup guide first, then come back here.
| Device | Power sequence | First-use requirement | |
|---|---|---|---|
| DJI Neo | Press once, then press and hold 2 s | Charge battery to activate | Jump to steps |
| DJI RC-N3 remote controller | Press once, then press and hold 2 s | Link to DJI Neo in DJI Fly | Jump to steps |
| DJI RC Motion 3 | Press once, then press and hold 2 s | Pair via DJI Goggles N3 | Jump to steps |
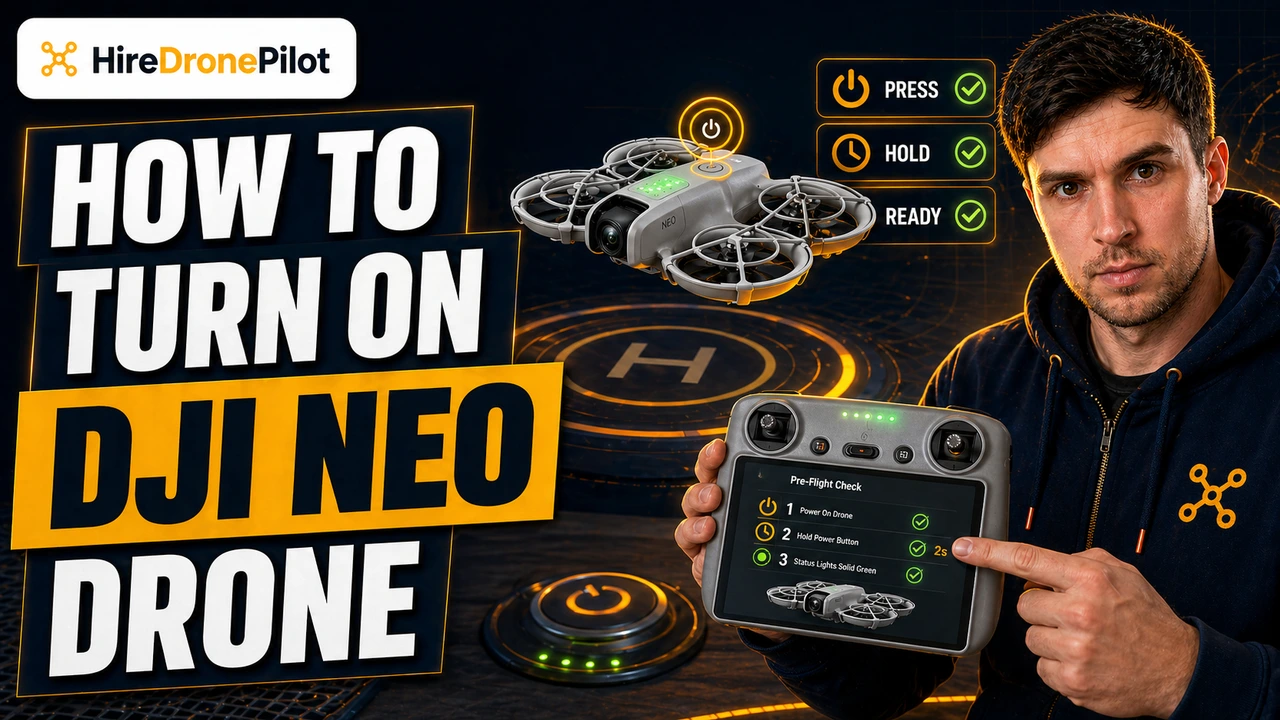
Powering on the DJI Neo starts with a short press followed by a two-second hold
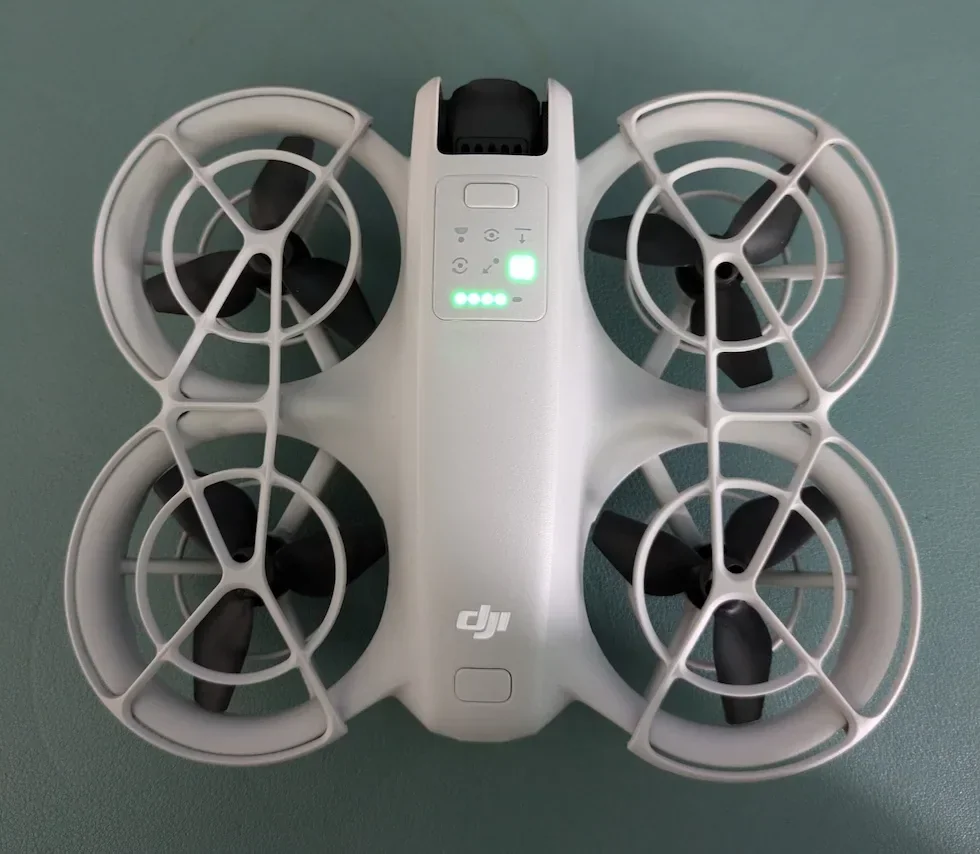
This is the sequence you will use every time you fly. A short press on its own never powers the DJI Neo on. It only wakes the four battery level LEDs long enough to show you the current charge. The second press, held for at least two seconds, is what actually boots the system.
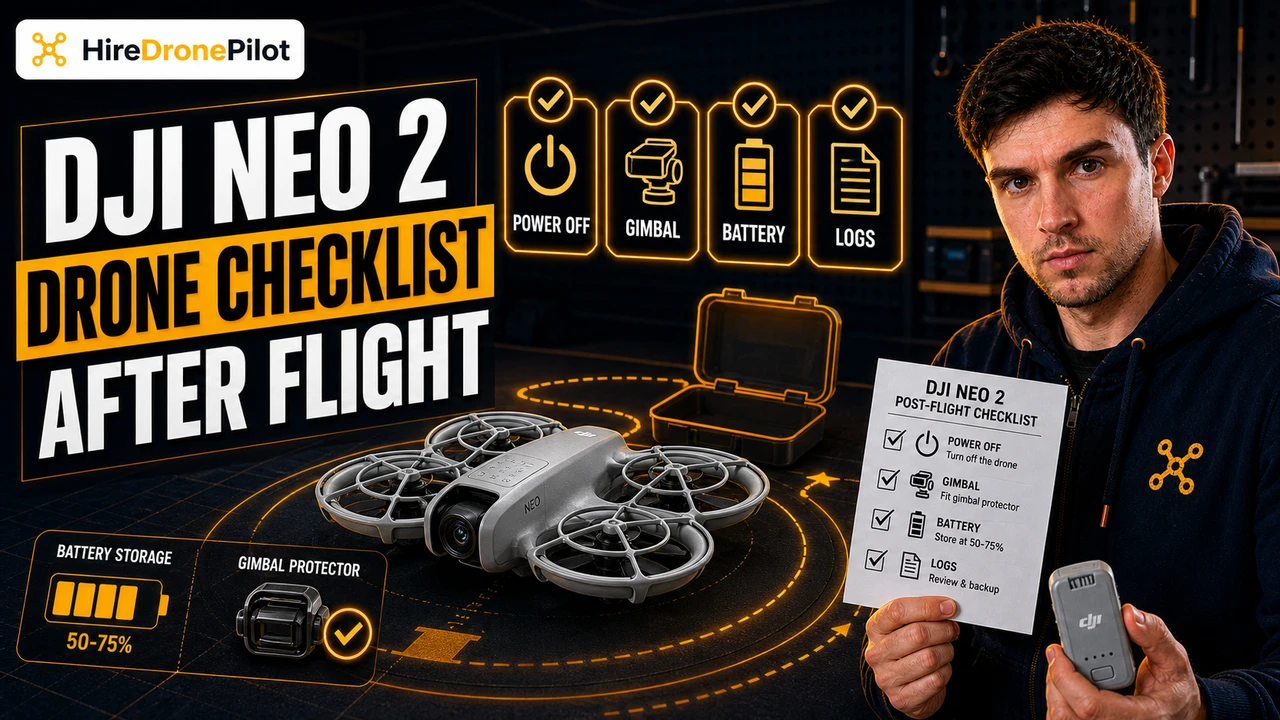
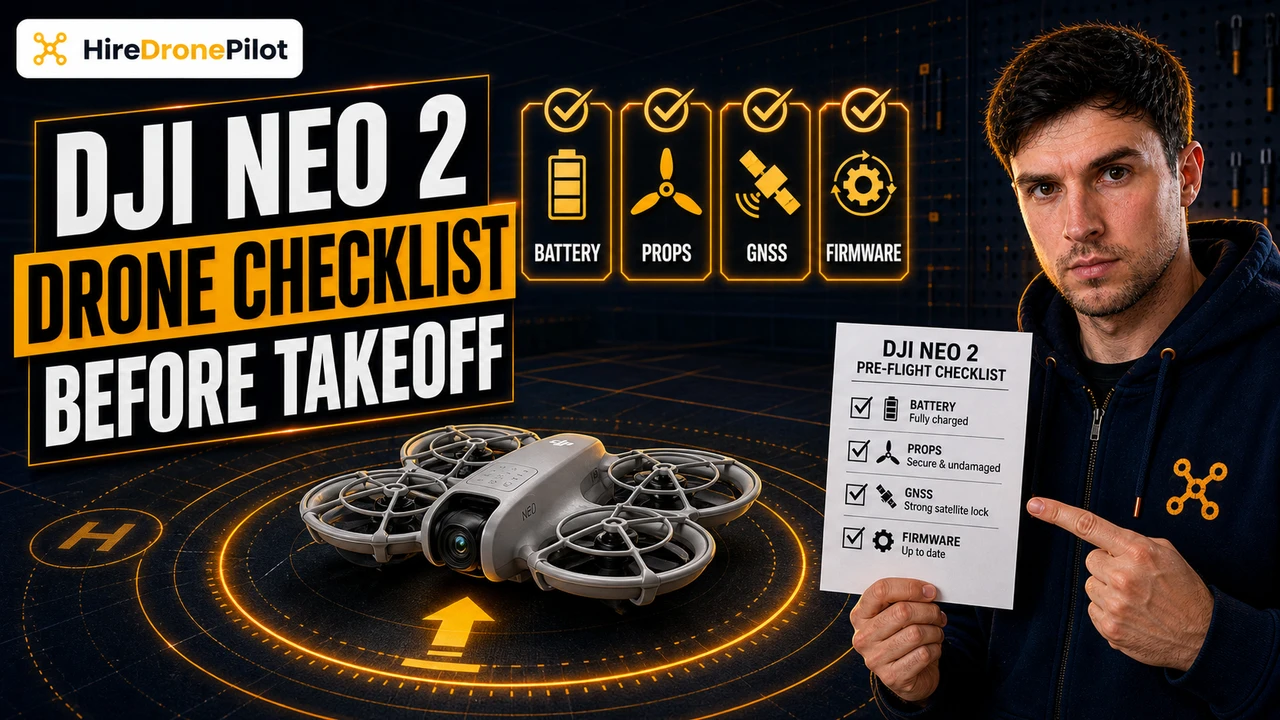
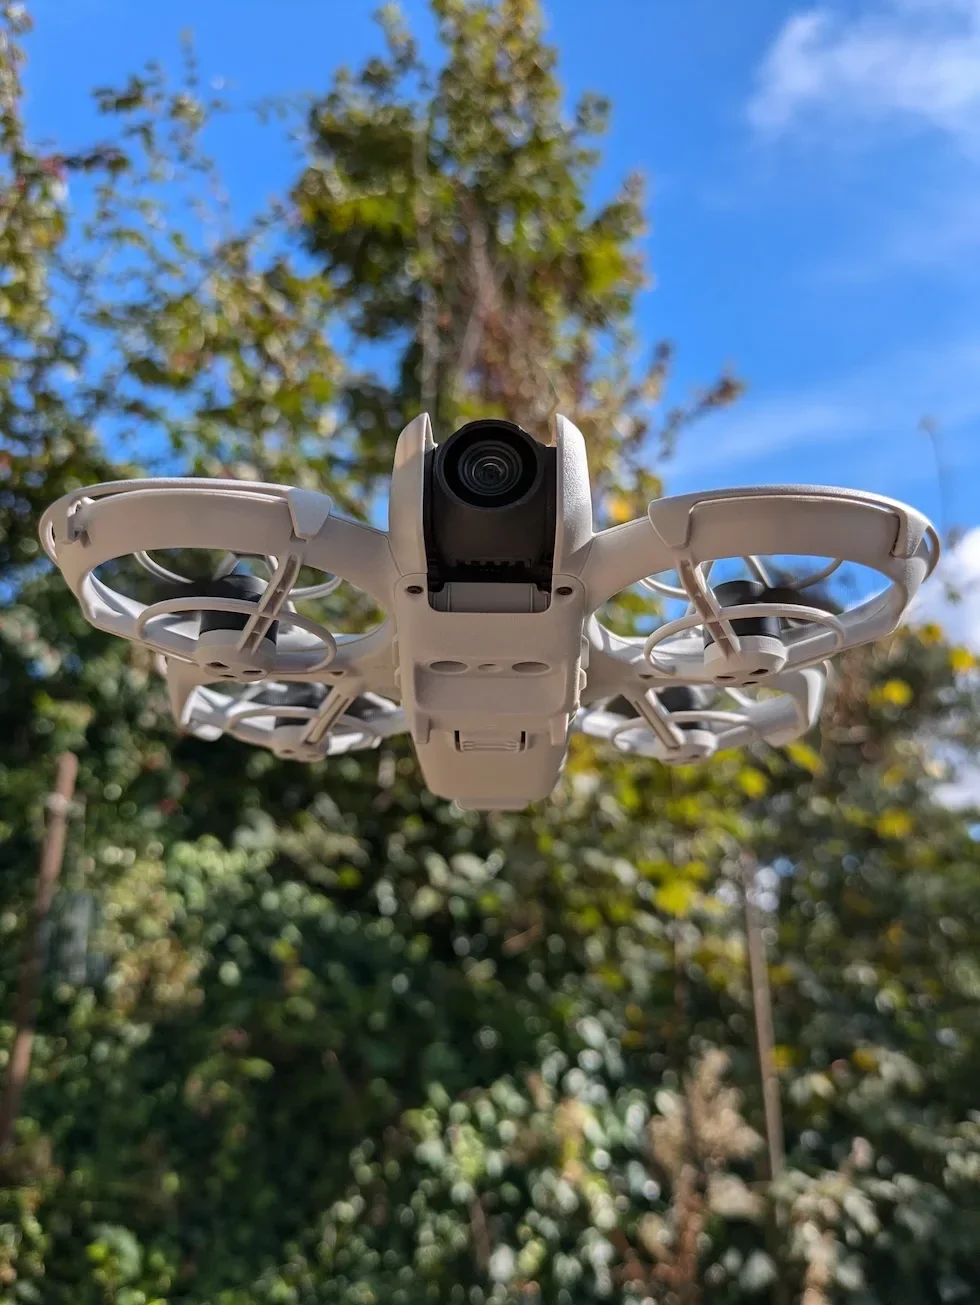
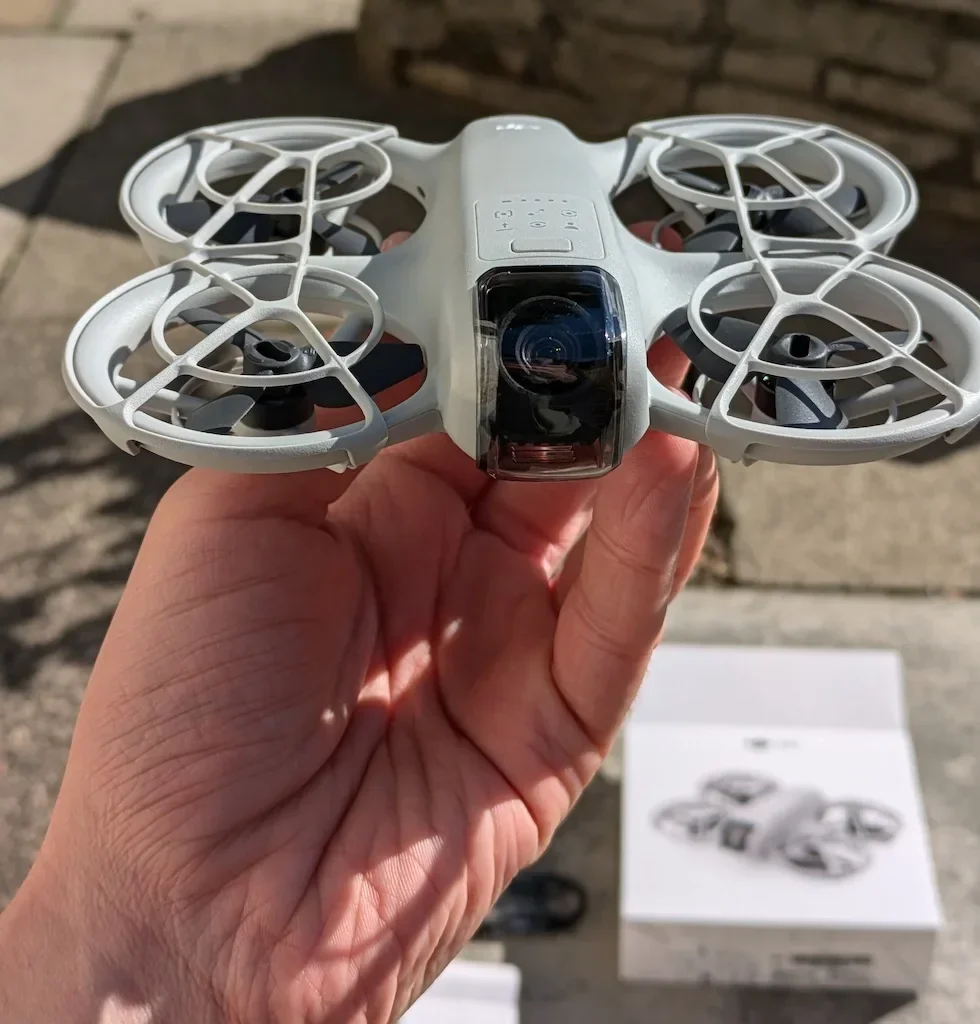
Before you press the button, make sure the Intelligent Flight Battery is seated firmly, the gimbal protector is off, the propellers are clear of fingers, and the DJI Neo is sitting on a flat surface. If the gimbal protector is still clipped on when you power up, the self-diagnostics cannot complete correctly because the gimbal cannot move through its startup sweep.
Remove the gimbal protector from the front of the DJI Neo
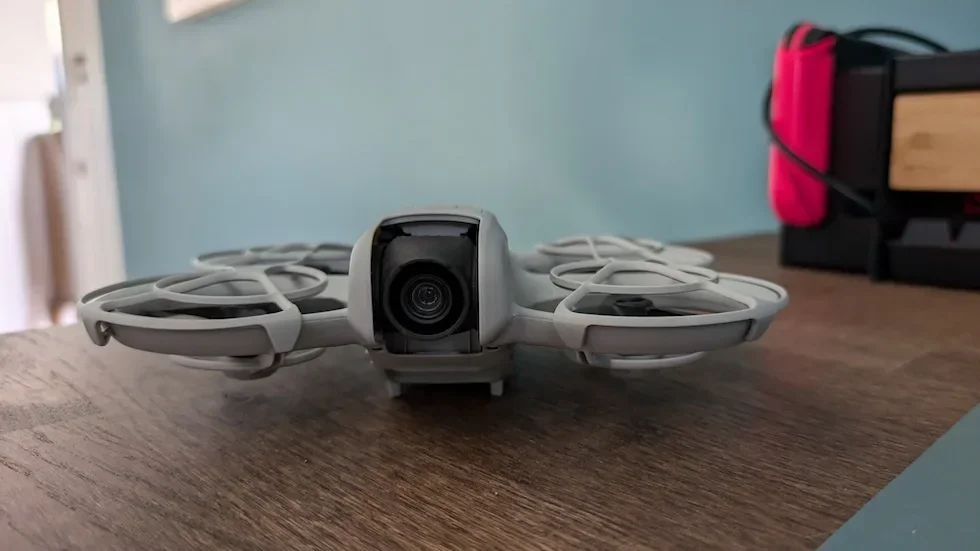
Press down gently on the gimbal protector and slide it forward off the camera. The user manual is specific on this: if the protector is still in place, the gimbal cannot move during startup and the DJI Neo may throw an error before it finishes booting. Put the protector in your case, not in your pocket.
Confirm the Intelligent Flight Battery is seated and has charge
The battery clips into the top of the DJI Neo and should sit flush against the body. If the battery is still in its shipping hibernation, you need to charge it through the USB-C port on the tail first, using at least a 10 W (5 V, 2 A) source. The maximum supported charging power is 15 W. You cannot power the DJI Neo on while a charging cable is still plugged in.
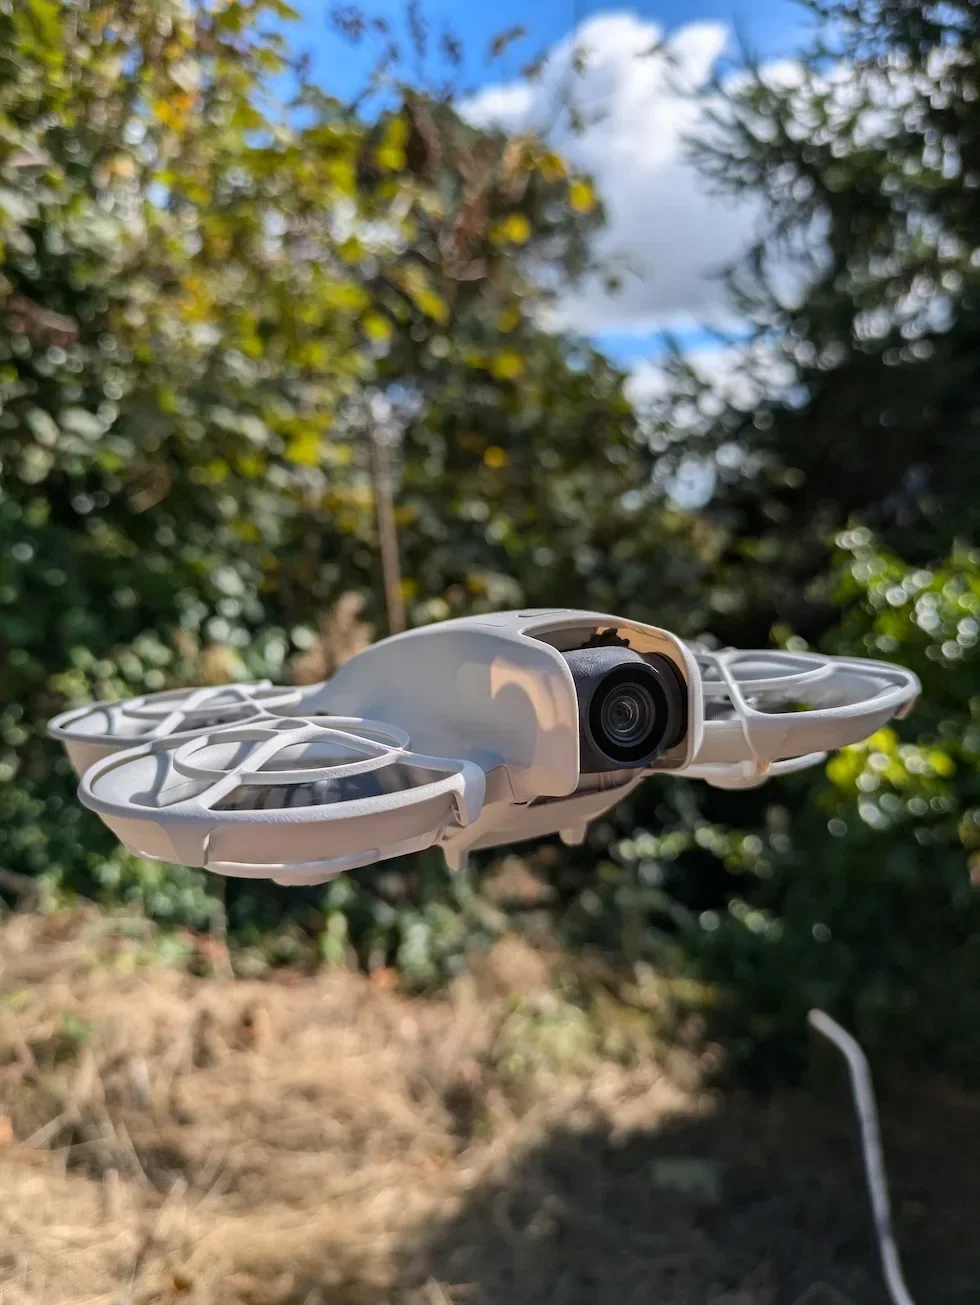
Press the power button once to check the battery level
Give the power button on the tail of the DJI Neo a single short press and release. The four battery level LEDs will illuminate for a few seconds to show you the current charge. This is the pre-flight glance that lets you decide whether the battery has enough in it for the flight you are planning. Nothing else happens on a short press.
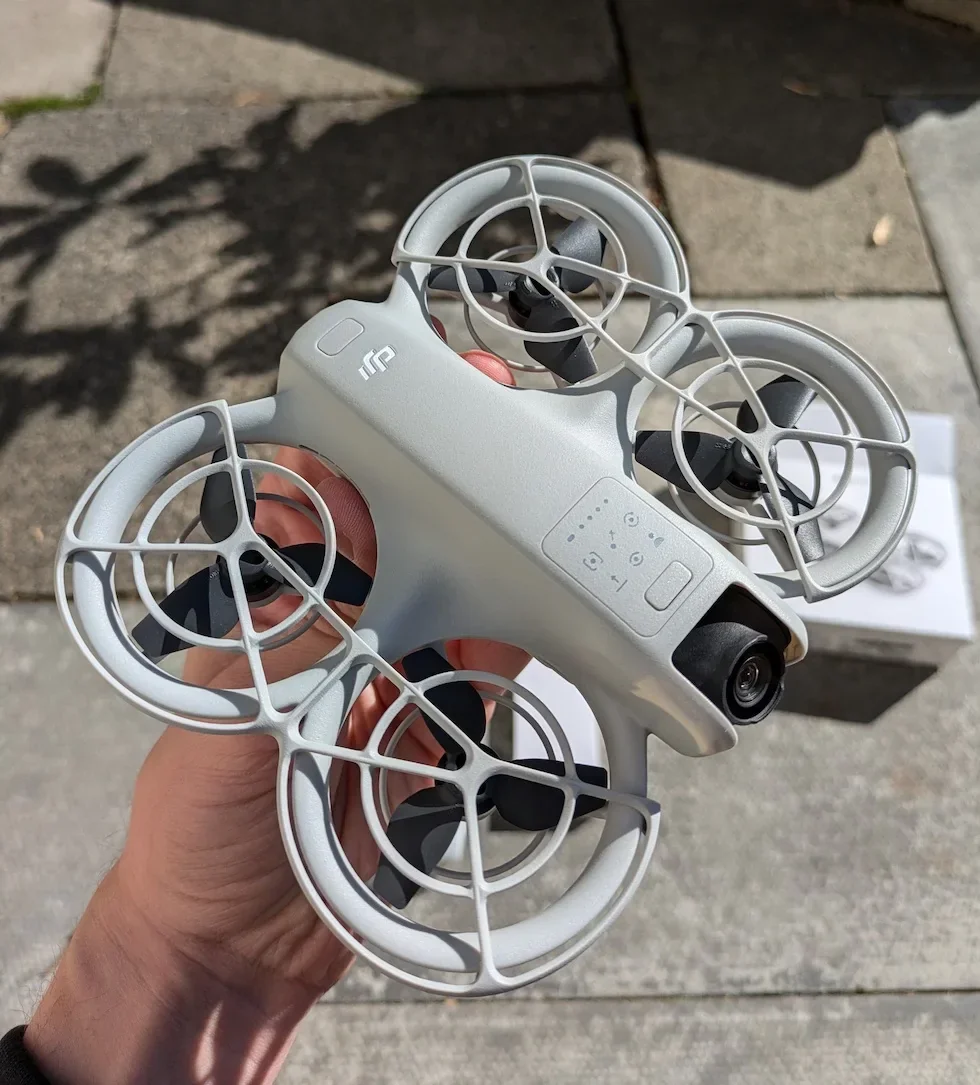
Press the power button a second time and hold for two seconds
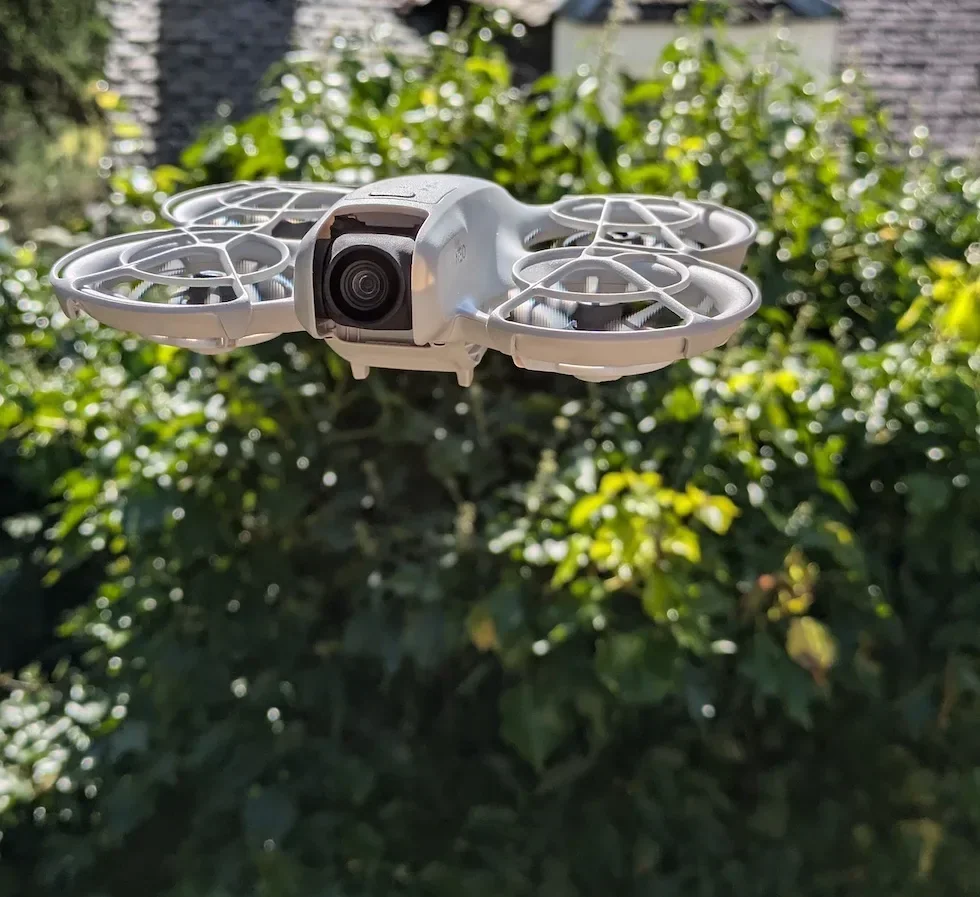
Immediately after the short press, press the power button again and hold it. Count to two. The DJI Neo chimes, the LEDs run through a startup pattern, and the gimbal nods briefly as part of its self-diagnostics. Keep the DJI Neo still on the surface until the startup sequence finishes.
Peter's tip
The biggest mistake I see new owners make is holding the button down on the very first press. One long hold does nothing. The sequence is short, then long, not long on its own.
If you feel like the button is dead, release it, wait a second, give a single quick tap to see the battery LEDs wake up, then immediately go back in for the two-second hold. It catches everyone once.
A brand new battery must be charged to activate before the DJI Neo will power on for the first time
Every Intelligent Flight Battery ships in hibernation mode for safety during transit. The battery does not respond to a power-button press until it has been woken up, and the only way to wake it is to plug the DJI Neo into a charger via the USB-C port on the tail.
Use at least a 10 W (5 V, 2 A) USB charger. 15 W is the peak the USB-C port will accept. As soon as the charger is connected and the battery begins charging, the battery is activated. You can leave it to top up fully or just long enough to get past hibernation and carry on.
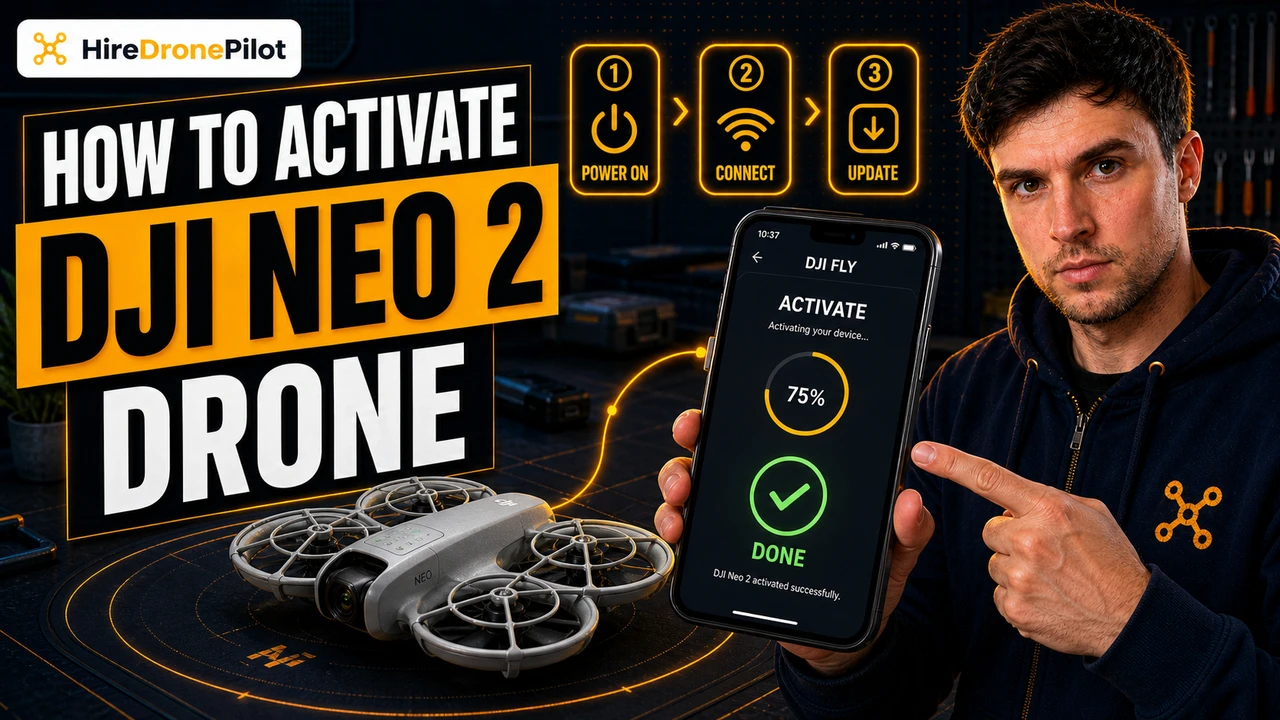
Separately, the first time you power on any new DJI Neo you also have to activate the DJI Neo in DJI Fly. Power on, open DJI Fly on a paired smartphone, tap Connection Guide in the bottom right corner of the home screen, select the DJI Neo, and follow the prompts. The DJI Neo will not fly until activation is complete, and DJI Fly may push a firmware update as part of the same flow. Let that update finish before you try to take off.
Peter's tip
If the battery LEDs do nothing on a short press and the DJI Neo will not power on, plug it in for two or three minutes before you panic. In four cases out of five the battery has simply gone back to sleep from sitting in the bag for weeks, and a quick top-up brings it straight back.
Powering on the DJI RC-N3 remote controller uses the same short press plus two-second hold
If your kit is the Fly More Combo, the DJI RC-N3 remote controller is in the box. It does not have its own screen — your phone becomes the screen — so the power-on sequence is followed immediately by mounting the phone and launching DJI Fly.
Always power on the remote controller before the DJI Neo. The link handshake is initiated by the remote controller looking for the DJI Neo, so the remote controller needs to be ready and waiting when the DJI Neo boots.
Mount the control sticks and attach your phone to the holder
The DJI RC-N3 ships with the two control sticks stored inside slots on the back of the body. Screw them into the stick mounts on the top. Pull out the mobile device holder, seat your phone in it, and plug the correct cable into your phone. The default cable has a USB-C connector.
Press the remote controller power button once to check the battery
Give the power button on the DJI RC-N3 a single short press. The four battery level LEDs on the face of the remote controller light up to show the current charge. If the charge is too low, plug the remote controller into a USB-C charger before you continue.
Press the power button a second time and hold for two seconds to power on
Immediately press the power button again and keep it held. After two seconds the remote controller boots up. On an Android phone a USB connection prompt may appear; select Charge this device only, because other options can cause the link to DJI Fly to fail.
Launch DJI Fly and power on the DJI Neo second
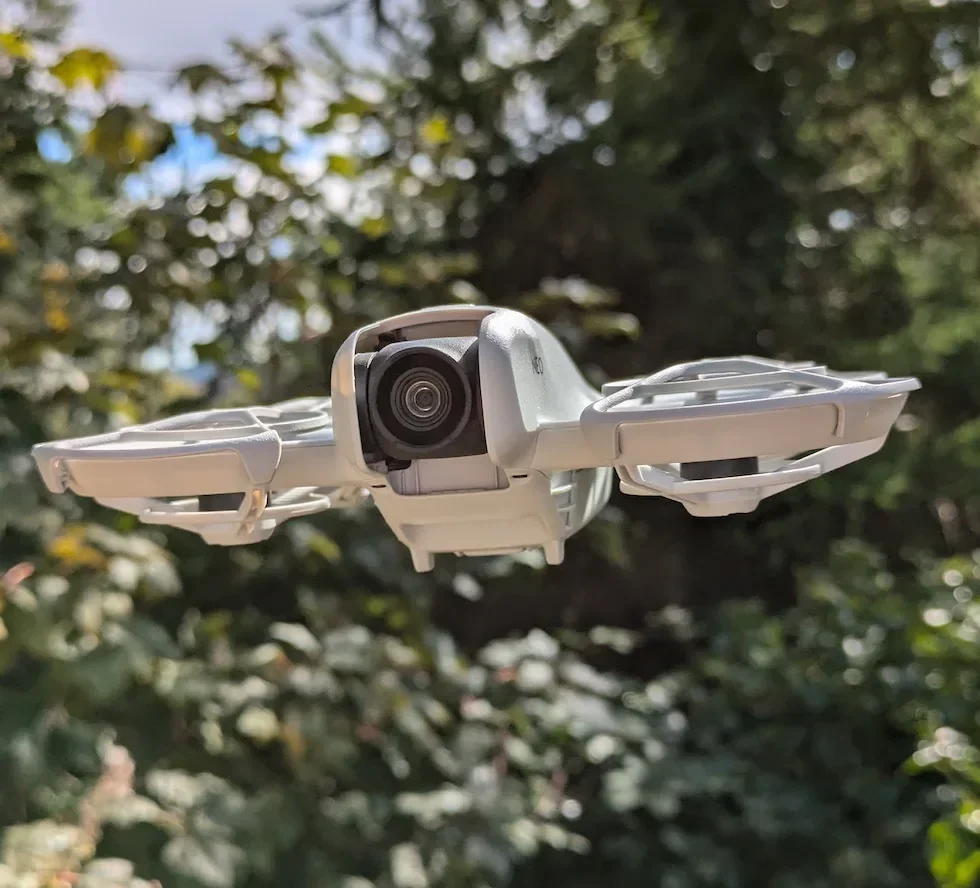
Open DJI Fly on your phone. Now run the short-press plus two-second hold sequence on the DJI Neo itself. The DJI Neo boots, the controller connection comes up, and the live camera view appears in DJI Fly.
Peter's tip
If you fly phone-only over Wi-Fi instead of using a remote controller, you do not need to boot any remote at all. Follow the phone-to-Neo connection guide instead and skip this whole section.
Powering on the DJI RC Motion 3 follows the same short press plus two-second hold pattern
The DJI RC Motion 3 is the one-handed motion controller that ships with the Motion Fly More Combo alongside the DJI Goggles N3. It has its own power button on the top face and uses the identical DJI sequence: short press to check the battery LEDs, then a two-second hold to power on.
In a goggles-and-motion-controller setup, you power on all three devices — the DJI Neo, the DJI Goggles N3, and the DJI RC Motion 3 — and let them pair up through DJI Fly on a smartphone connected to the goggles via USB-C.
Press the motion controller power button once to check the battery
Find the power button on the top of the DJI RC Motion 3. Press once and release. The battery level LEDs on the body of the motion controller show you the current charge. If it is low, plug it into a 5 V, 2 A USB-C source before you continue.
Press the power button again and hold for two seconds to power on
Run the same short-press plus two-second hold on the DJI RC Motion 3 and on the DJI Goggles N3. The user manual is explicit: press once, then press and hold for two seconds to power the goggles and the motion controller on. The DJI Neo itself takes the same sequence. All three devices come up within a few seconds.
Connect the goggles to DJI Fly on your smartphone to activate
Plug a suitable data cable from the goggles USB-C port into your phone, launch DJI Fly, and follow the on-screen prompts to activate the DJI devices. If the phone does not connect, follow the prompts inside the goggles view instead. Firmware updates may push through during this step — let them finish before flight.
Peter's tip
Remember that flying the DJI Neo with the goggles on does not satisfy visual line of sight in UK airspace. If you are flying goggles-and-motion-controller, you need a competent observer next to you who can see the DJI Neo at all times.
I mention this every time I power up my own Motion Fly More kit, because the rule is easy to forget the moment the headset goes on.
Troubleshooting covers the short list of reasons the DJI Neo might refuse to power on
If the short-press plus two-second hold is not lighting anything up, the fault is almost always one of three things. The battery is too flat to wake. The charging cable is still connected. Or a firmware update was interrupted mid-flash.
Check the easy stuff first. Unplug any USB-C cable from the tail of the DJI Neo — the DJI Neo will not power on while charging. Connect a 5 V, 2 A (or better) charger and give the battery three to five minutes to exit hibernation, then try the sequence again. Inspect the contacts on the battery and inside the bay for dust or corrosion, and wipe them gently with a dry cloth if needed.
If the LEDs flash once on the first press but the two-second hold does nothing, the battery is talking but the firmware is not. Re-run the firmware update from DJI Fly. If you cannot even get DJI Fly to connect, a failed update is the likely cause, and DJI support can walk you through a recovery flash if a retry does not fix it.
For a physically stuck or unresponsive button, stop. Do not lever it. Contact DJI support — that is a hardware fault that needs a bench inspection, not a hammer.
Once everything is powered on, the DJI Neo is ready to take off from palm, app, or controller
With the DJI Neo booted, the self-diagnostics clean, and the controller or phone connected, you are ready to fly. The takeoff guide picks up from here and covers Palm Takeoff, app-based takeoff, and both RC takeoff methods. When you are done in the air, the landing guide finishes the routine.
Got a specific startup problem this guide did not cover? Drop a note to peter@hiredronepilot.uk and I will come back to you directly. If you prefer the video version of this explainer, the comments are open on YouTube.
References
Primary source material for this article is the DJI Neo User Manual v1.2 (November 2024). External links open in a new tab.
- DJI — Neo User Manual v1.2 (November 2024) · Power button press-and-hold procedure (pp. 10-11, 12, 14, 15), activation (p. 15), firmware update (p. 15), RC-N3 and RC Motion 3 controls overview (pp. 17-18)
- UK CAA — The Drone and Model Aircraft Code (CAP2320) · Visual line of sight obligation referenced in the goggles-flying note

Peter Leslie
Founder & GVC Drone Pilot
Peter is the founder of HireDronePilot. With thousands of logged commercial flight hours, he writes about drone technology, commercial surveying tactics, and UK aviation compliance.
Connect on LinkedIn