Key Takeaways
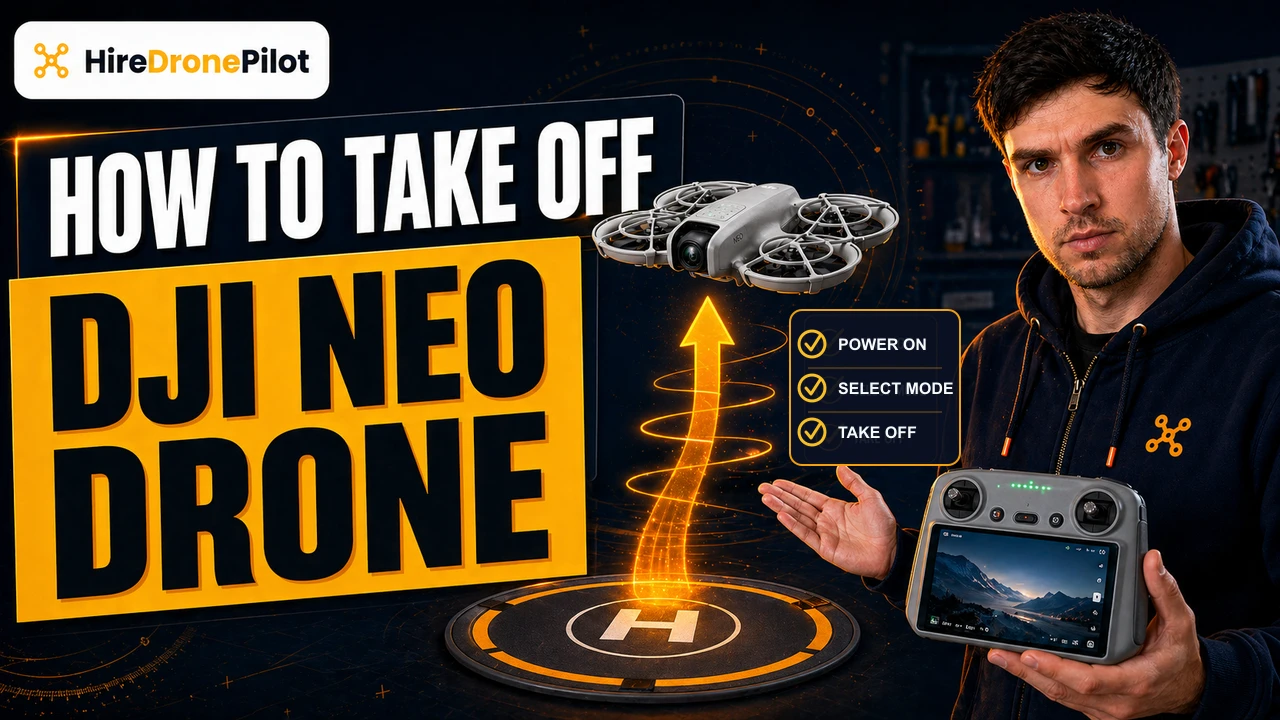
- The DJI Neo supports three takeoff methods: Palm Takeoff without any controller, app-based takeoff via Wi-Fi, and RC-based takeoff with a remote controller
- Palm Takeoff launches the DJI Neo from your hand after a voice countdown, but limits you to 30 metres altitude with no Return-to-Home
- App-based takeoff through DJI Fly offers Smart Snaps mode for cinematic shots and Manual Control mode with virtual joysticks
- RC Auto Takeoff uses the on-screen takeoff button and hovers at 1.2 metres, while Manual Takeoff uses the CSC stick command for full stick control from the start
- The DJI Neo has no obstacle sensing, so checking your takeoff environment for wires, branches, and overhead hazards is essential before every flight
The DJI Neo gives you three different ways to get airborne, and which one you reach for depends entirely on what hardware you have in your hands.
Whether you are shooting aerial photos or capturing cinematic video, you can launch from your palm with no controller at all, tap a button in the DJI Fly app over Wi-Fi, or use a remote controller for the full stick-and-screen experience.
This guide walks through every method step by step, sourced directly from the DJI Neo User Manual v1.2. If you have not unboxed and activated your DJI Neo yet, start with the setup guide first.
| What you have | Takeoff method | RTH support | |
|---|---|---|---|
| No controller, no phone | Palm Takeoff | No | Jump to steps |
| Phone only (Wi-Fi) | App-based takeoff | No | Jump to steps |
| Remote controller + phone | RC Auto or Manual Takeoff | Yes | Jump to steps |
Palm Takeoff launches the DJI Neo from your hand without any controller or phone
This is the DJI Neo's signature party trick. With Palm Control, you hold the DJI Neo in your hand, press a button, and it takes off on its own. No controller, no phone needed during the flight itself, though you do need to have previously connected the DJI Neo to DJI Fly via Wi-Fi at least once to configure it.
There are real limitations to know before you commit to this method. Palm Control restricts the DJI Neo to a maximum altitude of 30 metres and a maximum distance of 50 metres. Return-to-Home is not supported in Palm Control mode, which means if the DJI Neo loses its way, it will not fly back to you automatically. You need to be able to retrieve it manually.
Power on the DJI Neo and wait for self-diagnostics
Power on the DJI Neo by pressing the power button once, then pressing and holding for two seconds. Set the DJI Neo down on a flat surface and keep it still while it runs its self-diagnostics. Do not pick it up until the startup sequence finishes.
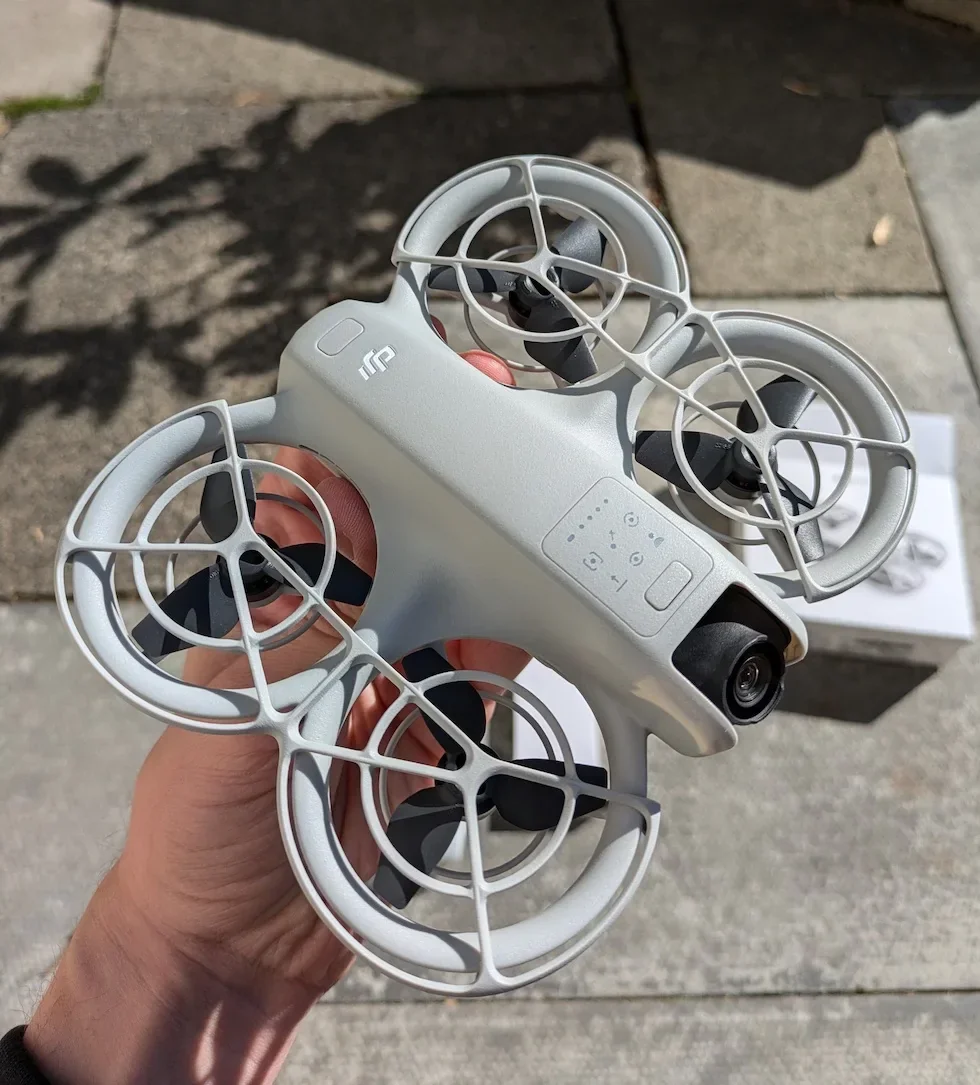
Press the mode button to select your flight mode
The mode button sits on top of the DJI Neo. Press it once to cycle through the available modes: Follow, Dronie, Circle, Rocket, Spotlight, and Custom. The default mode when you first power on is Follow. The DJI Neo will voice-announce each mode as you cycle through, and the corresponding mode indicator lights up on top.
Place the DJI Neo on your open palm with the camera facing the subject
Hold your hand flat with your fingers extended. Place the DJI Neo on your palm so the camera is pointing at whatever you want to film. Your hand must not block the camera lens, and there must be no obstacles directly above or behind the DJI Neo that could interfere with takeoff.
Peter's tip
Keep your fingers flat and extended. The natural instinct is to curl them around the DJI Neo to stop it sliding off your hand, but the moment you do that your fingers enter the propeller rotation range.
I hold my palm as flat as a waiter carrying a tray and it has never slid off yet.
Extend your arm and press and hold the mode button
Stretch your arm out in front of you with the camera still aimed at the subject. Keep your arm steady. Now press and hold the mode button on top of the DJI Neo. The DJI Neo will voice-announce the selected mode and begin a countdown.
The DJI Neo counts down and takes off automatically
After the voice countdown finishes, the motors spin up and the DJI Neo lifts off your hand. It will fly backward a short distance from you before beginning whatever flight mode you selected. Keep your hand still until the DJI Neo is clear.
Peter's tip
If you change your mind after pressing the mode button, you can cancel the takeoff by pressing the mode button once more before the countdown finishes. The motors will not start.
I have used this a few times when a dog walker appeared out of nowhere right as the countdown began.
Once airborne, the DJI Neo will follow the flight pattern of whatever mode you selected. When you are ready to bring it back, check our landing guide for the palm landing procedure. You can also fly the DJI Neo entirely without a controller using Palm Control for the full flight.
App-based takeoff connects the DJI Neo to your phone over Wi-Fi and offers two control modes
If you do not have a remote controller but you do have your phone, you can take off using the DJI Fly app connected to the DJI Neo over Wi-Fi. This method gives you a live camera preview on your phone screen, which Palm Control alone does not. Connect your phone to the DJI Neo first, then choose one of two sub-modes: Smart Snaps or Manual Control.
Like Palm Control, app-based flight limits the DJI Neo to a maximum altitude of 30 metres and a maximum distance of 50 metres. Return-to-Home is also not supported in this mode.
Smart Snaps mode selects a flight pattern and takes off after subject confirmation
Smart Snaps is the app equivalent of Palm Control's mode selection. You pick a cinematic flight pattern and the DJI Neo executes it automatically while recording.
Place the DJI Neo on a flat surface facing the subject
Set the DJI Neo down with the camera pointed at whatever you want to film. Make sure there is clear space around and above the DJI Neo for takeoff.
Open the Controls view in DJI Fly, select a mode, and set parameters
In the DJI Fly app, go to the Controls view. The current mode is displayed under the live view. Tap to expand the mode list and choose Follow, Dronie, Circle, Rocket, Spotlight, or Custom. You can also tap the parameters bar at the bottom of the screen to adjust settings like distance, height, and camera mode for each pattern.
Tap START and wait for subject confirmation
Tap the green START button on screen. The DJI Neo will attempt to confirm the subject in frame. Once it locks on and the countdown voice prompt completes, the DJI Neo takes off automatically and begins recording according to the selected mode.
Peter's tip
If the subject is obstructed or the lighting is poor, subject confirmation can fail and the takeoff will not happen. I have had this happen in overcast late-afternoon light more than once. Moving a metre or two to get better contrast between the subject and background usually fixes it.
Manual Control mode gives you virtual joysticks and a tap-to-takeoff button
If you want full manual control over the DJI Neo without a physical controller, Manual Control mode puts virtual joysticks on your phone screen.
Place the DJI Neo on flat ground
Set the DJI Neo on a level surface with clear space around it. Unlike Smart Snaps, subject facing does not matter here because you will be flying manually.
Select Manual Control in the Controls view
In the DJI Fly app, tap the mode list under the live view and select Manual Control. The interface will switch to show virtual joysticks and the takeoff icon.
Tap and hold the takeoff icon to launch
Tap and hold the takeoff icon on screen. The motors will spin up and the DJI Neo will rise to a height of approximately 0.6 metres above the ground, then hover in place waiting for your joystick input.
Peter's tip
The 0.6 metre hover height in Manual Control mode is noticeably lower than the 1.2 metres you get with RC Auto Takeoff. It can feel like the DJI Neo barely left the ground. Do not panic and jab the throttle upward. Gently push the left virtual joystick up to climb to a comfortable height before you start flying laterally.
RC takeoff with a remote controller gives you the most control and two ways to get airborne
If you have a compatible remote controller like the DJI RC-N3 or DJI RC 2, you unlock the DJI Neo's full potential. The max flight altitude and distance limits are set in the DJI Fly app rather than being hard-capped at 30 metres, and Return-to-Home is fully supported. You get two ways to take off: the app's Auto Takeoff button, or the manual CSC stick command.
Auto Takeoff uses the takeoff icon in the DJI Fly app
This is the most common RC takeoff method. The DJI Neo handles the liftoff automatically while you keep your hands free for the sticks.
Place the DJI Neo on an open, flat area with the rear facing towards you
The user manual specifies that the rear of the DJI Neo (the side without the camera) should face you. This ensures the DJI Neo's forward direction matches the forward push of the right control stick, which prevents disorientation in the first few seconds after takeoff.
Power on the remote controller first, then the DJI Neo
Power on the remote controller using the press-then-hold method, then do the same on the DJI Neo. Make sure your phone is mounted in the controller's holder and connected to the controller via cable. Wait for the DJI Fly app to show a connected status.
Launch DJI Fly, enter camera view, and configure safety settings
Open the camera view in DJI Fly. Tap the three-dot menu, then go to Safety to set the Auto RTH Altitude and Max Altitude. Wait for the system self-diagnostics to complete and confirm there are no warnings on screen.
Tap the takeoff icon, then press and hold to confirm
Tap the takeoff icon on the left side of the screen. A confirmation prompt appears. Press and hold the on-screen button to confirm. The DJI Neo's motors spin up and it automatically ascends to approximately 1.2 metres (about 3.9 feet) above the ground, then hovers in place waiting for your stick input.
Peter's tip
I always set the RTH altitude before I take off, not after. If the DJI Neo triggers Return-to-Home and the altitude is set lower than the trees around your takeoff spot, it will try to fly home at that height and clip whatever is in its path.
The DJI Neo has no obstacle sensing to save it. I set mine to at least 30 metres in open areas and 50 metres near buildings.
Manual Takeoff uses the CSC stick command to start the motors
If you want to skip the on-screen button entirely and take off with the sticks alone, the manual stick method uses what DJI calls the Combination Stick Command, or CSC. This is the same motor-start procedure used on most DJI drones.
Start the motors with the CSC stick command
Pull both control sticks down and inward (towards each other) simultaneously and hold them there until the motors begin spinning. You can also pull both sticks down and outward (away from each other) if that grip feels more natural. Release both sticks as soon as the motors are spinning.
Push the left stick (throttle) up slowly to lift off
With the motors spinning, gently push the left control stick upward. The DJI Neo will begin to ascend. The further you push the stick from centre, the faster it climbs. Start gently. There is no predetermined hover height with manual takeoff, so the DJI Neo will keep climbing for as long as you hold the stick up.
Release the stick to hover, then fly with both sticks
Once you reach a comfortable altitude, release the left stick to hold that height. The left stick controls altitude (up/down) and yaw (rotation left/right). The right stick controls pitch (forward/backward) and roll (left/right). The default stick layout is Mode 2, which is the standard in the UK and Europe.
Peter's tip
I find the both inward CSC grip more natural than both outward, and most drone pilots I know feel the same.
If the motors do not spin up, check that you are pulling the sticks fully into the corners, not just straight down. You also need to hold them there for a solid second or two. If you release too early nothing happens and you have to start again.
The DJI Neo does not have obstacle sensing, which makes your takeoff environment critical
This is the single most important thing to understand about flying the DJI Neo. Unlike larger DJI drones such as the Mavic 4 Pro or Air 3S, the DJI Neo has no obstacle avoidance sensors. It will not detect, warn about, or swerve around trees, walls, power lines, or people. If something is in its path, it will fly straight into it.
Do not fly in wind speeds exceeding 8 m/s, and do not fly in rain, snow, or fog. The operating temperature range is minus 10 to 40 degrees Celsius. Do not take off from moving objects like cars or boats. Do not take off when there is a significant ground-level change nearby, such as a cliff edge or a rooftop edge, because the DJI Neo can drift sideways during takeoff and drop off the edge.
If the GNSS (GPS) signal is weak, the DJI Neo's altitude is restricted to 30 metres from the takeoff point. If lighting is also poor and the infrared sensing system is not functioning, that restriction drops to just 2 metres above the ground. Without GNSS, the DJI Neo cannot hold its position and will drift with the wind, requiring constant manual correction.
For a broader view of what the law requires before you fly, our UK drone laws guide covers the legal framework, and our DJI Neo range guide explains the practical distance limits.
Peter's tip
I do a full 360-degree scan of the takeoff area every time, even when I have flown from the same spot before. I am looking for overhead wires, tree branches that have grown since last time, and anything above head height that the DJI Neo could clip on the way up. It takes ten seconds and it has saved me more than once.
Three methods, one DJI Neo, and the right one for you comes down to what you have with you on the day. Palm Takeoff is the quickest way to get a cinematic clip when you do not have a controller. The app gives you a phone screen and virtual joysticks. The RC gives you full control, full range, and Return-to-Home.
For the other half of the flight, our guide to landing the DJI Neo picks up right where this one leaves off. Got a takeoff question this guide did not answer? Drop a note to peter@hiredronepilot.uk and I will come back to you directly. If you prefer the video version of this guide, the comments are open on YouTube.
References
Primary source material for this article is the DJI Neo User Manual v1.2 (November 2024). External links open in a new tab.
- DJI — Neo User Manual v1.2 (November 2024) · Palm Takeoff, Mobile App Control, RC Control takeoff procedures, flight safety limits
- UK CAA — The Drone and Model Aircraft Code (CAP2320) · UK flight safety requirements referenced in the safety section

Peter Leslie
Founder & GVC Drone Pilot
Peter is the founder of HireDronePilot. With thousands of logged commercial flight hours, he writes about drone technology, commercial surveying tactics, and UK aviation compliance.
Connect on LinkedIn