Key Takeaways
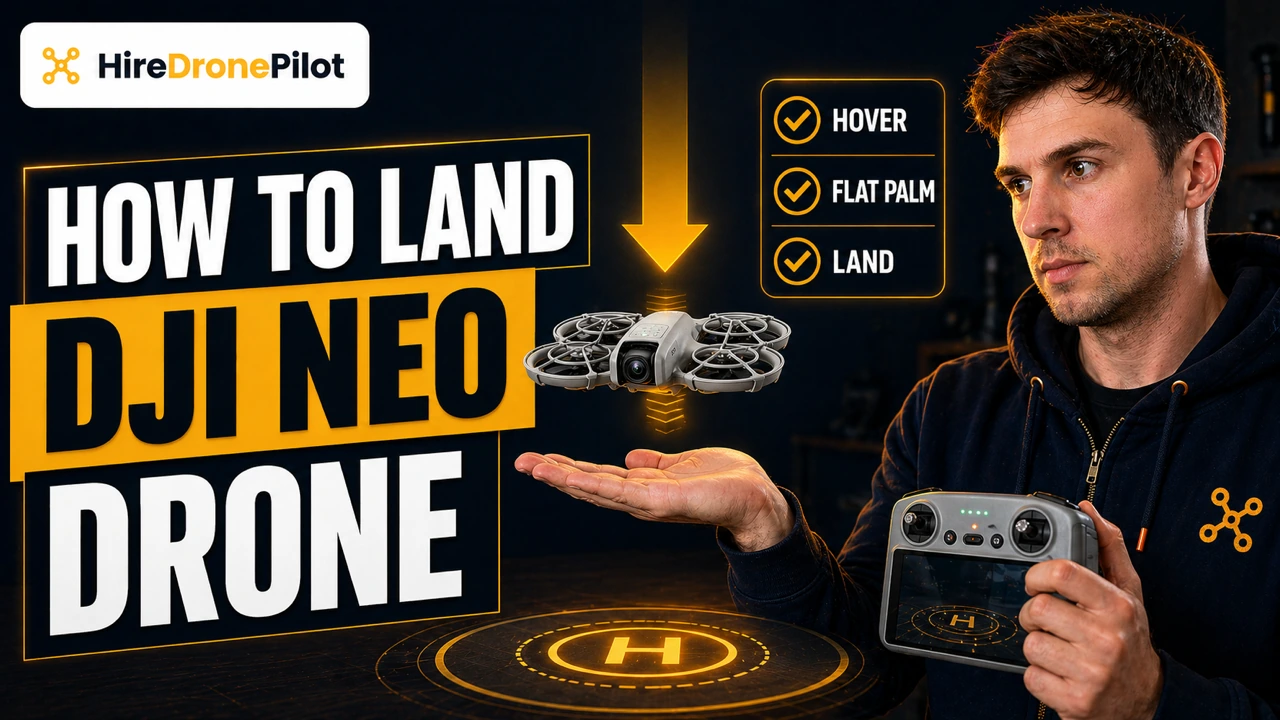
- The DJI Neo supports three landing methods that mirror its three takeoff methods: Palm Landing with no controller, app-based landing via DJI Fly, and RC Auto Landing with a remote controller
- Palm Landing needs the DJI Neo to be hovering first, your fingers flat and extended, and the palm positioned within 0.7 metres below the DJI Neo so the downward sensors can lock on
- App-based landing gives you Manual Control descent with the virtual joysticks, or you can tap and hold the landing icon and walk the DJI Neo down to your palm
- RC Auto Landing uses the on-screen landing icon and enables Landing Protection automatically when the Downward Vision System is working, then stops the motors on contact
- Return to Home is an RC-only landing fallback and is not supported in Palm Control or Mobile App Control, so always maintain visual line of sight when you are flying without a controller
The DJI Neo gives you three different ways to get it back on the ground, and which one you reach for depends entirely on what hardware you have in your hands.
You can catch it on your palm with no controller at all, tap a landing icon in the DJI Fly app over Wi-Fi, or use a remote controller for the full Auto Landing experience with Landing Protection. Drone pilots who fly the DJI Neo without a controller need to know the hover-first rule, the flat-hand trick, and the fact that Return to Home will not save them if they fly without a controller.
This guide walks through every method step by step, sourced directly from the DJI Neo User Manual v1.2. If you have not got off the ground yet, the companion takeoff guide picks up before this one, and the power-on walkthrough is where you start if you are opening the box today.
| What you have | Landing method | RTH support | |
|---|---|---|---|
| No controller, no phone | Palm Landing | No | Jump to steps |
| Phone only (Wi-Fi) | App-based landing | No | Jump to steps |
| Remote controller + phone | RC Auto Landing or RTH | Yes | Jump to steps |
Palm Landing catches the DJI Neo on your hand without any controller or phone
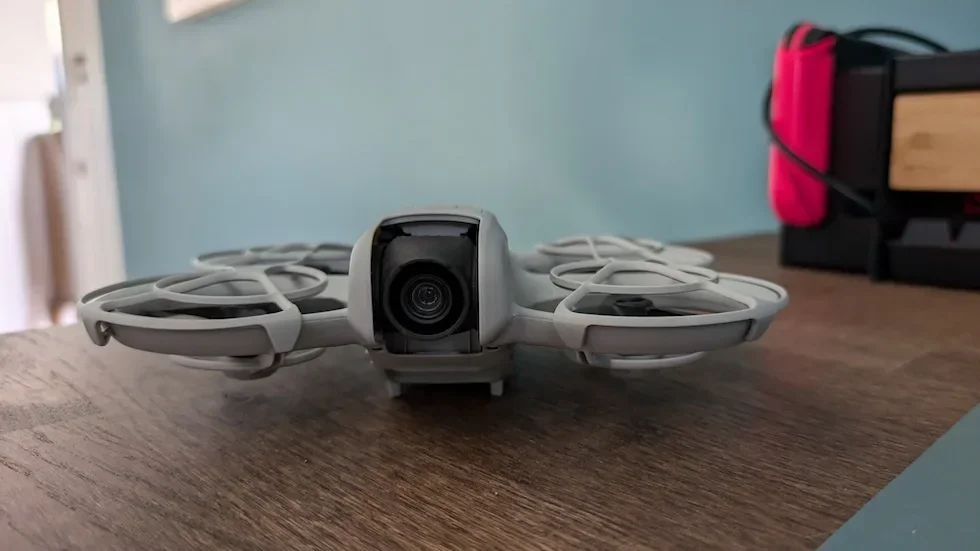
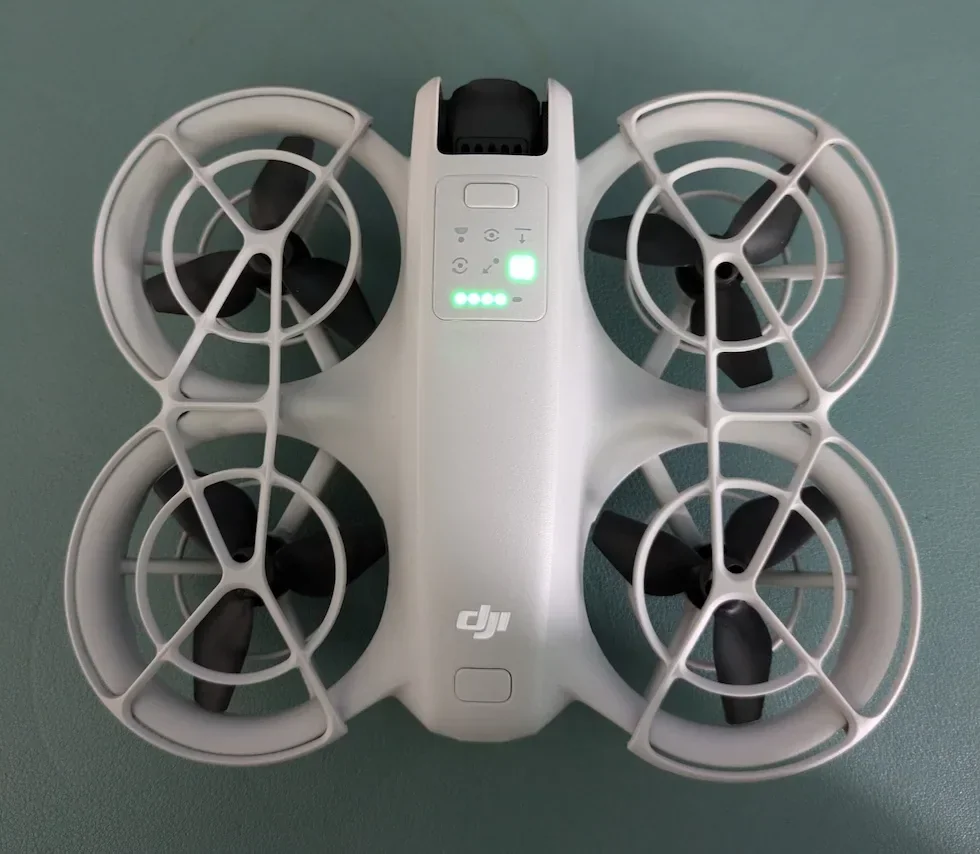
Palm Landing is the matching move to Palm Takeoff. The DJI Neo uses the downward vision sensors on its belly to detect your open palm and settles itself onto your hand. No controller, no phone screen needed during the landing itself.
The rules are set out in the manual. In DirectionTrack mode, face the DJI Neo and stay still, and it will fly back to you before landing. In every other flight mode, you have to walk to the DJI Neo first, because it will not come to you. The DJI Neo must be hovering in place before you begin. And the effective palm-landing height range is within 0.7 metres under the DJI Neo, so your hand needs to be close enough for the belly sensors to see it.
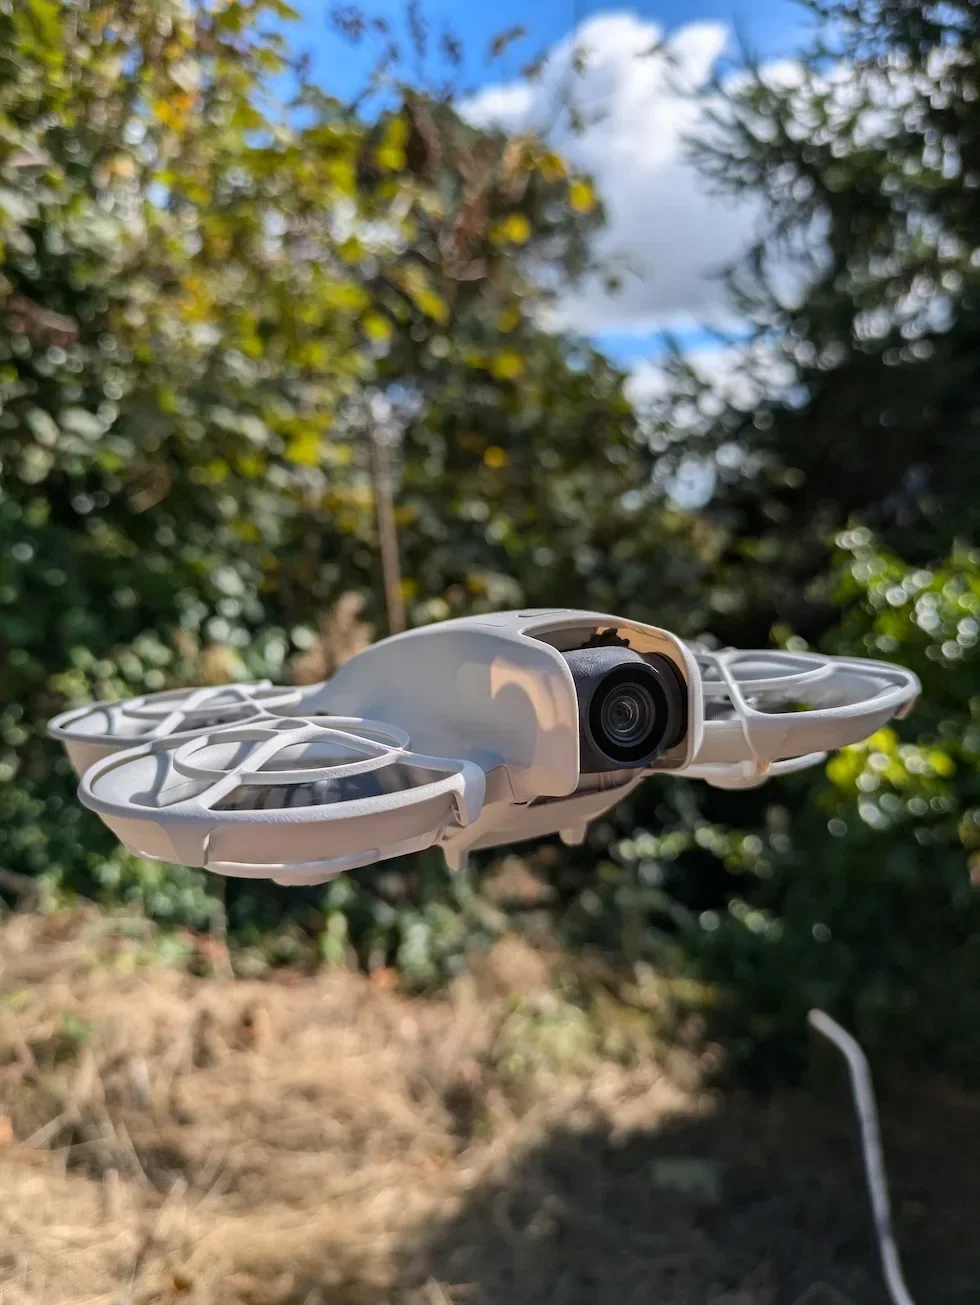
Bring the DJI Neo to a steady hover
Stop whatever flight mode is running and let the DJI Neo settle into a stable hover. If you are in Follow, Spotlight, or DirectionTrack, the DJI Neo will hover in place once the subject is confirmed or the task ends. Do not try to land a DJI Neo that is still moving, because the sensors need a stationary drone before they can lock onto your hand.
Walk to the DJI Neo if you are not in DirectionTrack
In DirectionTrack mode, the manual tells you to face the DJI Neo and stay still, and it will fly back toward you before landing. In Follow, Dronie, Circle, Rocket, Spotlight, and the other modes, the DJI Neo will not come to you. Walk to wherever it is hovering and stand directly beneath it.
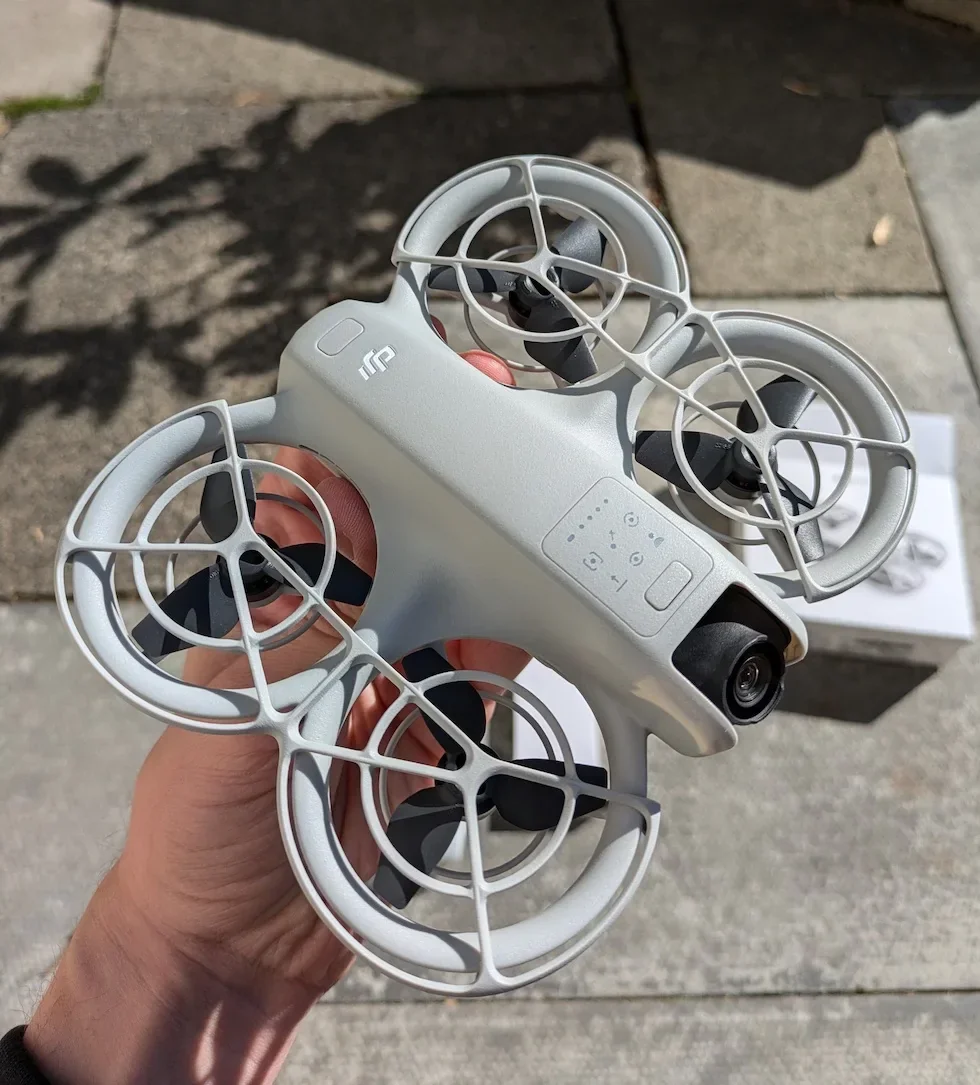
Extend your arm and place your open palm directly under the DJI Neo
Reach up and position your flat hand right beneath the DJI Neo. The manual is specific: your hand must be within 0.7 metres under the DJI Neo for the downward vision system to pick it up as a landing surface. Too far away and the sensors simply do not see it.
Peter's tip
The DJI Neo may actually rise slightly when you first push your hand under it. The manual says so outright. That is the downward vision system reacting to a new surface suddenly appearing below.
The first time it happened to me I yanked my hand back out, thinking I had spooked it. Do not do that. Hold your position and the DJI Neo will settle again and then come down onto your palm.
Keep your fingers flat and extended until the DJI Neo lands
This is the same rule as Palm Takeoff. Keep your fingers spread flat and extended. Do not curl them around the DJI Neo to try to catch it, because the moment you do your fingers enter the propeller rotation range. The manual lists do not place your fingers in the propeller guards or the propeller rotation range as the single most important rule of palm landing.
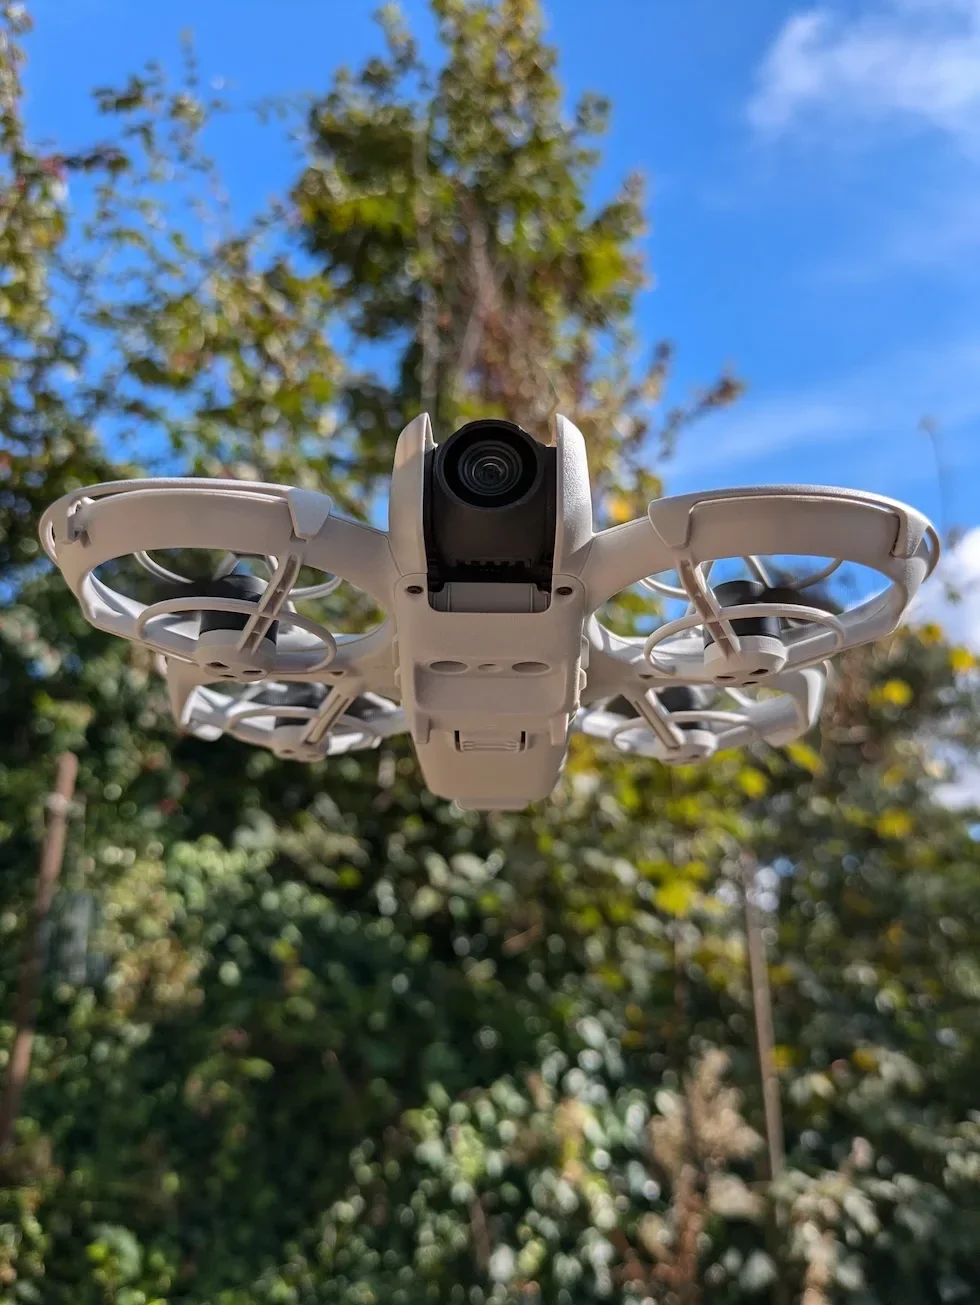
The DJI Neo descends automatically and the motors stop on contact
Once the belly sensors lock onto your palm, the DJI Neo descends on its own and lands softly on your hand. The motors stop automatically after landing. You do not need to do anything with the power button at this stage, although you can power off the DJI Neo once you have it secure in your hand.
Peter's tip
The manual says to operate the DJI Neo in a windless environment whenever possible during palm landing and to not perform landing when moving. Treat those as non-negotiable. A gusty afternoon is not the time to catch a DJI Neo on bare skin.
The manual also warns that you must not grab the DJI Neo by hand. Let it come to you, let the motors stop on their own, and only then pick it up.
The manual lists situations where the DJI Neo will also land automatically by itself regardless of your input: critical low battery, positioning failure that drops the DJI Neo into Attitude mode, and a detected collision where it has not crashed. In those cases your job is to watch the operating environment so the DJI Neo does not land somewhere it will be lost or damaged.
App-based landing uses the DJI Fly landing icon over Wi-Fi and offers manual stick descent
If your phone is connected to the DJI Neo over Wi-Fi but you do not have a controller, the DJI Fly app gives you two landing options inside Mobile App Control. You can still perform Palm Landing by following the steps above, or you can use the Manual Control mode to descend with the virtual joysticks and tap and hold the landing icon.
Like Palm Control, Mobile App Control limits the DJI Neo to a maximum altitude of 30 metres and a maximum distance of 50 metres. Return to Home is not supported in Mobile App Control either, so if the Wi-Fi signal drops out the DJI Neo will not fly itself home. It will land automatically only in the trigger situations listed above.
Manual Control mode lets you descend with virtual joysticks and tap-and-hold to land
If you took off using Manual Control, the same mode is used to land. Before you start, make sure any active Smart Snaps task has stopped.
Stop the active Smart Snaps task and switch to Manual Control
In the DJI Fly Controls view, confirm the current task has stopped. Tap the mode list under the live view and select Manual Control. The interface switches to show the virtual joysticks and the tap-and-hold landing icon.
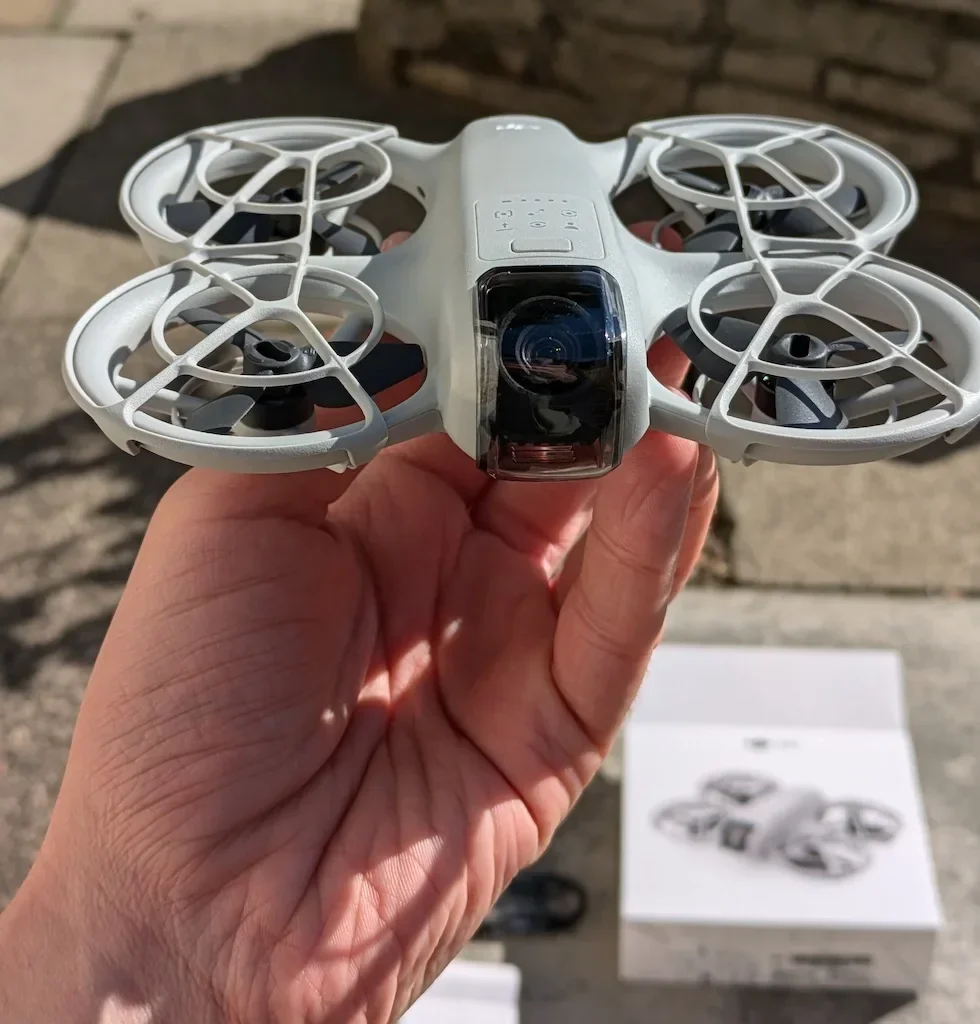
Fly the DJI Neo to a clear patch of ground with the joysticks
The left stick controls altitude and yaw. The right stick controls pitch and roll. Fly the DJI Neo over a flat, clear patch of ground with no obstacles around or above. The DJI Neo has no obstacle sensing, so you are responsible for keeping it clear of anything in its descent path.
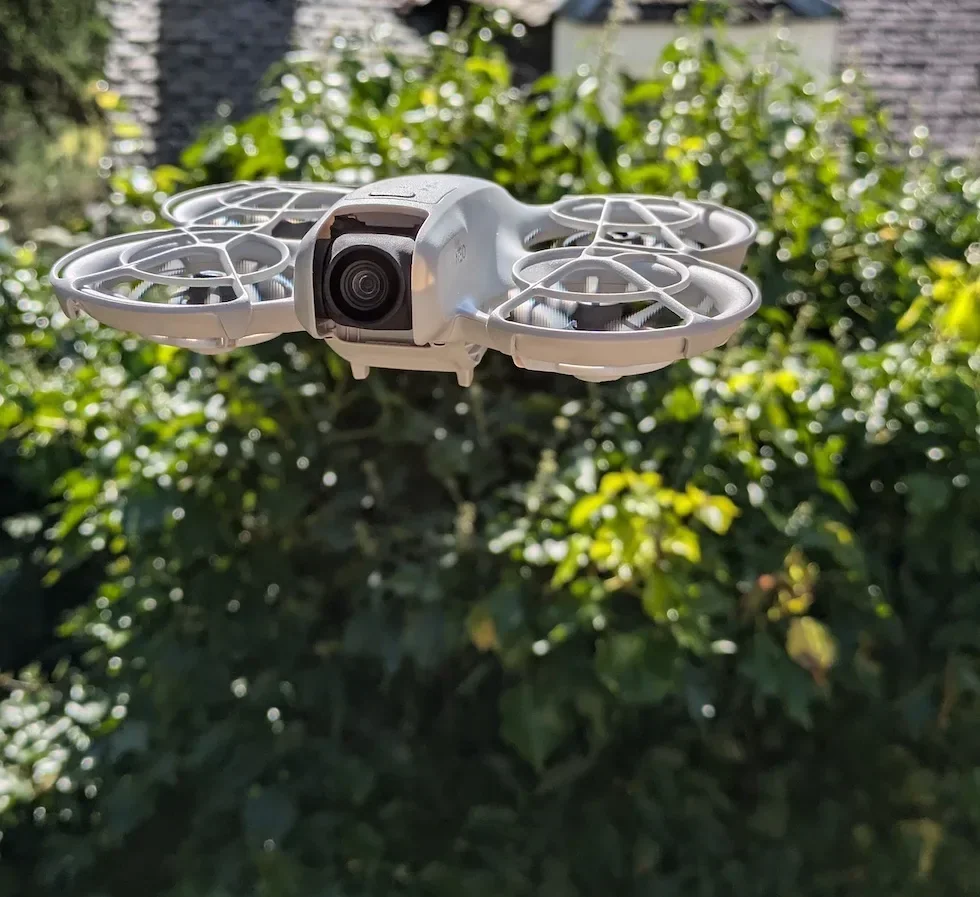
Tap and hold the landing icon in the app to complete the landing
In Manual Control, tap and hold the landing icon on screen. The DJI Neo will descend and land itself. You can also perform a palm landing from Manual Control using the same flat-hand procedure above.
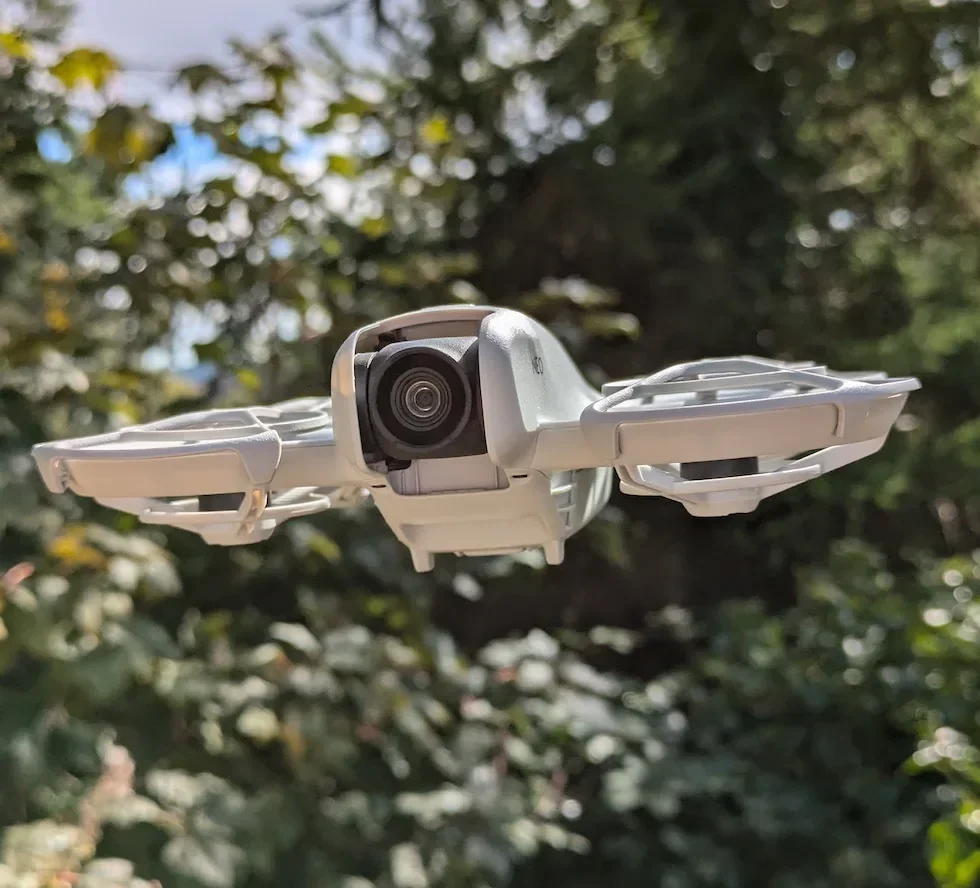
Peter's tip
I always switch to Manual Control for the last thirty seconds of a Wi-Fi flight, even if the whole flight was a Smart Snap. Having the virtual joysticks ready means I can nudge the DJI Neo away from a dog walker or a fence post before I start the landing, rather than having to stop the Smart Snap and then find myself fighting to get Manual Control up at twenty metres with something approaching.
RC Auto Landing uses the on-screen landing icon and enables Landing Protection automatically
With a compatible remote controller connected, you unlock the DJI Neo's full landing behaviour. Return to Home works, Landing Protection engages automatically when the Downward Vision System is working normally, and you get a clean on-screen Auto Landing button.
Auto Landing is the on-screen tap-and-hold button inside DJI Fly
This is the standard RC landing method straight from the manual's §3.3 Auto Landing procedure.
Fly the DJI Neo above a clear, flat landing spot
Use the sticks to position the DJI Neo over an open, flat area. The manual's own wording is choose an appropriate place for landing. Clear of people, clear of pets, clear of water, and away from cliff edges or rooftop edges where the DJI Neo could drift during the final descent.
Tap the Auto Landing icon in DJI Fly, then tap and hold to confirm
Tap the Auto Landing icon on the camera view. A confirmation prompt appears. Press and hold the on-screen button to confirm. The DJI Neo begins descending automatically while you keep your hands off the sticks. You can cancel the Auto Landing at any point by tapping the cancel cross.
Landing Protection engages automatically on a suitable surface
If the Downward Vision System is working normally, Landing Protection is enabled automatically during Auto Landing. That means the DJI Neo checks the ground below before committing to the touchdown. If it sees uneven terrain or water, it will pause rather than drop straight down.
The motors stop automatically on contact
Once the DJI Neo touches down, the motors stop by themselves. You do not need to pull the throttle stick or trigger a CSC. The Auto Landing sequence completes on its own.
Peter's tip
The manual also tells you that RTH cannot be triggered during auto landing. That means once you commit to Auto Landing, Return to Home is locked out until you either cancel the landing or the DJI Neo touches down. If conditions change mid-landing and you actually need RTH, tap the cancel cross first, then trigger RTH from the left side of the camera view.
Manual RC landing uses stick-down descent and one of two motor-stop methods
If you want to land the DJI Neo with the sticks alone, you descend with the throttle and then stop the motors yourself. The manual gives two motor-stop methods, both valid.
Pull the throttle stick down to descend onto the landing spot
In the default Mode 2 layout, the left stick is the throttle. Pull it gently down to descend. The further you push the stick from centre, the faster the DJI Neo drops. Ease off as you get near the ground, and let the DJI Neo touch down softly.
Stop the motors using throttle-hold or the CSC
The manual lists two methods. Method 1: once the DJI Neo is on the ground, push the throttle stick fully down and hold it there until the motors stop. Method 2: perform the Combination Stick Command, pulling both sticks either inward or outward until the motors stop. Either method ends the flight cleanly.
Peter's tip
There is a separate procedure for stopping the motors mid-flight, and the manual is very blunt about it. Stopping the motors mid-flight will cause the DJI Neo to crash. Use it only in a genuine emergency where a crash is the safer outcome.
The default Emergency Propeller Stop setting in DJI Fly is Emergency Only, and the manual recommends keeping it that way. Set it to Anytime and you are one accidental CSC away from a write-off.
Return to Home is an RC-only landing fallback and it cannot save you without a controller
Return to Home deserves its own section because it is the one landing path that people get wrong. The manual is explicit about it. RTH is supported only when the DJI Neo is being controlled from a remote controller. In Palm Control and Mobile App Control, Return to Home is not supported. You must maintain visual line of sight and fly within a controlled area at all times.
On a controller, RTH can trigger in three ways. You can press and hold the RTH button on the controller or tap the RTH icon in DJI Fly. The DJI Neo can trigger it itself when the battery is low enough that it can only just make it home. Or Failsafe RTH kicks in if the remote control signal or the video transmission signal has been lost.
The default RTH altitude is 30 metres. The Home Point is recorded at takeoff as long as the DJI Neo has a strong GNSS signal. Set your RTH altitude above the tallest tree, building, or obstacle anywhere along the flight path, because the DJI Neo has no obstacle sensing and will fly home in a straight line at whatever height you set. A 20 metre tree and a 15 metre RTH altitude is a collision. You can set the RTH altitude inside DJI Fly at Safety before takeoff.
The manual flags a handful of edge cases worth knowing. GEO zones may affect RTH, so avoid flying near them. Strong wind can prevent the DJI Neo returning to the Home Point. If Failsafe RTH triggers and positioning fails, the DJI Neo may enter Attitude mode and land automatically wherever it is. And once the DJI Neo enters Auto Landing at the Home Point, RTH cannot be triggered again.
Peter's tip
I set the RTH altitude before I even power on the DJI Neo on site. It is the one setting I will not trust the previous session's value for. Trees grow, construction sites gain cranes, and a forgotten 30 metre default that worked last week is a clip waiting to happen this week.
When I fly in open farmland I still set it to at least 30 metres, and I go to 50 metres or higher near buildings. Never less than 30.
The DJI Neo has no obstacle sensing, which makes your landing spot as critical as your takeoff spot
The landing-specific version of the manual's central warning is the same one that covers takeoff. The DJI Neo has no obstacle avoidance sensors. It will not detect, warn about, or swerve around trees, walls, power lines, or people that are in its descent path. If something is between the DJI Neo and the ground you have chosen, the DJI Neo will come straight down onto it.
Do not land on water. Do not land on a moving surface like a car or a boat. Do not land near cliff edges or rooftop edges, because the DJI Neo can drift sideways during the final descent and drop off. Do not land in wind speeds above 8 m/s, and do not land in rain, snow, or fog. The operating temperature range is minus 10 to 40 degrees Celsius.
If the GNSS signal is weak, the DJI Neo's altitude is already restricted to 30 metres from the takeoff point, and lighting problems restrict that further. Positioning failures that drop the DJI Neo into Attitude mode will trigger an automatic landing wherever the DJI Neo happens to be. You must be watching the environment during every landing, because the DJI Neo cannot.
For a broader view of what the law requires around your landing site, the UK drone laws guide covers the full framework including the Drone and Model Aircraft Code.
Peter's tip
I scan the landing area the same way I scan the takeoff area, and I do it again as the DJI Neo starts its descent. People and dogs appear out of nowhere, especially in public parks. A ten second recheck before I commit the landing icon has saved me at least one awkward hover and restart.
Three landing methods, one DJI Neo, and the right one on any given flight comes down to what you have in your hands and how far you flew from your takeoff spot. Palm Landing is the controller-free finish for a quick cinematic clip. App-based landing gives you virtual joysticks and a tap-and-hold icon. RC Auto Landing gives you Landing Protection and a Return to Home safety net.
If you have not worked through the matching takeoff procedures yet, the DJI Neo takeoff guide linked at the top of this article picks up where this one ends. If you are still on the unboxing stage, the DJI Neo setup guide walks through activation and first-flight configuration. Got a landing scenario this guide did not cover? Drop a note to peter@hiredronepilot.uk and I will come back to you directly. If you prefer the video version of this guide, the comments are open on YouTube.
References
Primary source material for this article is the DJI Neo User Manual v1.2 (November 2024). External links open in a new tab.
- DJI — Neo User Manual v1.2 (November 2024) · Palm Landing, Auto Landing (app and RC), motor-stop procedures, Return to Home
- UK CAA — The Drone and Model Aircraft Code (CAP2320) · UK flight safety requirements referenced in the no-obstacle-sensing section

Peter Leslie
Founder & GVC Drone Pilot
Peter is the founder of HireDronePilot. With thousands of logged commercial flight hours, he writes about drone technology, commercial surveying tactics, and UK aviation compliance.
Connect on LinkedIn