Key Takeaways
- The DJI Neo ships with the battery in hibernation mode, so you must plug a USB-C charger into the drone before it will power on for the first time
- Remove the gimbal protector by pressing down on it before powering on, otherwise the system self-diagnostics cannot run properly
- Power the DJI Neo on by pressing the power button once, then pressing and holding the same button for two seconds
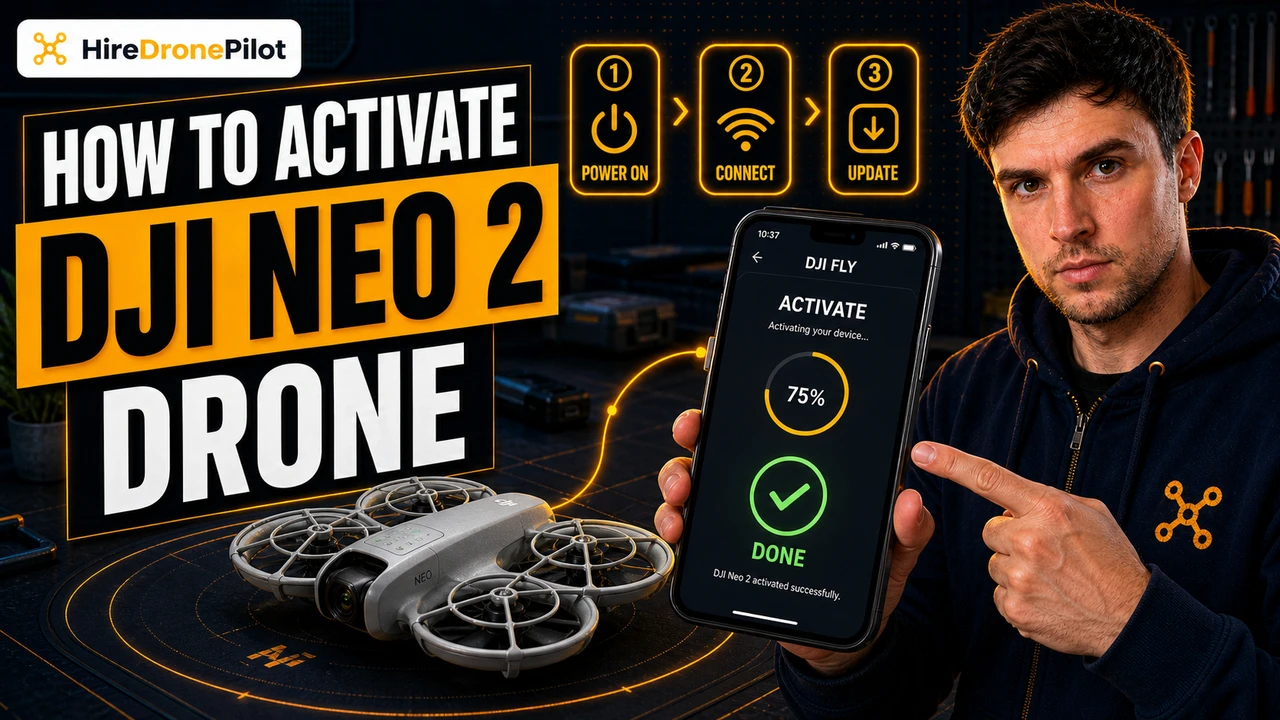
- Activation runs through the Connection Guide on the bottom right of the DJI Fly home screen, and a firmware update usually follows immediately
- Before your first takeoff you must set max altitude, max distance and Return-to-Home altitude in DJI Fly, and register an Operator ID with the CAA because the DJI Neo has a camera
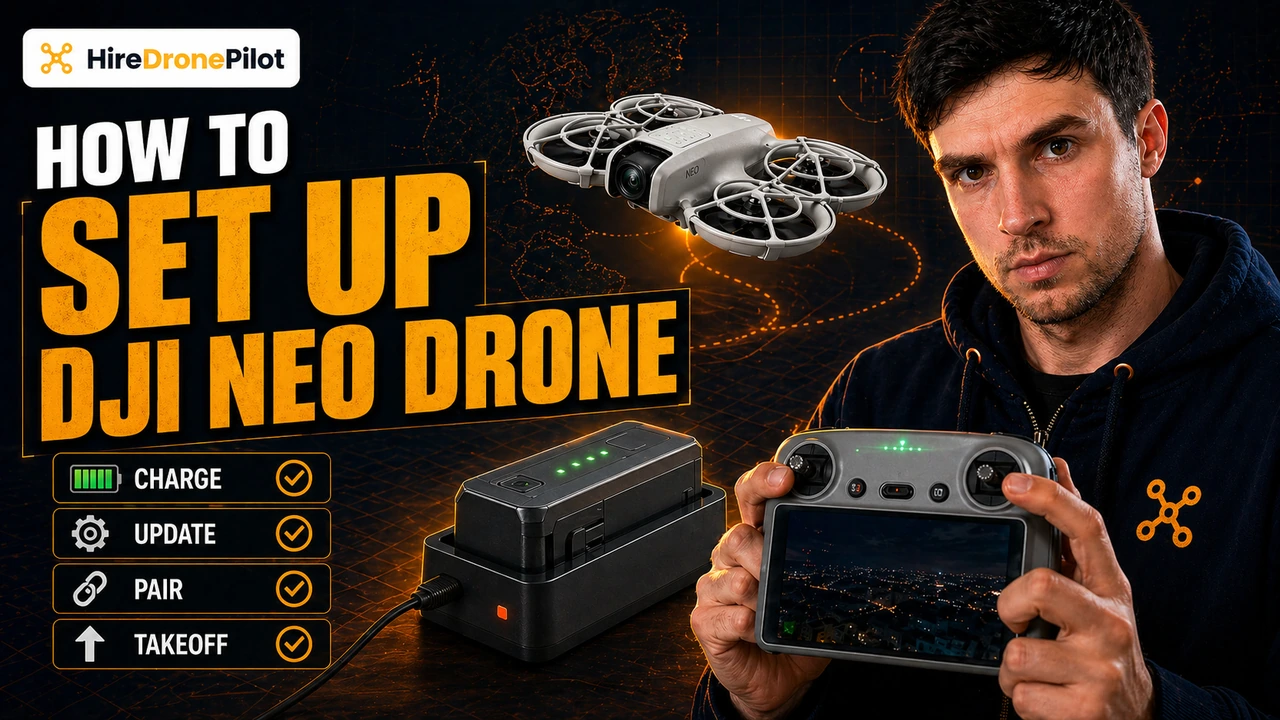
Setting up the DJI Neo is a linear job. You unbox it, charge the battery to wake it up, power it on with a two-step button press, pair it to the DJI Fly app, run the Connection Guide to activate, install the firmware update, and then configure your safety limits before you ever press a takeoff button.
This guide walks every step in order, sourced directly from the DJI Neo User Manual v1.2 and the Quick Start Guide in the box. If you are one of the many drone pilots who skip the paperwork and head straight outside, this is the article that walks you back through everything you needed to do first.
Unboxing the DJI Neo starts with pressing down on the gimbal protector to remove it
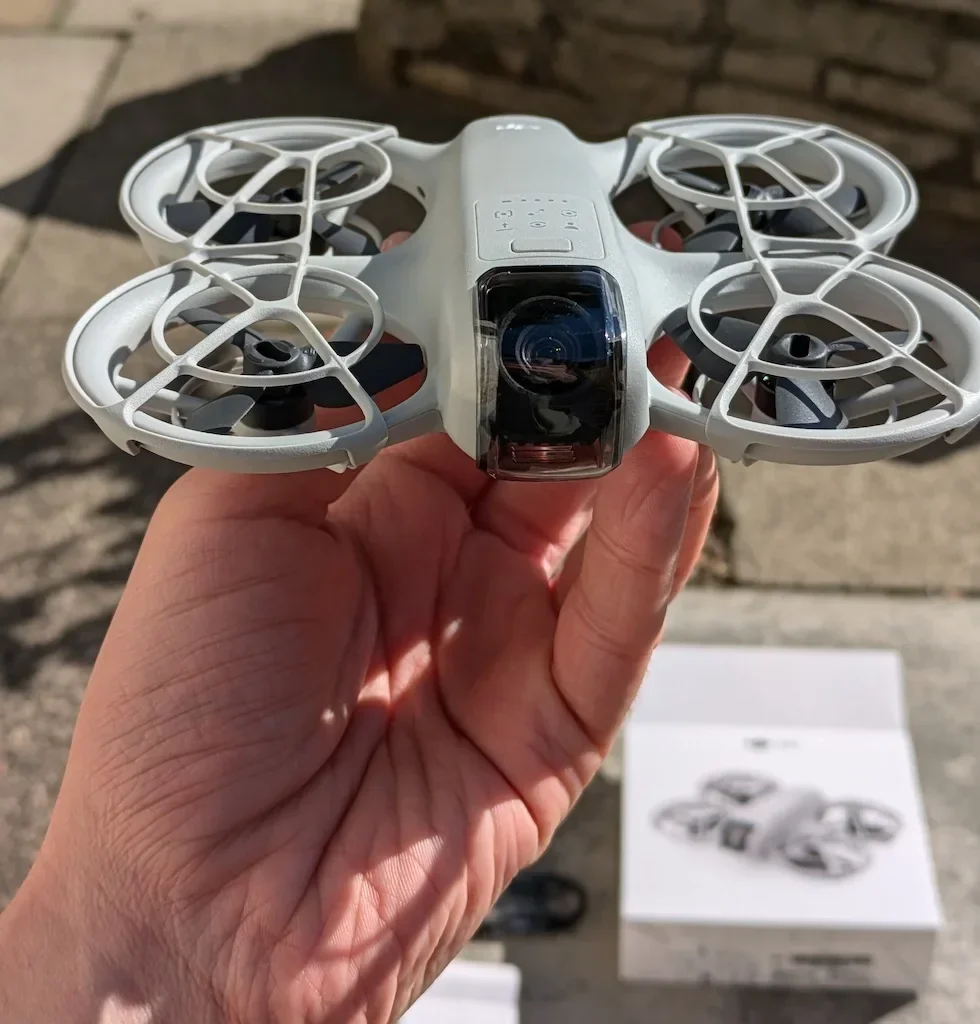
Open the box and set the DJI Neo on a flat surface. The first thing you will notice is a small plastic gimbal protector clipped over the camera on the front of the DJI Neo. It holds the gimbal still during transport so the motor is not stressed in transit.
It must come off before you power on. The manual is explicit on this point: make sure to remove the gimbal protector before powering on, otherwise it may affect the system performing self-diagnostics.
Press down on the gimbal protector to release it
Hold the DJI Neo steady in one hand. With your other hand, press down firmly on the top of the gimbal protector as the Quick Start Guide shows, and it will slide off the camera in a single motion. Do not twist it sideways or prise at the edges. Set it aside somewhere safe.
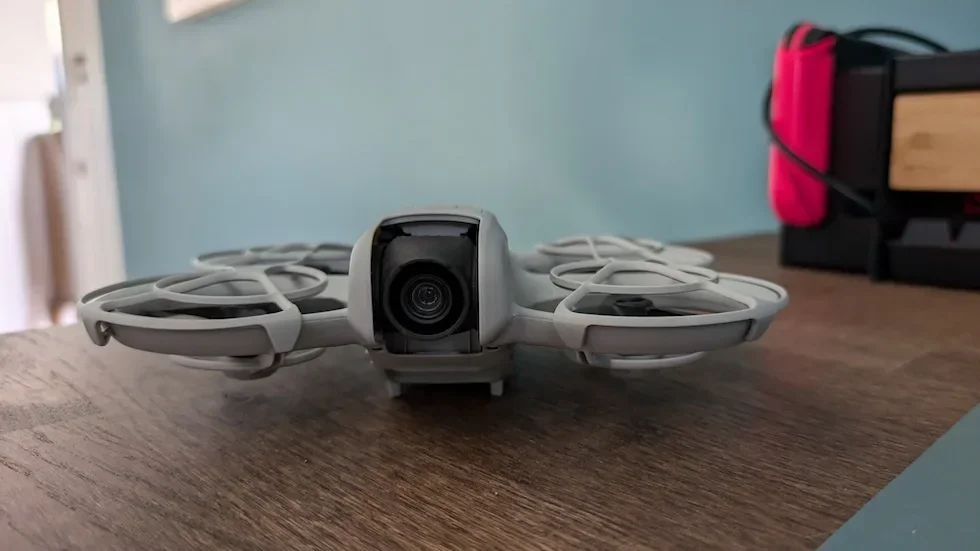
Check the propellers, propeller guard and battery are seated correctly
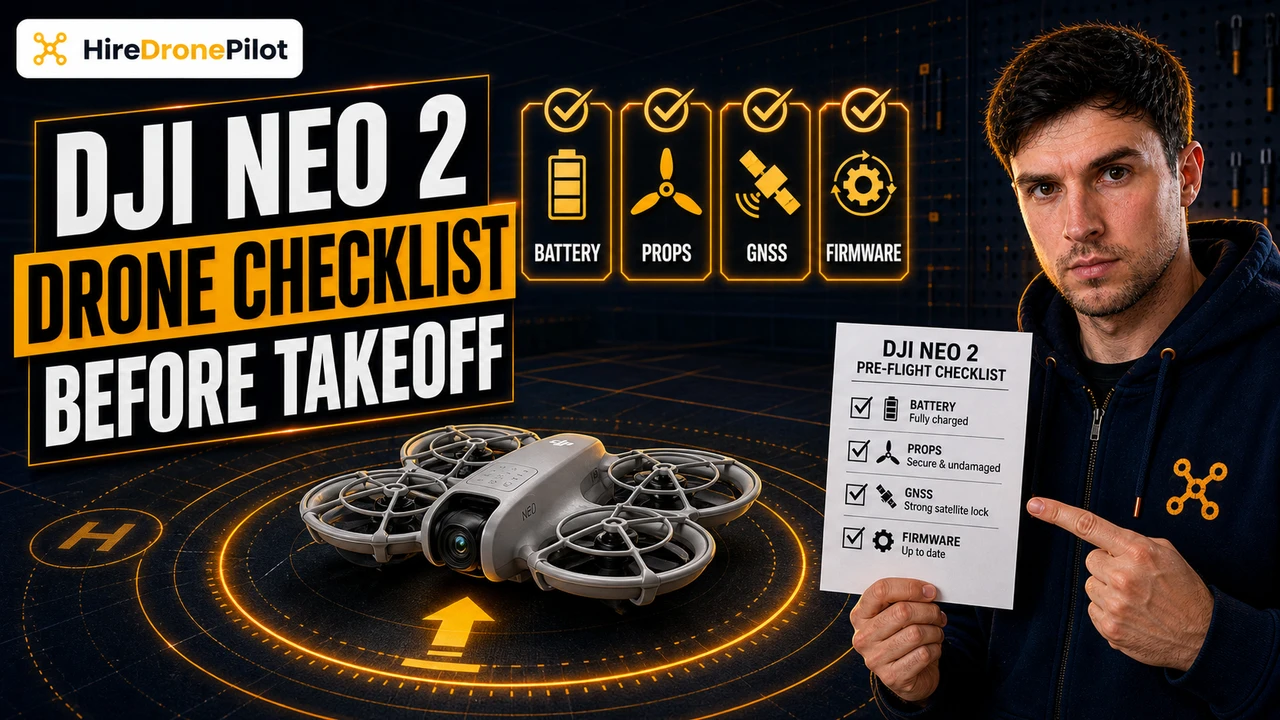
Before you put the DJI Neo down, run your eye over the four propellers and the moulded propeller guard around them. Each propeller should be locked onto its motor arm with no play. The Intelligent Flight Battery sits in the top-centre compartment and should be clicked firmly under the battery latch. The manual calls this pre-flight item out on every flight, and it is just as important on day one.
Peter's tip
Keep that gimbal protector somewhere you will actually find it again. DJI recommends clipping it back on whenever the DJI Neo is not in use, and I have stopped more than one lens scratch that way.
Mine lives in the same pocket of my drone bag as the spare propellers, so I always know where to reach.
Charging the battery is how you activate it for first use on the DJI Neo
Every Intelligent Flight Battery ships in hibernation mode. The manual is unambiguous on this and the Quick Start Guide reinforces the point: charge to activate the Intelligent Flight Battery before using for the first time. Until the DJI Neo is plugged into a USB-C charger, the battery will not wake up and the DJI Neo will refuse to power on.
The rule is simple. Plug a USB-C charger into the port on the rear of the DJI Neo. The battery is activated the moment it begins charging.
Plug a USB-C charger rated at ten watts or higher into the DJI Neo
The Quick Start Guide specifies a minimum charger output of ten watts, which works out to five volts at two amps. The USB-C port on the DJI Neo supports up to fifteen watts, so a higher-rated charger will charge faster without issue. Most modern phone chargers comfortably meet the ten watt minimum.
Watch the battery level LEDs light up to confirm activation
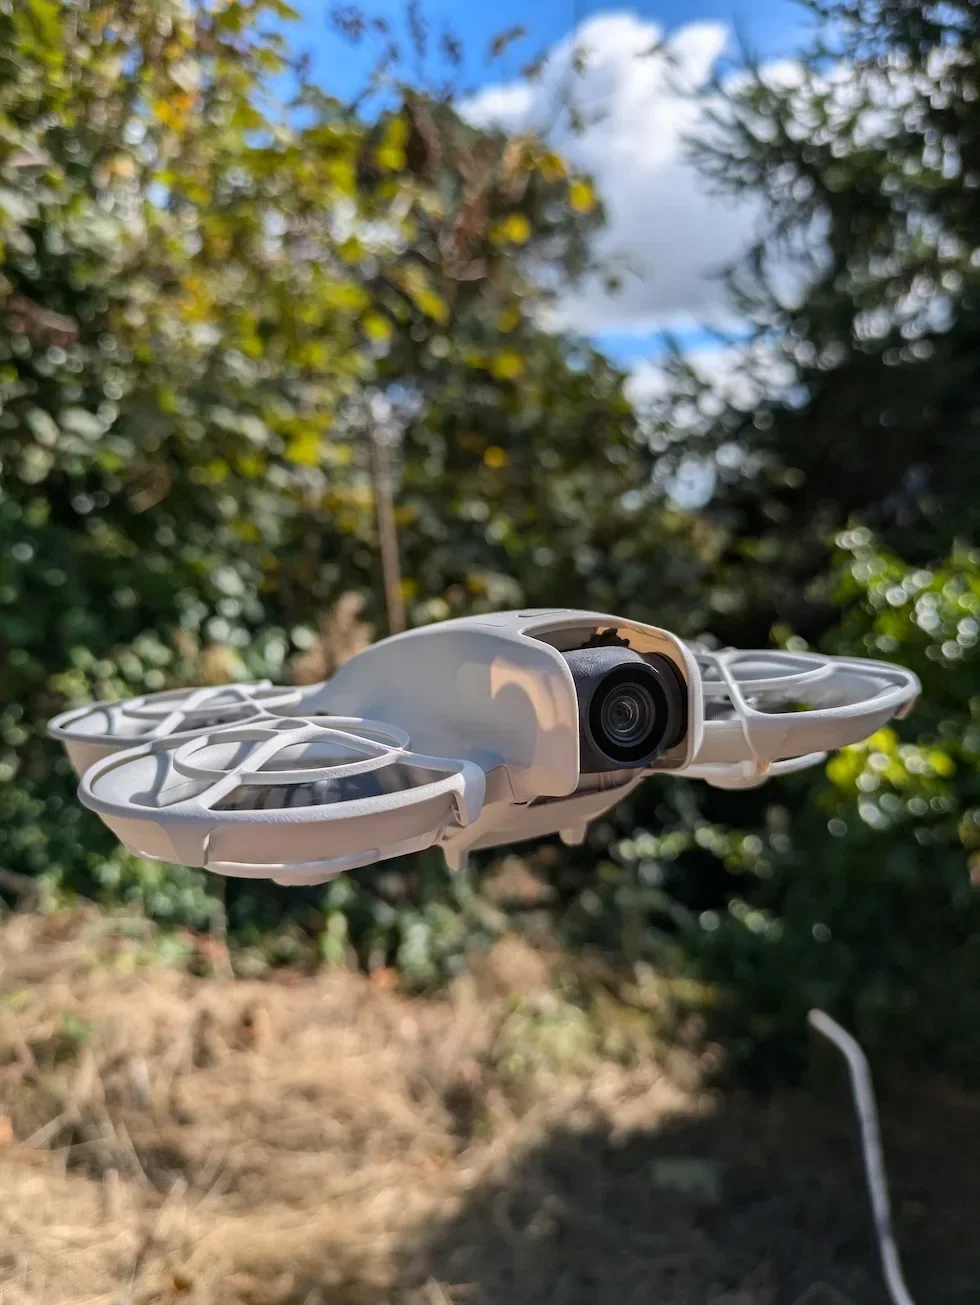
As soon as charging starts, the battery level LEDs on top of the DJI Neo will light up. This is the signal that hibernation mode has ended and the battery is alive. Leave the DJI Neo on charge until all four LEDs are solid, which indicates a full pack. The firmware update later in this guide will refuse to run on a low battery.
Peter's tip
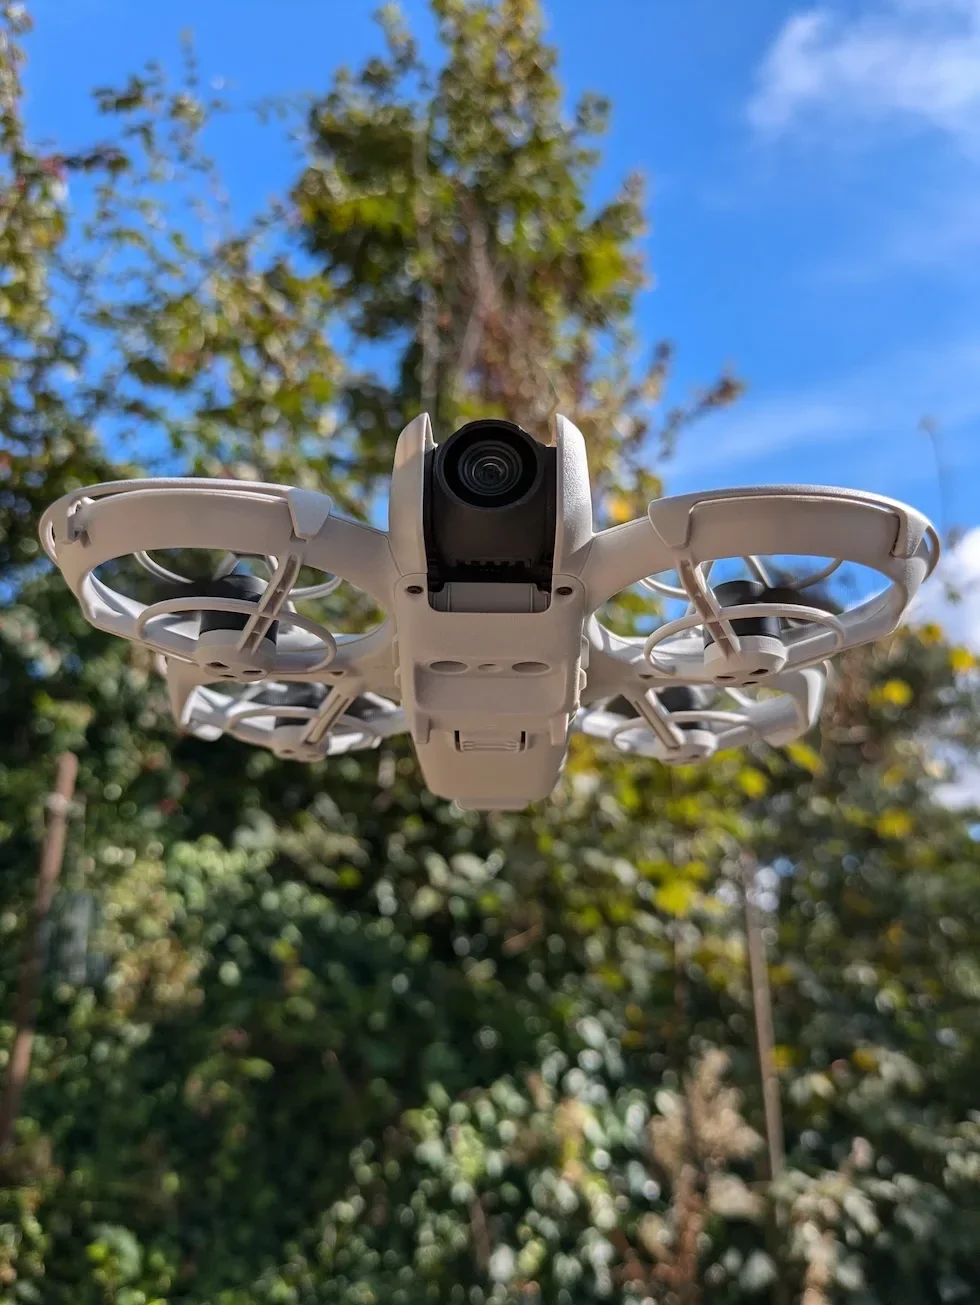
If you bought the Fly More Combo with the two-way charging hub, each battery still needs activating individually the first time.
Plug each one into the DJI Neo on its own for the activation charge before you trust the hub to cycle through them. Once they are all activated, the hub will happily charge them in sequence, starting with whichever pack has the most charge left so you always have something nearly full ready to fly.
Powering on the DJI Neo uses a press-then-press-and-hold procedure
Once the battery has been woken up by its first charge, the DJI Neo is ready to power on. The power button sits on top of the drone between the status indicator and the battery level LEDs, and the press sequence is unusual if you have never handled a DJI product before.
The sequence is press once, then press and hold for two seconds. The same pattern powers it off. You will use this exact sequence every single time you fly, so it is worth getting the muscle memory right on day one.
Press the power button once, then press and hold for two seconds
Power on the DJI Neo by pressing the power button once. Release. Then press and hold the same button for at least two seconds. The battery LEDs will light up in sequence and you will hear the motors tick through their internal check.
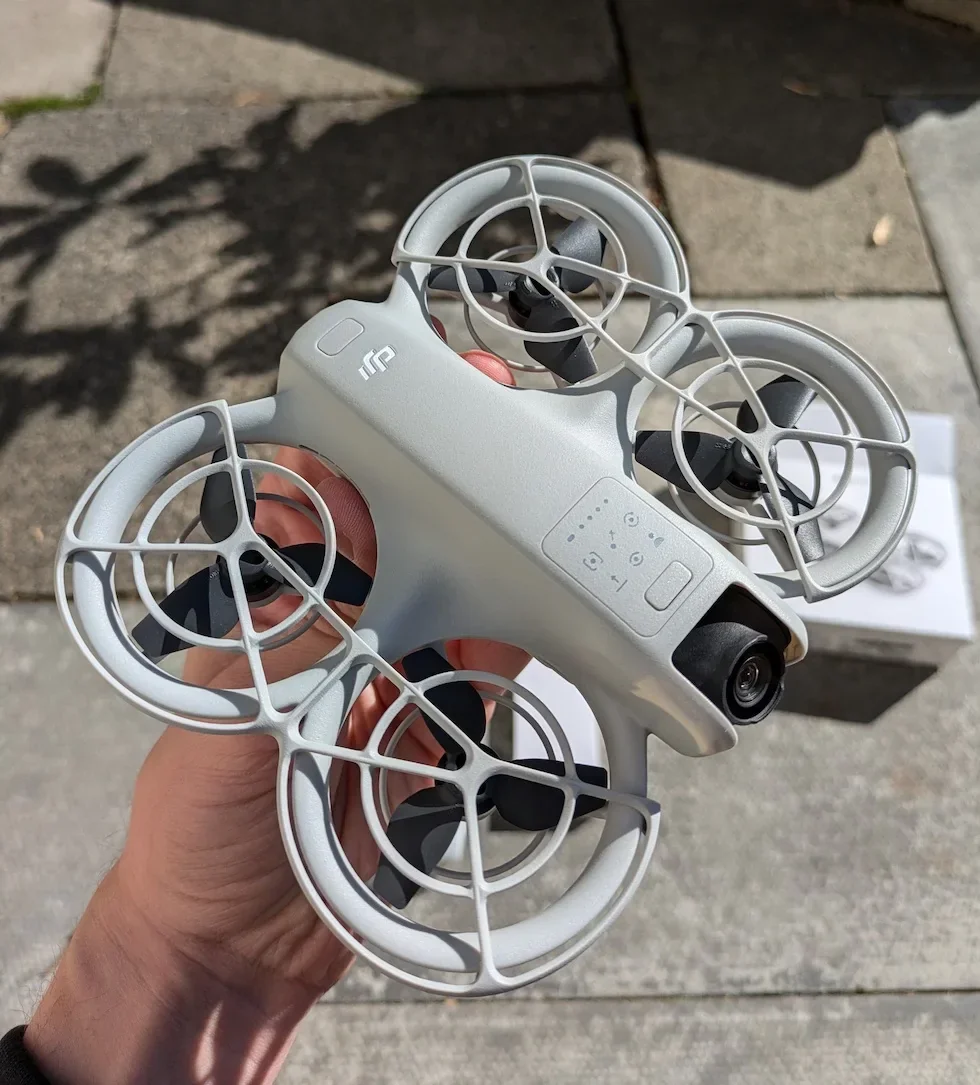
Let the gimbal complete its self-diagnostic sweep
Keep the DJI Neo still on its flat surface while it powers up. The gimbal will tilt through its full range of motion as part of the startup routine. Do not pick the DJI Neo up during this check. Any significant movement can throw the gimbal calibration and report an error in the DJI Fly app once you connect.
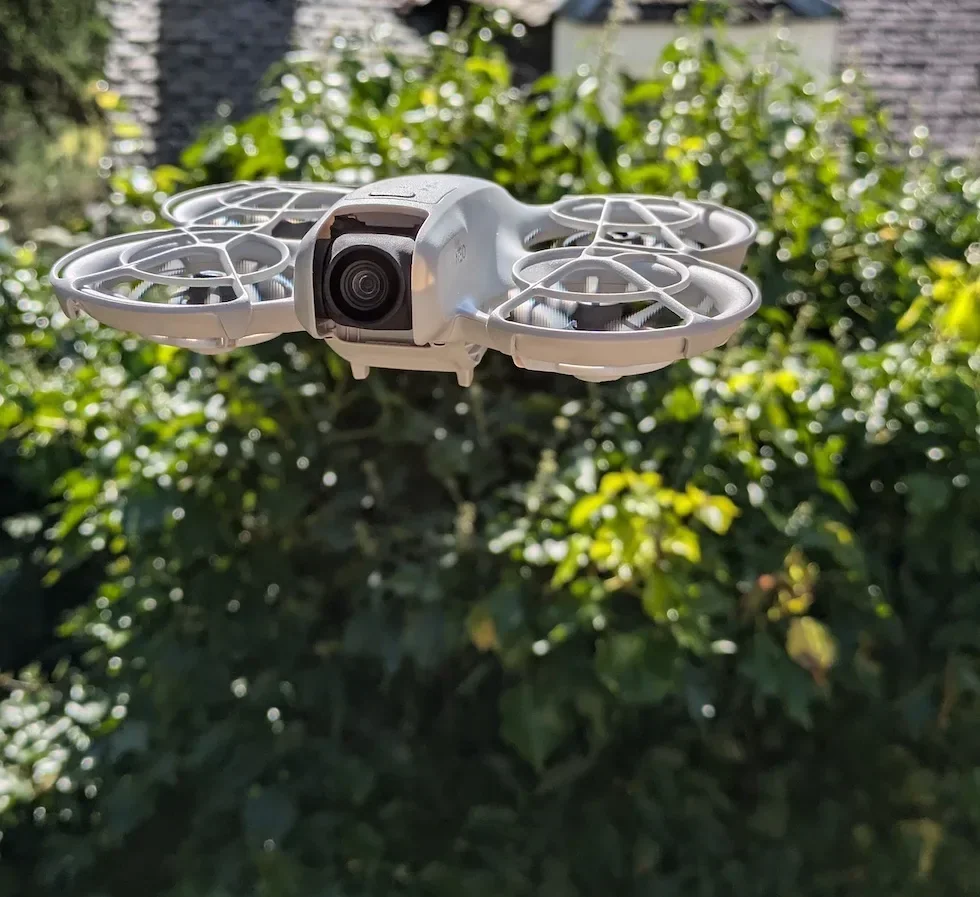
Peter's tip
If nothing happens when you press and hold, check the battery LEDs. If none of them light up at all, the battery has not been activated yet and the charge step from the previous section is still outstanding. Put it back on charge for a few minutes and try again.
Downloading DJI Fly and running the Connection Guide pairs your phone with the DJI Neo
The DJI Neo is configured entirely through DJI Fly. You cannot activate it, update firmware or change safety limits without DJI Fly installed and connected. The manual states it plainly: make sure to use DJI Fly with this product.
DJI Fly is not on Google Play in the UK. It is on the App Store for iOS. For Android, you need to download the APK directly from DJI at dji.com/downloads/djiapp/dji-fly. The Quick Start Guide includes a QR code that points to the same download page.
Install DJI Fly from the App Store or the DJI website
On an iPhone, search DJI Fly in the App Store and install. On an Android phone, open your browser and go to dji.com/downloads/djiapp/dji-fly to grab the APK. Create a DJI account or log in to your existing one when the app prompts. Activation cannot proceed without an account.
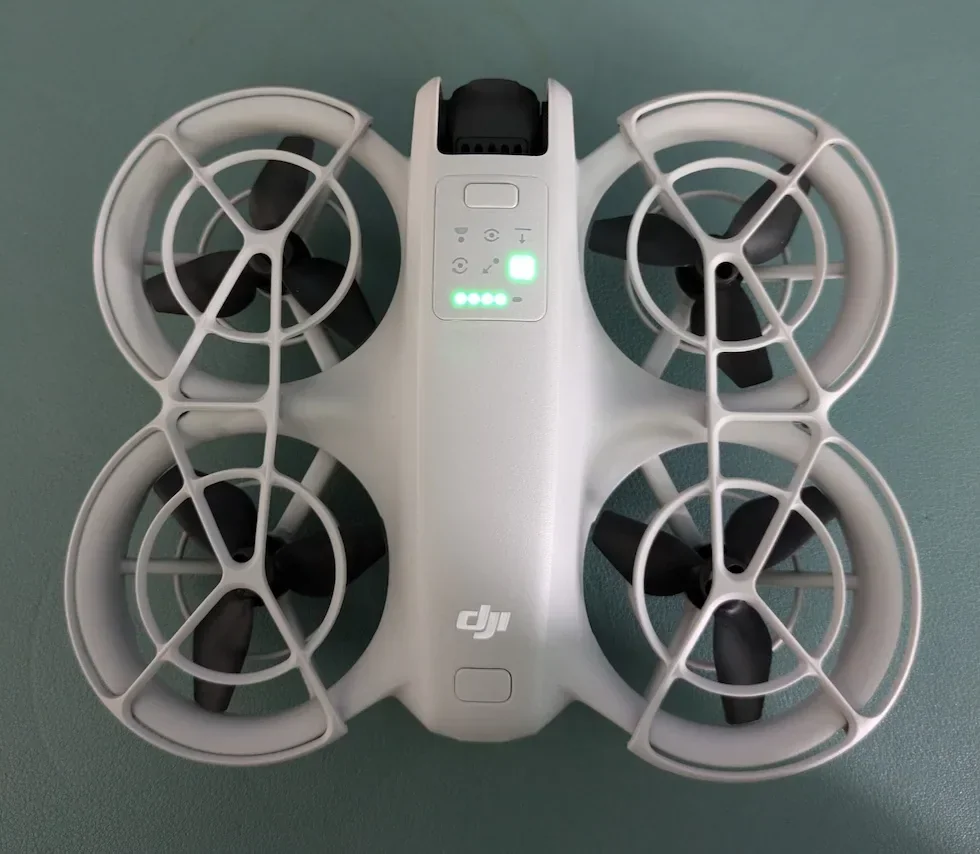
Connecting your phone over Wi-Fi if you bought the DJI Neo on its own
If you bought the DJI Neo without a remote controller, you will connect your phone to the DJI Neo directly over Wi-Fi.
Tap Connection Guide on the DJI Fly home screen
With DJI Fly open on your phone, look for the Connection Guide link in the bottom right corner of the home screen. Tap it. Select DJI Neo from the list of models. The app will walk you through the Wi-Fi pairing, which uses the DJI Neo itself as the access point. Follow every prompt in order until the app confirms the link.
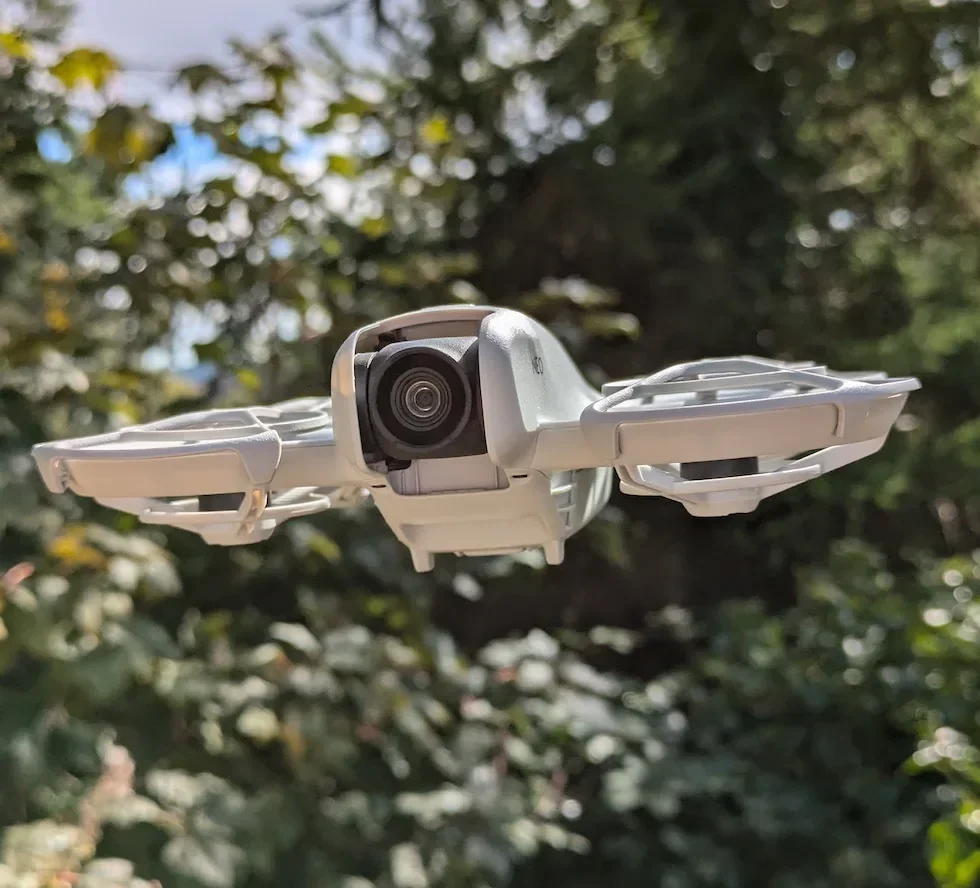
Connecting through the remote controller if you bought the Fly More Combo
If you bought the Fly More Combo or any combo that ships with the DJI RC-N3, you will connect through the remote controller instead of over Wi-Fi.
Mount the control sticks, extend the phone holder and plug the phone in
The two control sticks sit in storage slots on the underside of the DJI RC-N3 remote controller. Screw each one into its mount on the front of the controller. Pull the mobile device holder out from the top, clamp the phone into place, then use the appropriate cable (USB-C is fitted by default, Lightning for older iPhones) to connect the phone to the controller. Power on the controller with the same press-then-hold procedure you used on the DJI Neo.
Peter's tip
Android users, watch for a USB connection prompt as soon as you plug the cable in. The manual warns that when that prompt appears, you must select charge only. Any other option stops DJI Fly talking to the remote controller, and the connection will fail silently.
iPhones handle this automatically. Android is where I have seen this step fail most often on a first setup.
Activating the DJI Neo and running the firmware update is the step you cannot skip
Activation binds the DJI Neo to your DJI account. You cannot fly until it is done. The manual is explicit: the product must be activated using the DJI Fly app before being used for the first time, and an internet connection is required for activation.
A firmware update will almost always be queued up immediately after activation. DJI pushes firmware on a rolling basis, and the version that ships in the box is usually months behind the current release. Updating is mandatory before your first flight, not optional.
Follow the on-screen activation prompts in DJI Fly
With the phone connected, the Connection Guide hands off to the activation flow. Enter your country, agree to the terms, and wait for DJI to bind the DJI Neo to your account. The whole handshake takes about thirty seconds on a decent connection. The screen will confirm with an activation success message once the bind is complete.
Install the firmware update when DJI Fly prompts you
As soon as activation finishes, DJI Fly will check for a firmware update. If a newer version is available, a prompt will appear offering to install it. Tap through and wait. Keep every device powered on, keep the phone on Wi-Fi or mobile data, and do not close the app. The update can take ten to twenty minutes on a full release, and the DJI Neo will restart when it is done.
Peter's tip
If the firmware update fails halfway through, do not panic. Leave everything powered on, close the app, reopen it, and the update will usually resume from where it stopped.
If it fails a second time, the fallback is to connect the DJI Neo to a computer with a USB-C cable and refresh the firmware through DJI Assistant 2, which you can download from dji.com/downloads/softwares/dji-assistant-2-consumer-drones-series. I have only had to do this once in years of flying DJI drones, but it is worth knowing the option exists.
Pre-flight safety checks and legal preparation come before your first takeoff
Setup is not finished when activation is. Before you take the DJI Neo anywhere near the sky, you need to configure the safety limits in DJI Fly and make sure you are ready to fly inside UK drone law.
The DJI Neo weighs well under 250 grams, which puts it in the A1 sub-category of the Open Category under CAP 722. You still need a CAA Operator ID because the DJI Neo has a camera, and you still need to comply with the rest of the Drone Code on every flight.
Setting max altitude, max distance and Return-to-Home altitude in DJI Fly
In the DJI Fly camera view, tap the three-dot menu in the top right, then go to the Safety tab. Three settings matter here.
Configure the three safety limits before your first flight
Set Max Altitude to a value inside the UK legal ceiling of 120 metres. Set Max Distance to whatever range makes sense for your site, remembering that Visual Line of Sight is the legal boundary. Set Return-to-Home altitude higher than any obstacle in the takeoff area. The DJI Neo has no obstacle sensing, so if the RTH altitude is lower than a nearby tree, it will fly straight into it on the way home.
Note that in Palm Control and Mobile App Control, the DJI Neo is hard-capped at thirty metres altitude and fifty metres distance no matter what you set in the app. The numbers above only apply once you are flying with a remote controller.
Flight environment rules and legal preparation
The manual lists fourteen flight environment requirements. The ones that catch new drone pilots out most often are these:
Do not fly in wind exceeding eight metres per second. Do not fly in rain, snow or fog. Do not take off from a balcony or within fifteen metres of a building. Do not take off from a moving surface like a car or boat. Do not take off near a cliff edge or a rooftop edge, because the DJI Neo can drift sideways on launch and go over the drop. Fly only in daytime. Keep Visual Line of Sight at all times.
Register for an Operator ID with the CAA and display it on the DJI Neo
Because the DJI Neo has a camera, the person responsible for it needs a CAA Operator ID, even though the drone itself is comfortably under the 250 gram threshold. If you plan to do any photography or video work commercially, that becomes a hard requirement the moment money changes hands. Register at register-drones.caa.co.uk. The Operator ID must be displayed on the DJI Neo before you fly.
Peter's tip
Run a full three hundred and sixty degree visual scan of your takeoff area before you press the button. Look up. Look for overhead wires, branches, and anything above head height that the DJI Neo could clip on the way up.
It takes ten seconds. I do it every single flight, even from spots I know well, because branches grow and wires sag and the DJI Neo has no obstacle sensing to save you.
Setup done. The DJI Neo is activated, updated, configured and legal. Your first takeoff can go ahead whenever the weather and the site allow, and the landing guide picks up when you are ready to bring it back down.
Got a specific setup question this guide did not answer, or a step where you hit a wall? Drop a note to peter@hiredronepilot.uk and I will come back to you directly. If you prefer the video version of this guide, the comments are open on YouTube.
References
Primary source material for this article is the DJI Neo User Manual v1.2 (November 2024) and the DJI Neo Quick Start Guide. External links open in a new tab.
- DJI — Neo User Manual v1.2 (November 2024) · First-time setup, battery activation, DJI Fly connection, activation, firmware update, flight environment rules
- DJI — Neo Quick Start Guide · Gimbal protector removal, charge-to-activate, ten watt charger spec, press-then-hold power on, Connection Guide
- UK CAA — The Drone and Model Aircraft Code (CAP2320) · UK flight environment and safety requirements referenced in the pre-flight section

Peter Leslie
Founder & GVC Drone Pilot
Peter is the founder of HireDronePilot. With thousands of logged commercial flight hours, he writes about drone technology, commercial surveying tactics, and UK aviation compliance.
Connect on LinkedIn