How To Turn A DJI Drone On And Off
Peter Leslie
05 May 2026

Key Takeaways
- Every modern DJI drone uses the same two-step power pattern: short press the power button, then press and hold for two seconds. The pattern is identical for power on and power off
- The power button lives on the battery itself on most current DJI models, which means inserting the battery into the drone before pressing it is essential
- The remote controller follows the exact same two-step pattern, and the order of the day is to power the controller on first and the drone second
- Some DJI drones have shortcut behaviours layered on top: the DJI Mini 5 Pro powers on automatically when you unfold the right rear arm, and the DJI Neo wakes from a single short press of the side button
- Powering off mid-flight is never appropriate. The drone holds altitude using the motors, and cutting power means it falls out of the sky
There is one button sequence that turns on every modern DJI camera drone sold in the last few years, and the same sequence turns it off again. Short press the power button. Then press and hold the same button for two seconds. That is it.
DJI built this pattern in deliberately. It is short enough to do one-handed in cold weather, long enough that a pocket-press will not switch the drone on by accident, and consistent across the entire current line-up. If you have flown a DJI Neo and you pick up a DJI Mini 5 Pro for the first time, you do not need to relearn anything to get the drone powered on. Most experienced drone pilots do this so often it becomes automatic.
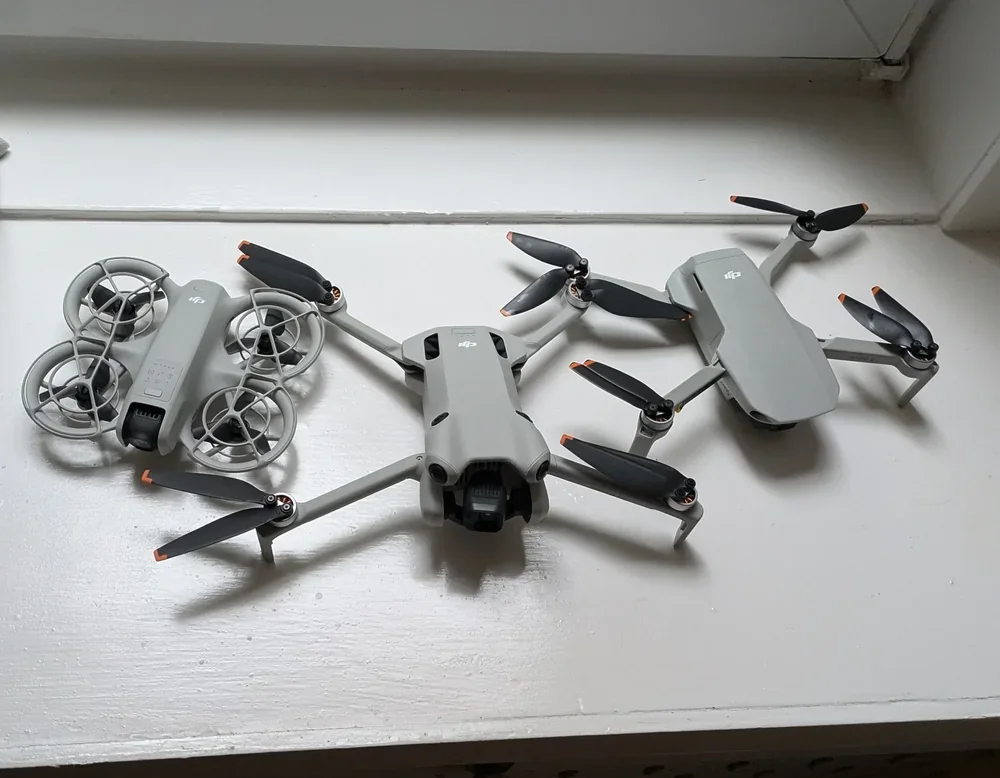
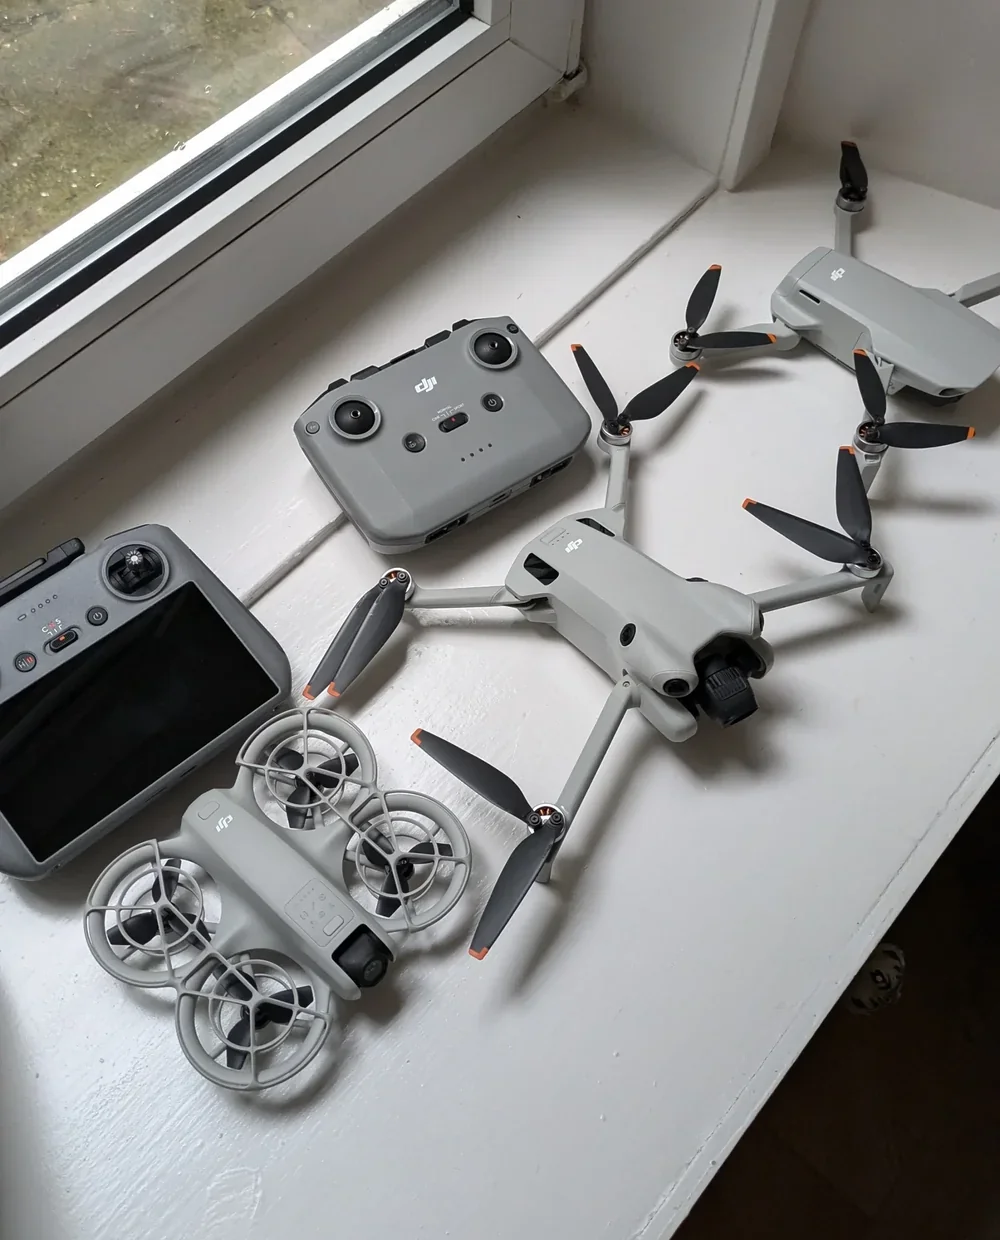
This guide covers the universal pattern in detail using the DJI Mini 5 Pro as the worked example, then runs through the per-model differences for the Neo, Mini 4 Pro, Air 3S, Mavic 3, and the current remote controllers. If you fly any of these under UK drone law, the procedure is the same.
| DJI model | Power-on method | Notes |
|---|---|---|
| DJI Mini 5 Pro | Short press, then press and hold the battery power button for two seconds | Or just unfold the right rear arm |
| DJI Neo / DJI Neo 2 | Short press, then press and hold the side power button for two seconds | Power button is on the side of the drone, not the battery |
| DJI Mini 4 Pro | Short press, then press and hold the battery power button for two seconds | Battery must be inserted into the drone first |
| DJI Air 3S | Short press, then press and hold the battery power button for two seconds | Same pattern, larger battery |
| DJI Mavic 3 / Mavic 3 Pro | Short press, then press and hold the battery power button for two seconds | Same pattern |
The universal DJI power pattern is short press, then press and hold for two seconds
Across the DJI Mini 5 Pro user manual, the DJI Neo manual, the Air 3S manual, and the Mavic 3 manual, the same instruction appears word for word: "Press, then press and hold the power button to power on or off the aircraft." That single sentence is the canonical procedure.
A short press on its own does something different. On most current DJI drones, a short tap of the power button checks the battery level, and the four green LEDs on the battery light up to show how much charge is left. So the first short press wakes the battery and shows the level. The press-and-hold that follows tells the drone to actually boot.
Insert a charged battery and place the drone on a flat surface
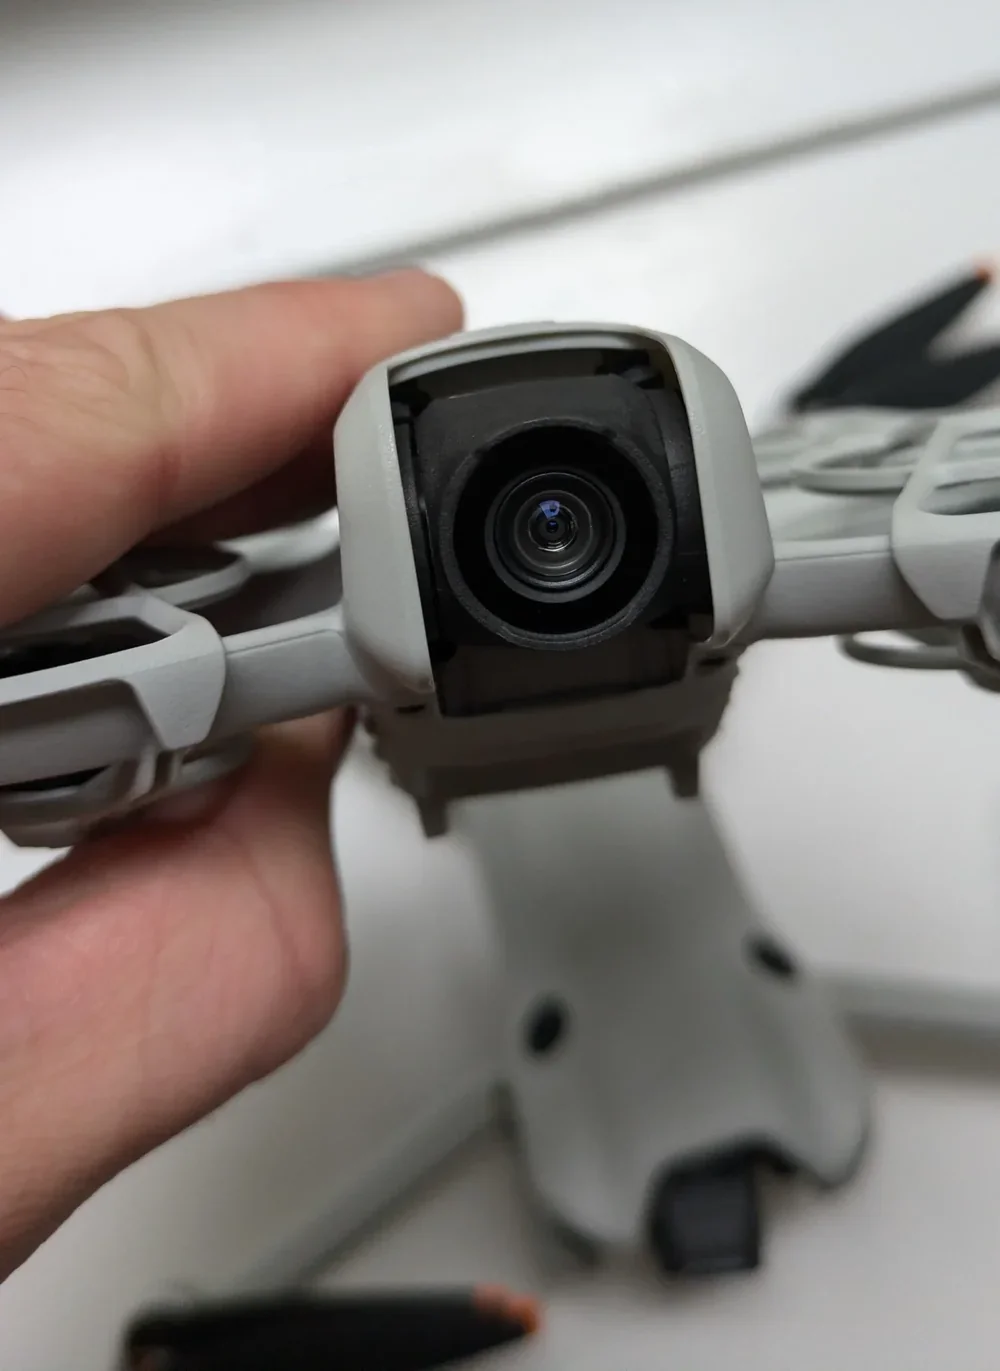
On the DJI Mini 5 Pro, Mini 4 Pro, Air 3S, and Mavic 3, the power button lives on the battery itself, which means the battery has to be locked into the drone first. Slide the battery into the bay until both buckles click, then set the drone down on level ground with clear space above and around it.
Short press the power button to wake the battery
A single quick tap of the power button. The battery level LEDs light up to show how much charge is left. One LED is roughly a quarter of a charge, four LEDs is full. This press on its own does not power the drone up. It just wakes the battery.
Press and hold the same button for two seconds
Without releasing your finger from the button, press it down again and hold for a full two seconds. The motors do a brief startup tone, the gimbal goes through its self-check rotation on models that have one, and the drone enters its self-diagnostic sequence. Do not pick the drone up or move it during this stage.
Peter's tip
If nothing happens when you press and hold, ninety per cent of the time it is because you released too early. Two full seconds feels longer than you think. Count it out in your head if you have to.
The other ten per cent is a battery that has gone into deep sleep from being stored too long. Plug it in for thirty seconds and try again.
Powering off uses the exact same two-step sequence
The instruction in every DJI manual is identical for off and on: "Press, then press and hold the power button to power on or off the aircraft." One short press, one press and hold for two seconds. The motors spin down, the gimbal locks, the LEDs go dark.
There is one rule that applies to every DJI drone in this article: do not power off mid-flight. The motors are what hold the drone in the air. Cutting power while the drone is hovering means it falls. Land first, wait for the motors to stop spinning, then run the power-off sequence.
Land the drone and wait for the motors to stop
Bring the drone down to a flat surface and either pull the throttle stick down to land, or use the auto-land function on screen. Wait until the propellers have come to a complete stop before you go anywhere near the power button.
Short press, then press and hold the power button
Same exact sequence as power on. One short tap, then a two-second hold. The drone will play a power-down tone, the LEDs will go out, and the gimbal will move into its locked position.
Peter's tip
Power the drone off before you remove the battery, every single time. Pulling a live battery out is the kind of thing that corrupts firmware and bricks drones. The two-second hold takes no longer than yanking the buckles, so there is no excuse for skipping it.
The DJI Mini 5 Pro adds a clever shortcut: unfolding the right rear arm powers it on automatically
The DJI Mini 5 Pro keeps the standard short-press-then-hold pattern as the manual method, but the manual also describes a quicker way: automatic power-on by unfolding the right rear arm. The arm-unfold sensor wakes the drone in one motion, which is faster than the button sequence and much faster if you are wearing gloves.
The same trick works in reverse. Folding the right rear arm on a powered-on DJI Mini 5 Pro starts an automatic power-off countdown. During the countdown, pressing any button on the drone body cancels it, which is useful if you fold the arm by accident while the drone is running a firmware update.
There are a few caveats from the user manual. If the drone has been in storage long enough for the battery to enter sleep mode, you have to short-press the power button to wake the battery before the unfold-arm shortcut will do anything. If the USB-C port is in use for charging or data transfer, unfolding the arm will not power the drone on. And if a collision occurred during the previous flight, the auto-power-off feature is disabled until you restart the drone manually.
Peter's tip
Always remove the storage cover before powering on the DJI Mini 5 Pro. The cover sits over the gimbal and forward sensors, and if you boot the drone with the cover still on, the self-diagnostics can fail and the drone will refuse to take off.
I keep mine clipped to the carry case rather than putting it in my pocket. That way I see it the moment I open the case and there is no question of forgetting.
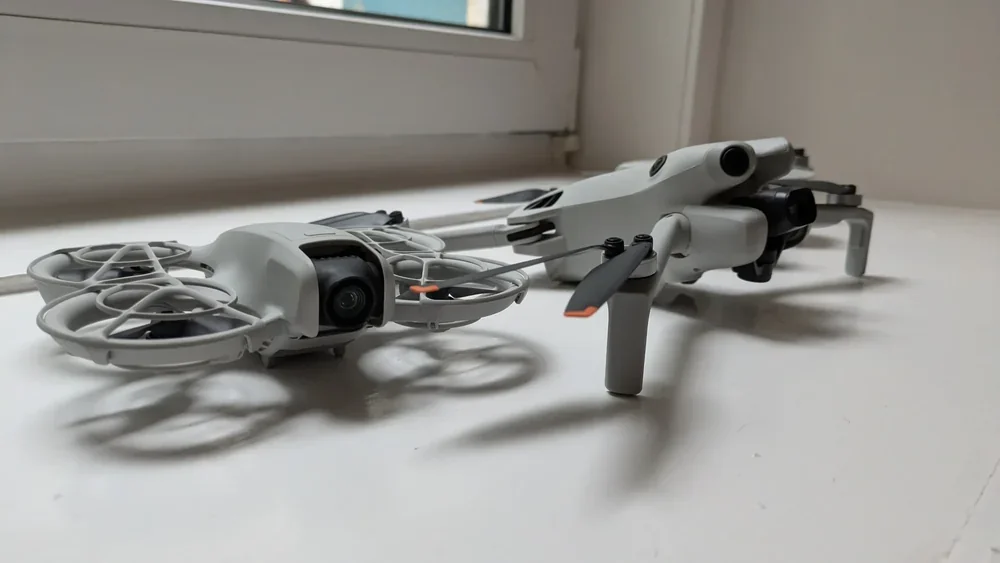
The DJI Neo, Mini 4 Pro, Air 3S, and Mavic 3 each have small variations on the same pattern
The two-step pattern is universal, but the position of the power button and a few model-specific quirks change between drones. Here is what to know for each of the current DJI camera drones in heavy use with UK drone pilots.
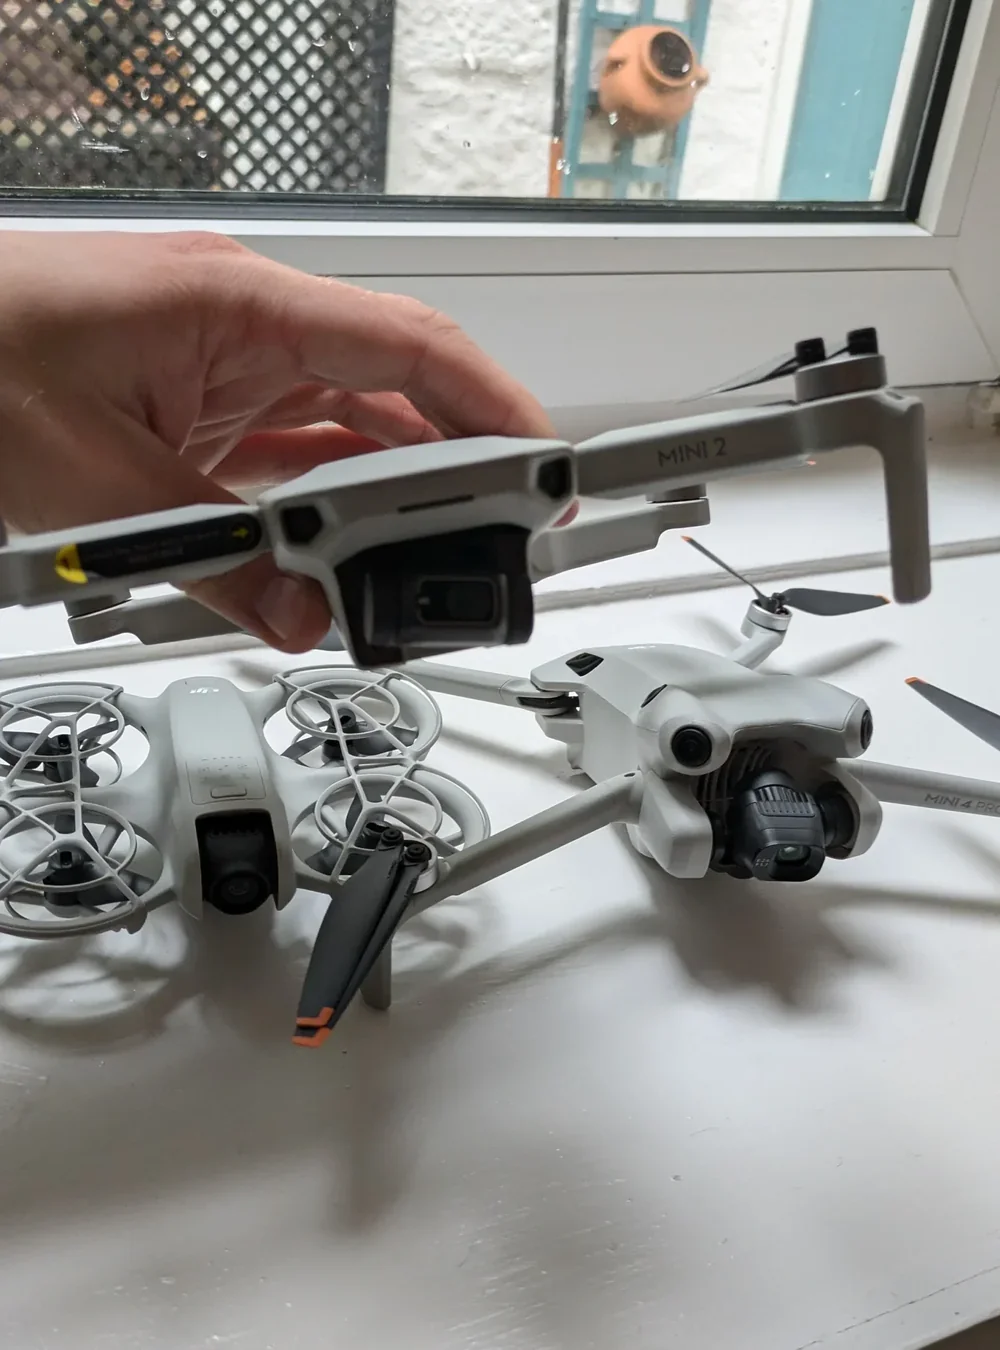
DJI Neo and DJI Neo 2
The DJI Neo's power button is on the side of the drone body rather than on the battery, because the battery is non-removable on this model. The two-step sequence is the same. Step-by-step instructions for the original Neo are in the turn-on Neo guide and the turn-off Neo guide. For the Neo 2, the procedure is in the turn-on Neo 2 guide and the turn-off Neo 2 guide.
DJI Mini 4 Pro
Identical pattern to the Mini 5 Pro for the manual button sequence, but the Mini 4 Pro does not have the unfold-arm-to-power-on shortcut that the Mini 5 Pro introduced. Battery slots into the rear bay, short press, then press and hold for two seconds.
DJI Air 3S
Same two-step procedure on the larger Air-class battery. The Air 3S battery is heavier and clicks into the bay with a more positive feel than the Mini-class batteries. Apart from that, nothing changes.
DJI Mavic 3 and Mavic 3 Pro
Same two-step procedure. The Mavic 3 batteries are larger again, and the four battery level LEDs are easier to read in bright daylight than on the Mini class. The Mavic 3 Pro Cine version with the built-in SSD takes slightly longer to finish its self-diagnostics after power on, because the SSD has to mount as well as the camera and gimbal initialising.
The remote controller uses the same two-step pattern, and you power the controller on first
The DJI RC 2, the DJI RC-N3, the DJI RC Pro, and every other current DJI controller use the same short-press-then-hold-for-two-seconds pattern. The DJI Mini 5 Pro user manual states the procedure for both the DJI RC 2 and the DJI RC-N3 in identical wording: "Press, then press and hold the power button to power on the remote controller."
The order of operations on the ground is to power the controller on first, wait for it to boot to the home screen or the camera view, and then power the drone on. This way the controller is ready to receive the connection the moment the drone finishes its self-diagnostics, and you do not have a powered drone sitting on the ground waiting for a controller that is still booting.
Power off in the reverse order. Drone first, controller second.
Peter's tip
If the controller is brand new it needs activating with an internet connection on first power-on, so do not try to set up a fresh DJI RC 2 in a field with no signal. Pair it at home, run through the activation prompts, then take it out flying.
That is the whole power-on and power-off procedure for every DJI camera drone in the current line-up. Short press, then press and hold for two seconds. Same on, same off, same controller. The DJI Mini 5 Pro arm-unfold shortcut is the only meaningful variation, and even that falls back to the manual button sequence if the battery has gone to sleep.
If you have a model not covered here or you are seeing odd behaviour like the drone refusing to power on with a fully charged battery, drop a note to peter@hiredronepilot.uk and I will come back to you directly. If you prefer the video version of this explainer, the comments are open on YouTube.
References
Primary source material for this article is the DJI Mini 5 Pro User Manual, with cross-checks against the DJI Neo and Mavic 3 manuals. External links open in a new tab.
- DJI — Mini 5 Pro User Manual (2025) · Powering On/Off, Activation, automatic arm-unfold power-on, storage cover guidance
- DJI — Neo User Manual v1.2 (November 2024) · Side-button power procedure for the non-removable Neo battery
- DJI — Mavic 3 User Manual · Confirms the same press, then press and hold power pattern on the Mavic-class battery
- UK CAA — The Drone and Model Aircraft Code (CAP2320) · UK flight safety baseline that applies once the drone is powered on

Peter Leslie
Founder & GVC Drone Pilot
Peter is the founder of HireDronePilot. With thousands of logged commercial flight hours, he writes about drone technology, commercial surveying tactics, and UK aviation compliance.
Connect on LinkedIn