Key Takeaways
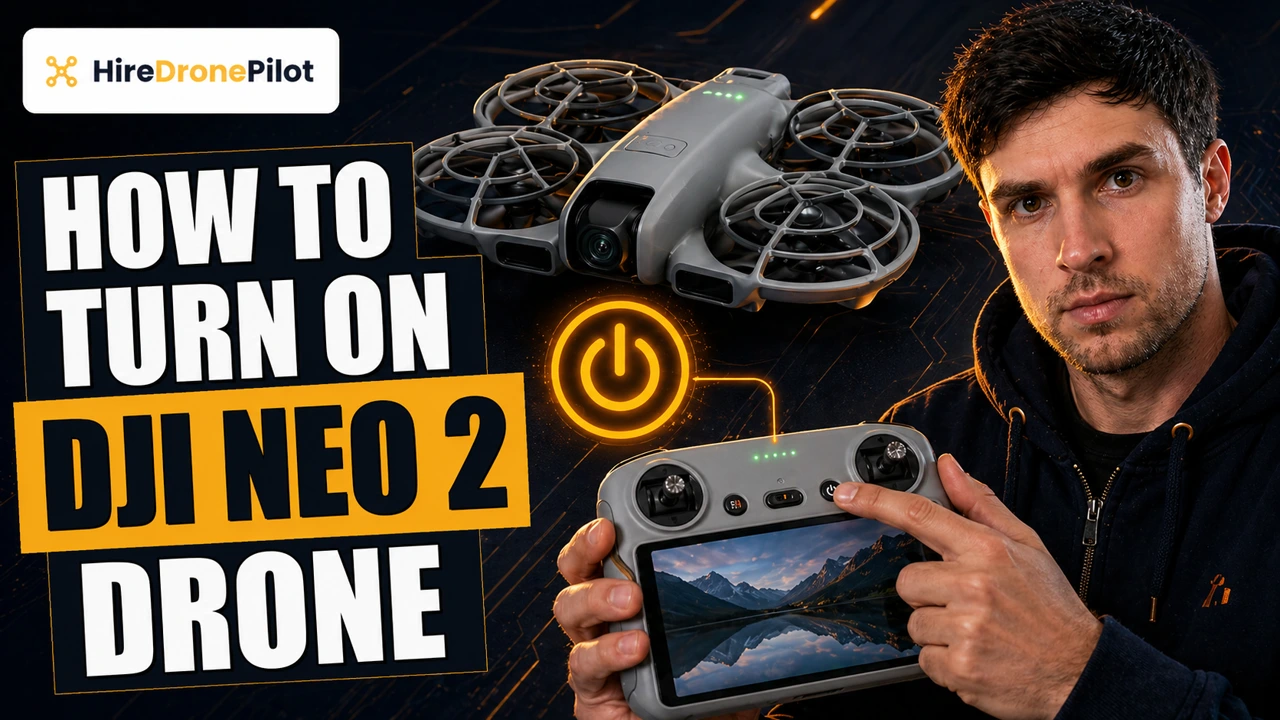
- Every powered device in the DJI Neo 2 ecosystem uses the same two-step sequence: press the power button once, release, then press and hold for two seconds
- A single quick press on any of the devices shows the current battery level on the Battery Level LEDs without fully powering it on
- The DJI Neo 2 itself has a new on-body Screen, a Takeoff Button, and a Select Button — none of which appeared on the original DJI Neo
- The Motion Fly More Combo adds DJI Goggles N3 and the DJI RC Motion 3 motion controller, and each device needs powering on before takeoff
- Remove the gimbal protector before the power-on sequence so the self-diagnostics run cleanly
The DJI Neo 2 powers on the same way every other modern DJI product does: press the power button once, release it, then press and hold for two seconds. That sequence is the answer. The wrinkle is that the Neo 2 ecosystem has more than one thing to switch on depending on how you bought it, and missing a device out of the chain leaves you standing in a field with a drone that will not fly.
This guide walks through every powered device in the DJI Neo 2 box, from the drone itself through to the drone pilots' accessories, with the exact button location for each one. Every step is sourced from the DJI Neo 2 User Manual v1.2 (December 2025).
If you still need to link the drone to DJI Fly or run a first-time activation, do that before you fly — the DJI Neo 2 will prompt you for activation the first time it powers on.
| What you have | Device to power on | Where the button sits | |
|---|---|---|---|
| DJI Neo 2 drone | DJI Neo 2 body | Top, next to the Battery Level LEDs | Jump to steps |
| Fly More Combo | DJI RC-N3 | Front face, below the sticks | Jump to steps |
| Motion Fly More Combo | DJI Goggles N3 | Right-hand side of the headset | Jump to steps |
| Motion Fly More Combo | DJI RC Motion 3 | Side, below the USB-C port | Jump to steps |
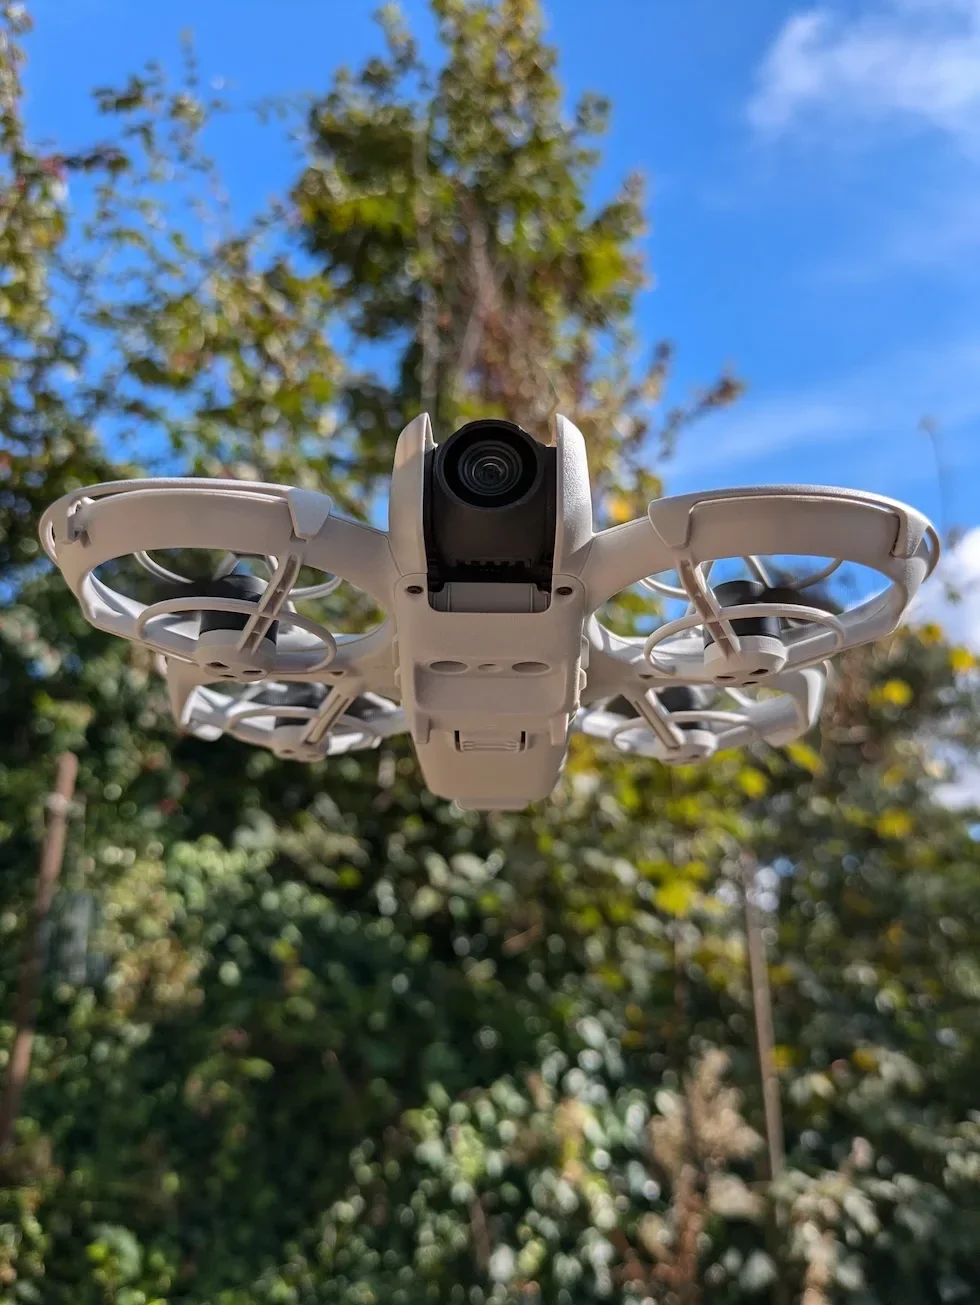
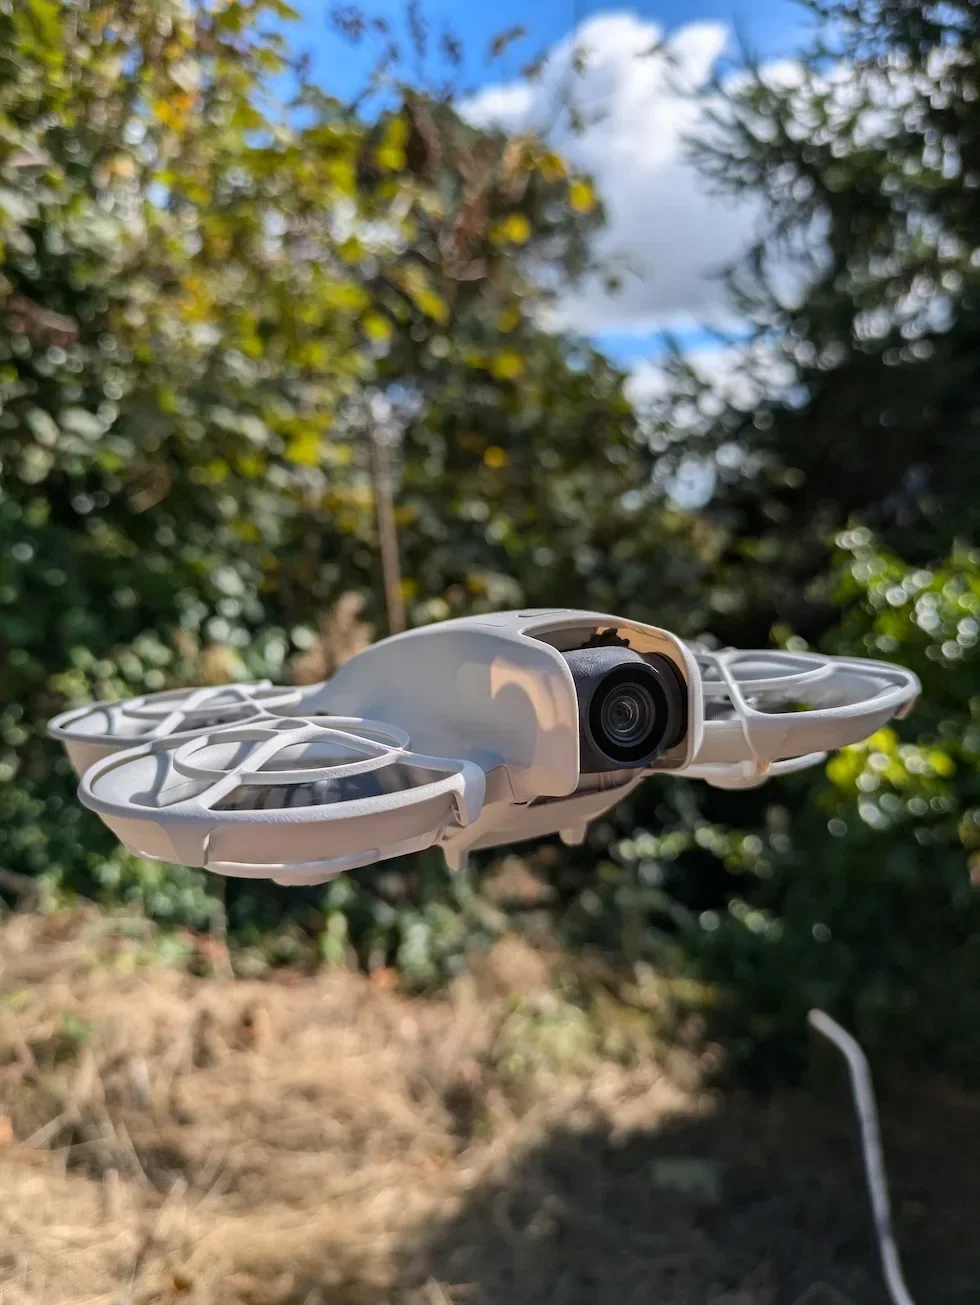
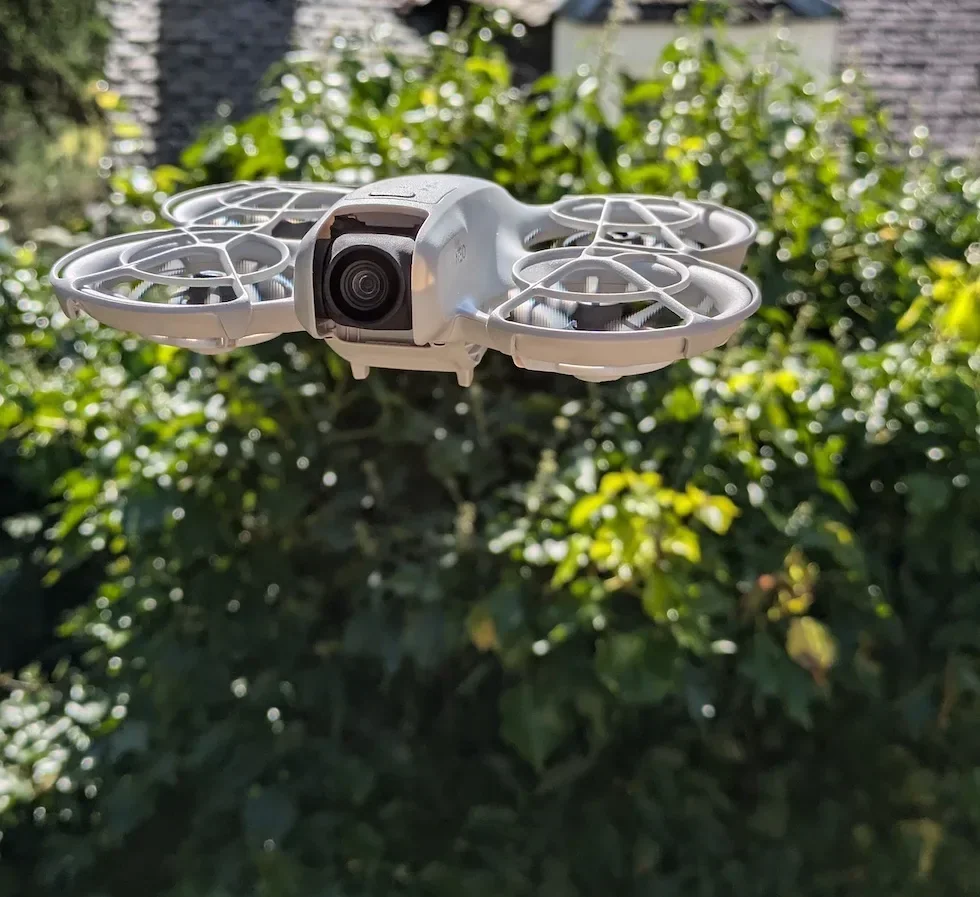
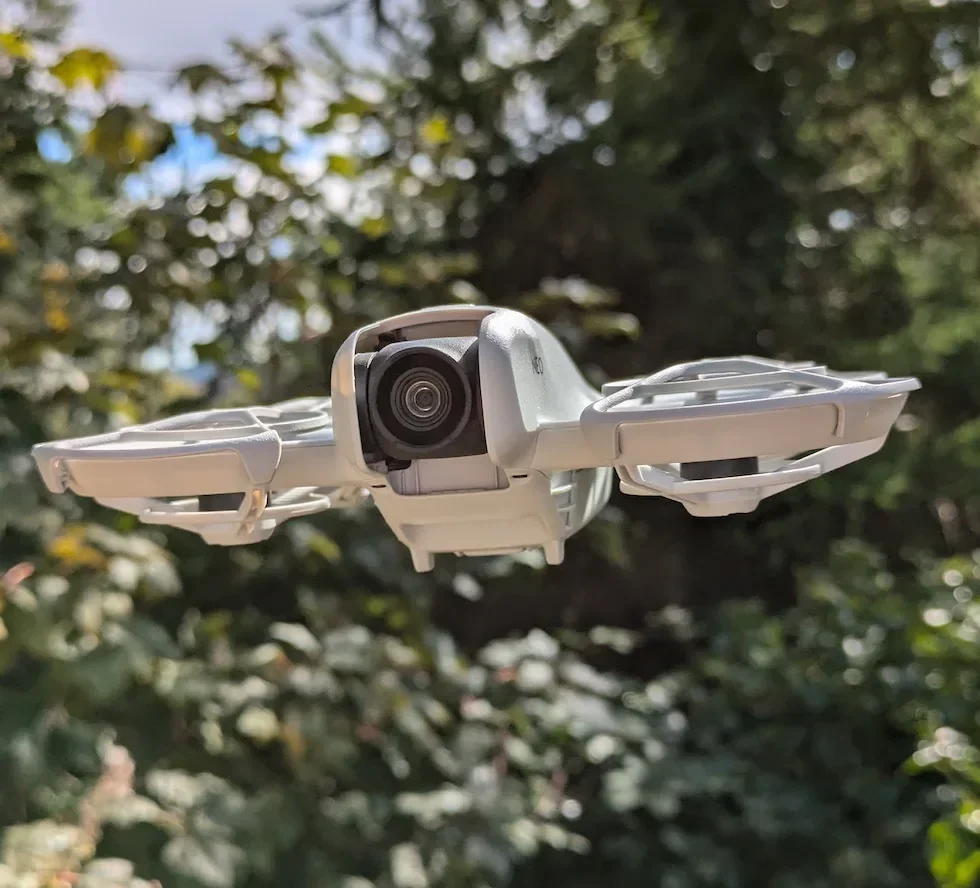
The DJI Neo 2 body carries a Screen, a Takeoff Button, and a Select Button that the original DJI Neo never had
Before you press anything, it helps to know what is looking back at you. The DJI Neo 2 body in the manual overview labels sixteen components, and a handful of them are brand new for this generation. Previous owners of the original DJI Neo will not recognise them.
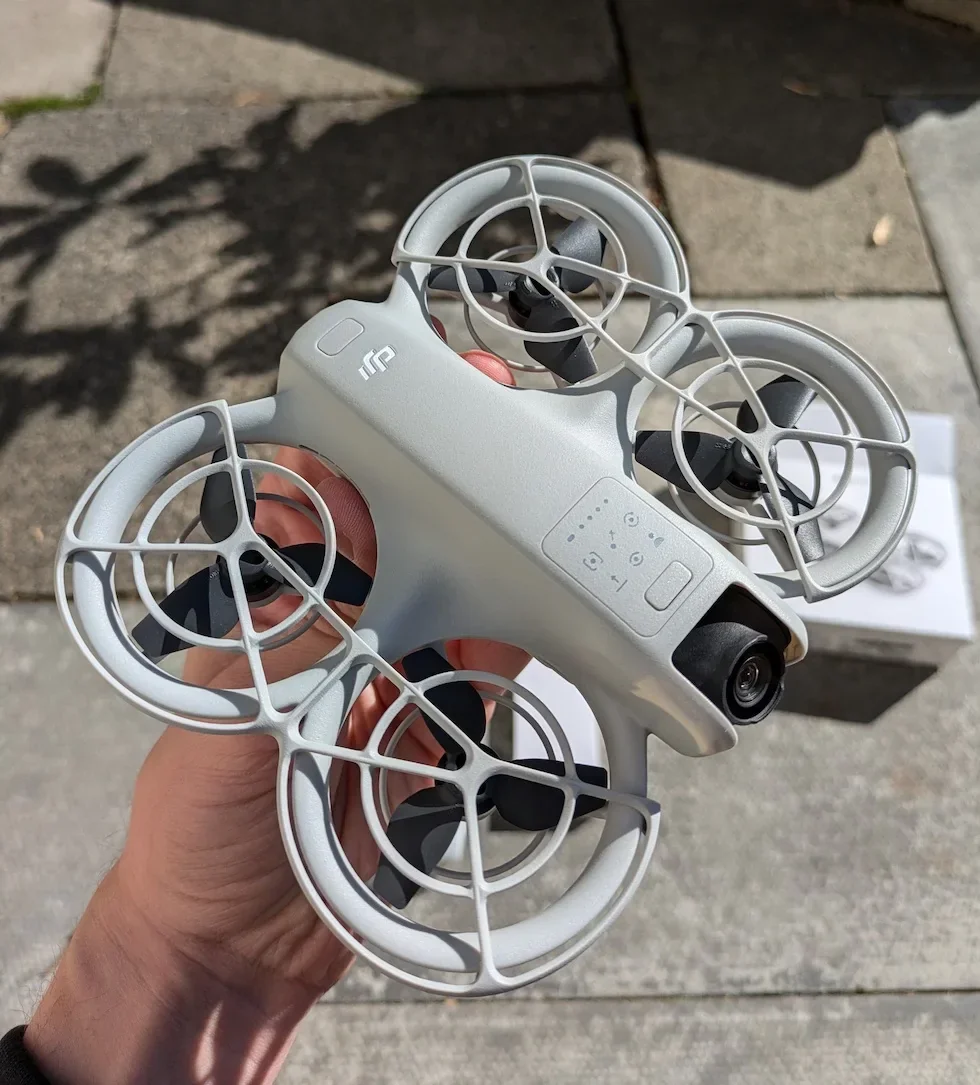
On top of the drone you have the Power Button, the Battery Level LEDs, and — new for the Neo 2 — a small on-body Screen. Alongside them sit a Takeoff Button and a Select Button, which let you choose a flight mode and trigger an auto takeoff without reaching for a phone.
The belly carries an Omnidirectional Monocular Vision System and a Downward Infrared Sensing System. The front carries a Forward-Facing LiDAR. None of those appeared on the original DJI Neo, and they are the reason the Neo 2 boots a little slower than its predecessor while it runs self-diagnostics on every sensor.
Powering on the DJI Neo 2 itself
This is the one you will do every flight. Start with the drone before anything else in the chain, because the drone is what every other device in the ecosystem connects to.
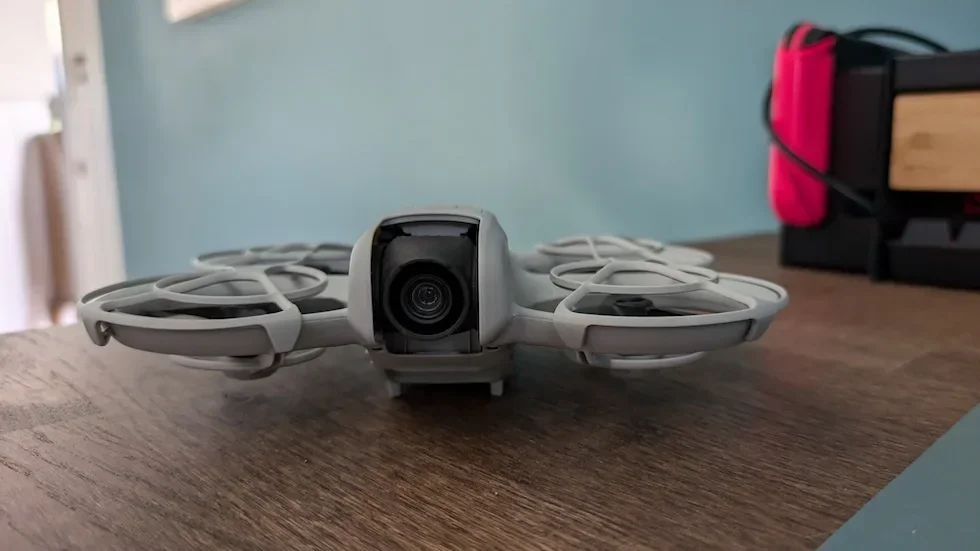
Remove the gimbal protector from the camera
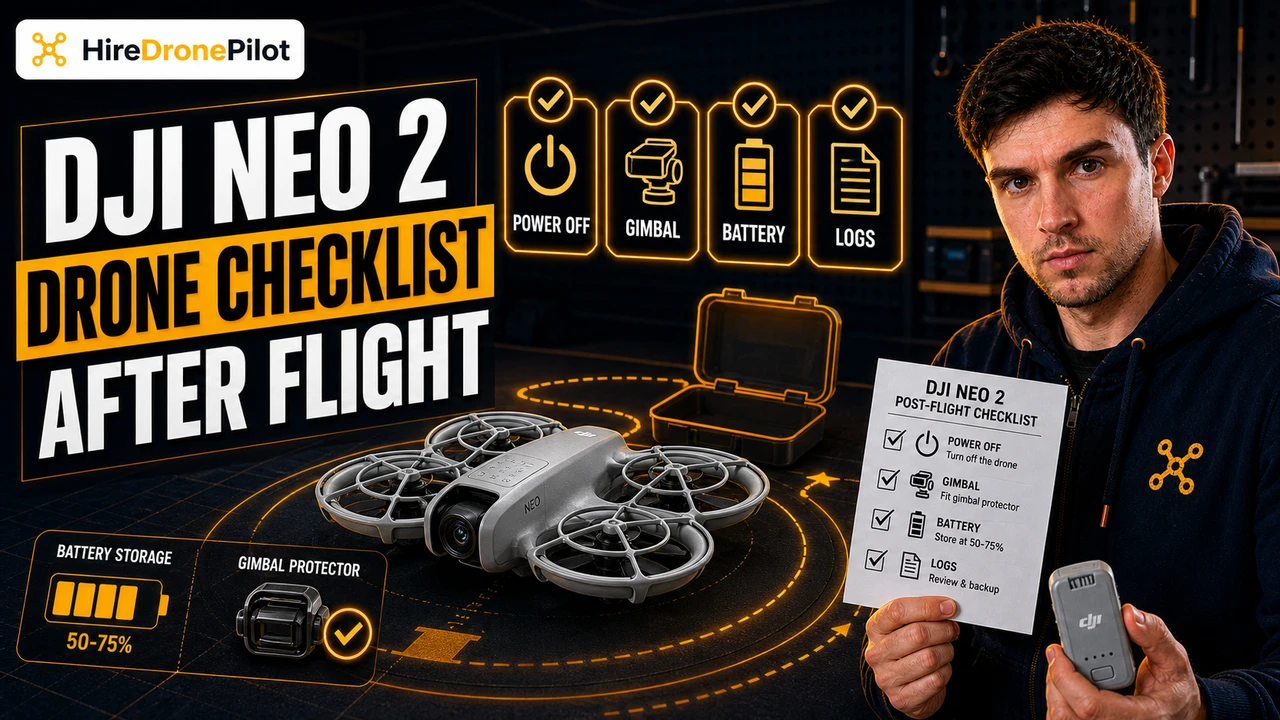
The manual is explicit on this one. If the gimbal protector is still on the camera when you power on, it may affect the DJI Neo 2 self-diagnostics and the gimbal motor can hit a protection fault. Pinch the bottom of the protector, pull it away, and set it aside for when the DJI Neo 2 is back in the bag.
Press the Power Button once to check the Battery Level LEDs
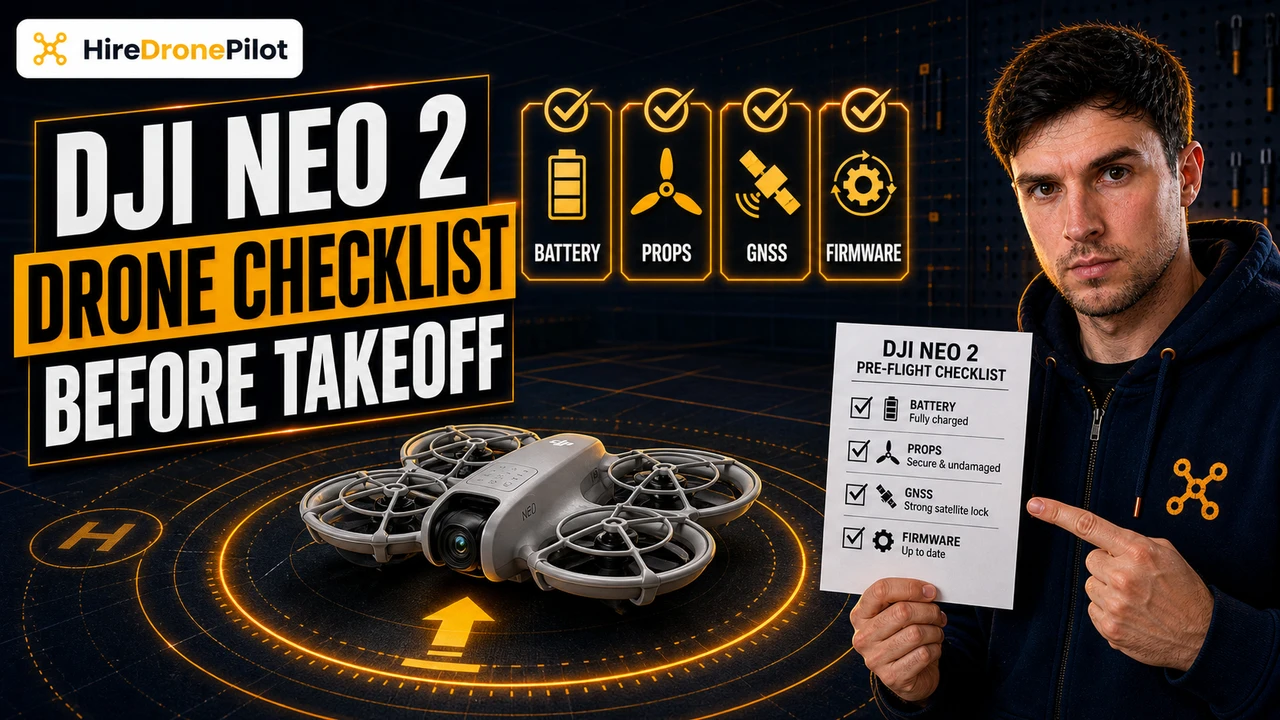
A single tap on the Power Button lights up the four Battery Level LEDs next to it without booting the DJI Neo 2 fully. Each lit LED is roughly twenty five percent of charge. If you see one solid LED, charge the Intelligent Flight Battery before you go any further.
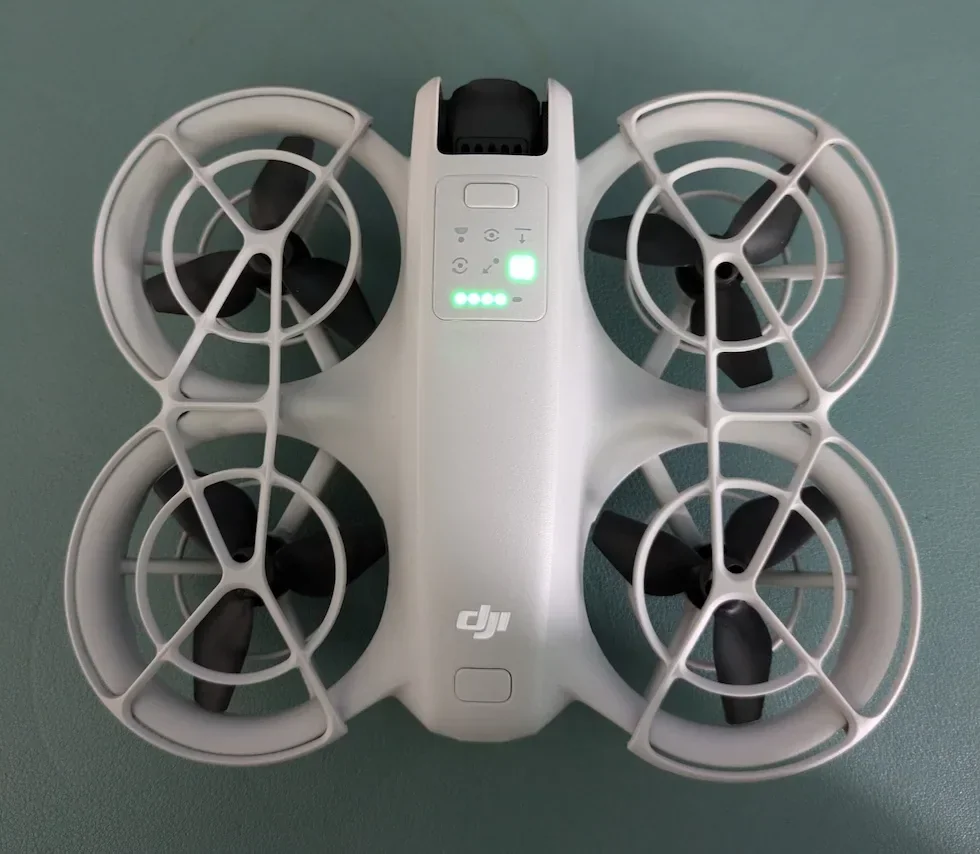
Press once, then press and hold the Power Button for two seconds
This is the official DJI sequence from the manual: press, then press and hold the power button to power on DJI Neo 2. Keep your finger on the button for a full two seconds. The on-body Screen will light up, the Status Indicator will run its boot pattern, and the propellers will give a small twitch as the motors self-check.
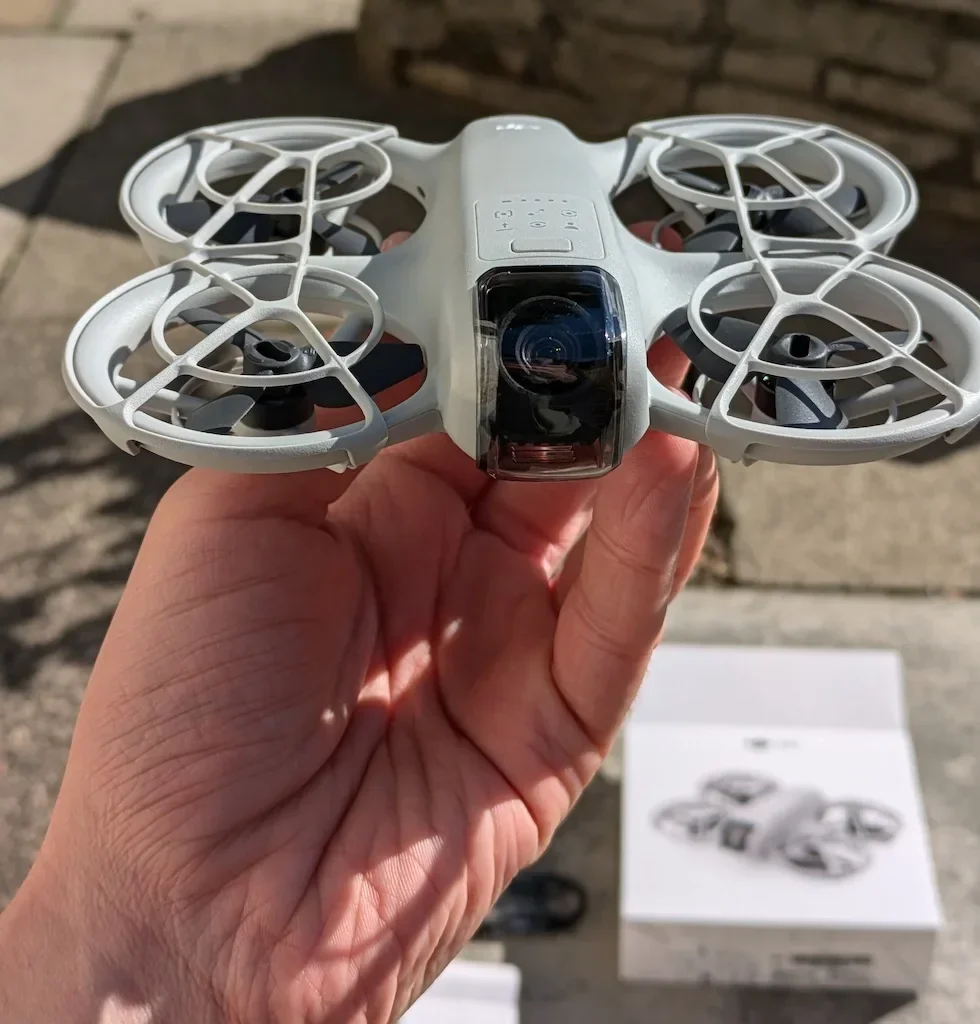
Let the self-diagnostics finish before you touch it
Set the DJI Neo 2 on a flat surface and leave it alone. The vision system calibration, the LiDAR self-check, and the gimbal sweep all need to run without you jostling the drone. When the sweep finishes and the Status Indicator settles, you are ready to launch DJI Fly and connect.
Peter's tip
I always do the single-tap battery check before I commit to the full boot sequence. If the LEDs read one bar and I am on a site thirty minutes from home, I would rather know that before the self-diagnostics run.
The DJI Neo 2 will not stop you taking off on a low battery, but the flight logs will remember it if something goes wrong.
The DJI RC-N3 uses the same press-then-hold sequence on the front face of the controller
If you bought the Fly More Combo, the DJI RC-N3 is the controller that cradles your phone and sends stick inputs to the DJI Neo 2 over the OcuSync radio link. It is the same RC-N3 you would use on an Air, a Mini, or most of the current DJI fleet, so the sequence matches what you already know.
Before you power it on, mount the control sticks from the storage slots and pull out the mobile device holder. Connect your phone with the USB-C cable — the one already connected is the default. If an Android device throws a USB-connection prompt, the manual says select charge-only, because other options can drop the link.
Powering on the DJI RC-N3
Mount the sticks and clamp the phone in the holder
Screw the control sticks into the threaded sockets on the top of the RC-N3, fold the phone holder up, and clamp your phone in place. Plug the USB-C end of the cable into the phone. Make sure the phone is firmly seated before you power on, because the weight can tip the controller if the clamp is loose.
Press the Power Button once to show battery level
The Power Button sits on the front face of the RC-N3, below the control sticks. A single tap lights the Battery Level LEDs. Same rule as the drone body — one bar means charge before you fly.
Press once, then press and hold for two seconds
Same sequence as the DJI Neo 2 body. A short press, a release, and a two-second hold. The controller chimes, the LEDs settle, and the phone display starts looking for DJI Fly. If Fly is already open on the phone, it will jump straight to the connection screen.
Peter's tip
Power on the RC-N3 before you power on the DJI Neo 2 if you want the controller to catch the link on the first try. If you fire up the drone first, it will hunt for the controller, give up, and make you wait for the next retry window. Controller first, drone second is the order I use.
DJI Goggles N3 power on with the same sequence and show the battery level through a tri-colour LED
If your box is the Motion Fly More Combo, the Goggles N3 are the immersive headset that pairs with the DJI RC Motion 3 for first-person flight. They are also where the Easy ACRO menu lives — the only way to trigger a DJI Neo 2 flip.
The Goggles N3 Power Button is on the right-hand side of the headset, and the battery compartment tethers to the headset with a non-detachable power cable. The manual flags that cable as a hardware-level warning — do not yank on it.
Powering on the DJI Goggles N3
Press the Power Button once to read the battery colour
The single-press battery check uses a tri-colour LED on the Goggles N3. The manual lists the thresholds. Solid green is forty to one hundred percent. Solid yellow is eleven to thirty nine percent. Solid red is one to ten percent. Red means charge before you fly.
Press once, then press and hold for two seconds
Same sequence, same two-second hold. The lenses light up, the start-up chime plays, and the Goggles N3 show a DJI boot screen while they link to the DJI Neo 2 Digital Transceiver. Unfold the antennas before this step — the manual calls out folded antennas as a risk of damage during use.
Put the Goggles on after the devices are powered on
The manual ordering is clear: put on the goggles after the devices are powered on. Rotate the headband adjustment knob on the battery compartment until the fit is snug but not tight. The Goggles N3 do not satisfy the UK requirement for visual line of sight on their own — the manual notes that a visual observer may be needed depending on local regulations.
Peter's tip
The visual-observer note is not optional in the UK. If you are wearing the Goggles N3, a second person needs to be watching the DJI Neo 2 with their own eyes, and they need to be close enough to tell you what they see.
Read our UK drone laws guide for the full visual line of sight rule before you fly in FPV mode.
The DJI RC Motion 3 powers on with a short press and hold on the side of the grip
The Motion 3 is the pistol-grip controller that pairs with the Goggles N3 for Immersive Motion Control. The Power Button is on the side of the grip, next to the USB-C port, and it follows the same press-then-hold convention as every other device in this article.
The Motion 3 is also where the lock button, joystick, and accelerator live — the three controls you use for takeoff, flight, and Easy ACRO once you are airborne. Powering it on is the last step before you wear the Goggles.
Powering on the DJI RC Motion 3
Press the Power Button once to check battery level
A single tap on the Power Button lights the Battery Level LEDs on the grip. The manual recommends charging before use if the battery reads too low. Charging is USB-C at five volts, two amps.
Press once, then press and hold for two seconds
Same rhythm. Short press, release, two-second hold. The Motion 3 chimes to confirm it is awake and the LEDs settle into the running pattern. From here the grip is ready to send inputs through the Goggles N3 to the DJI Neo 2.
Confirm the link to the Goggles N3 before takeoff
Combo boxes ship pre-linked. If your Motion 3 was bought separately, run through the Connection Guide inside DJI Fly to link it to the Goggles N3 and the DJI Neo 2 Digital Transceiver. Do not skip this. An unlinked Motion 3 will look powered on from the LED pattern and still fail to send any input to the drone.
Peter's tip
I power the Goggles N3 and the Motion 3 on together, then the DJI Neo 2 last. The DJI Neo 2 Digital Transceiver is what they all talk to, and it takes a couple of seconds for the mesh to settle. Powering the drone on last gives the receiver the strongest chance of catching both Goggles and Motion 3 in a single handshake.
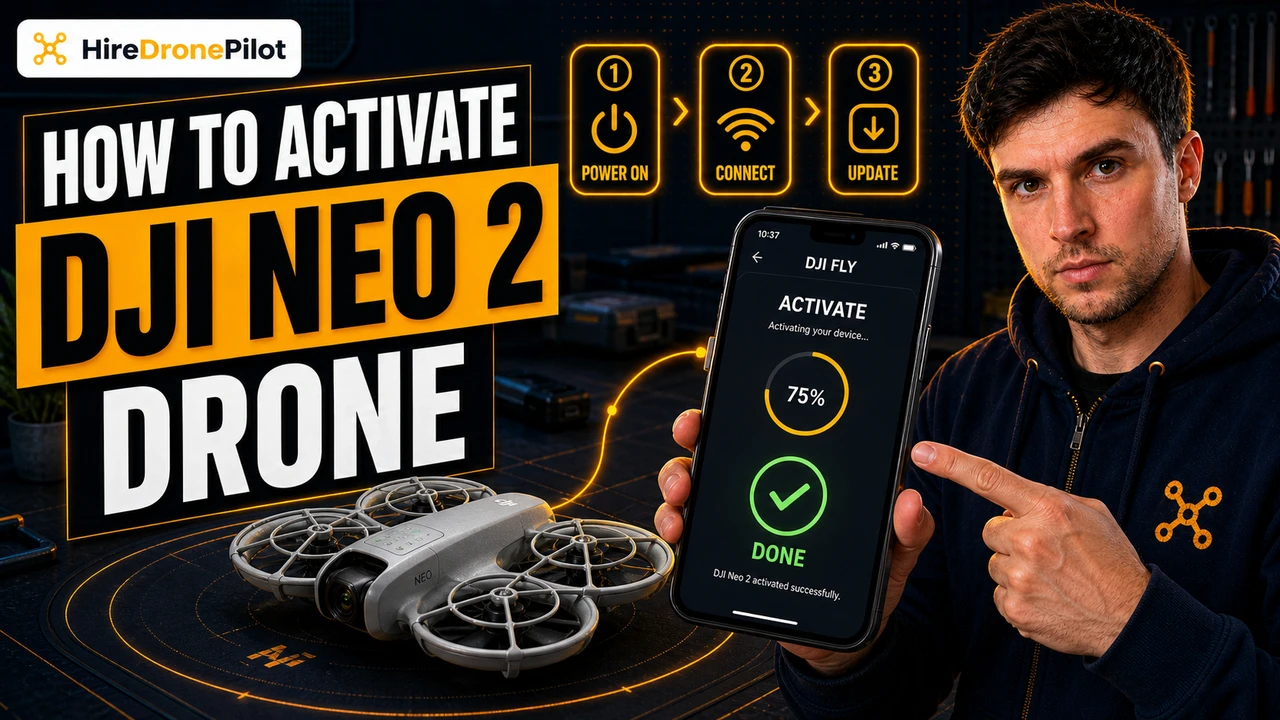
Activate the DJI Neo 2 in DJI Fly the first time you power it on
The first time the DJI Neo 2 powers on, the manual requires activation through DJI Fly before the drone will fly. An internet connection is required, and the sequence varies by which combo you bought.
For the bare-drone or Fly More Combo, press and hold the Power Button to boot the DJI Neo 2, launch DJI Fly on your phone, tap Connection Guide at the bottom right of the home screen, select the device model, and follow the on-screen instructions.
For the Motion Fly More Combo, power on the drone, the Goggles N3, and the Motion 3, then connect the Goggles N3 to your phone with a USB-C cable. DJI Fly will walk you through activation across all three devices. If the phone will not connect, the manual says follow the prompts inside the Goggles N3 themselves — the same activation flow runs on the headset display.
A firmware update usually prompts immediately after activation. Do it. The manual is direct: otherwise, some features may not be available.
Peter's tip
Do the activation at home on good Wi-Fi, not on site. I have seen the first-time activation hang on patchy 4G more than once, and there is no way to skip it. If you turn up to a shoot with an unactivated DJI Neo 2 and no signal, the flight is not happening.
The press-then-hold sequence is DJI's universal power convention across the Neo 2 ecosystem
Every powered device in the box answers to the same two-step sequence. Press once to check battery, then press and hold for two seconds to fully power on. Drone, DJI RC-N3, Goggles N3, DJI RC Motion 3 — all of them. The LEDs and chimes differ, but the button rhythm is identical.
Once everything is awake, your next step depends on whether you are flying the DJI Neo 2 with the RC-N3 or with the Goggles N3 and Motion 3. Either way, the DJI Neo 2 shutdown sequence uses the same press-then-hold pattern when you are done.
Got a question about a specific combo or an odd LED pattern I did not cover? Drop a note to peter@hiredronepilot.uk and I will come back to you directly. If you prefer the video version of this guide, the comments are open on YouTube.
References
Primary source material for this article is the DJI Neo 2 User Manual. External links open in a new tab.
- DJI — Neo 2 User Manual v1.2 (December 2025) · Power procedure, activation, firmware update, Immersive Motion Control, Easy ACRO Flip
- UK CAA — The Drone and Model Aircraft Code (CAP2320) · UK flight safety requirements referenced in the visual line of sight note

Peter Leslie
Founder & GVC Drone Pilot
Peter is the founder of HireDronePilot. With thousands of logged commercial flight hours, he writes about drone technology, commercial surveying tactics, and UK aviation compliance.
Connect on LinkedIn