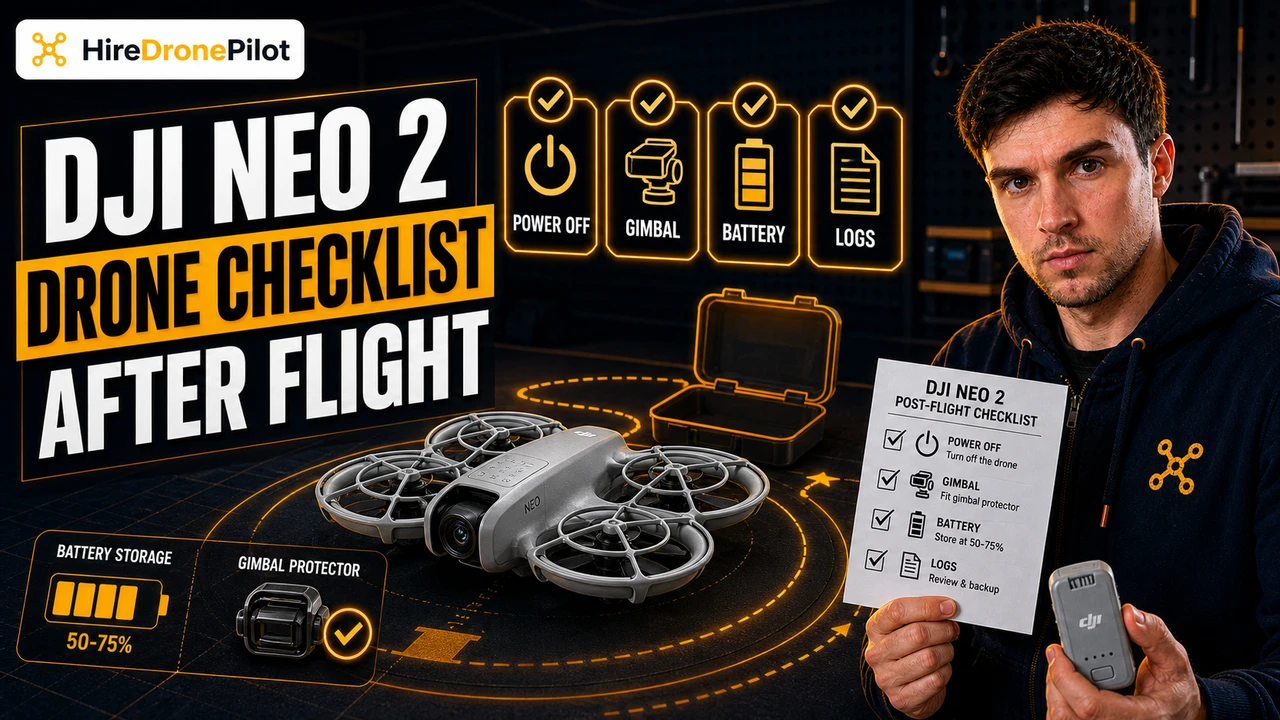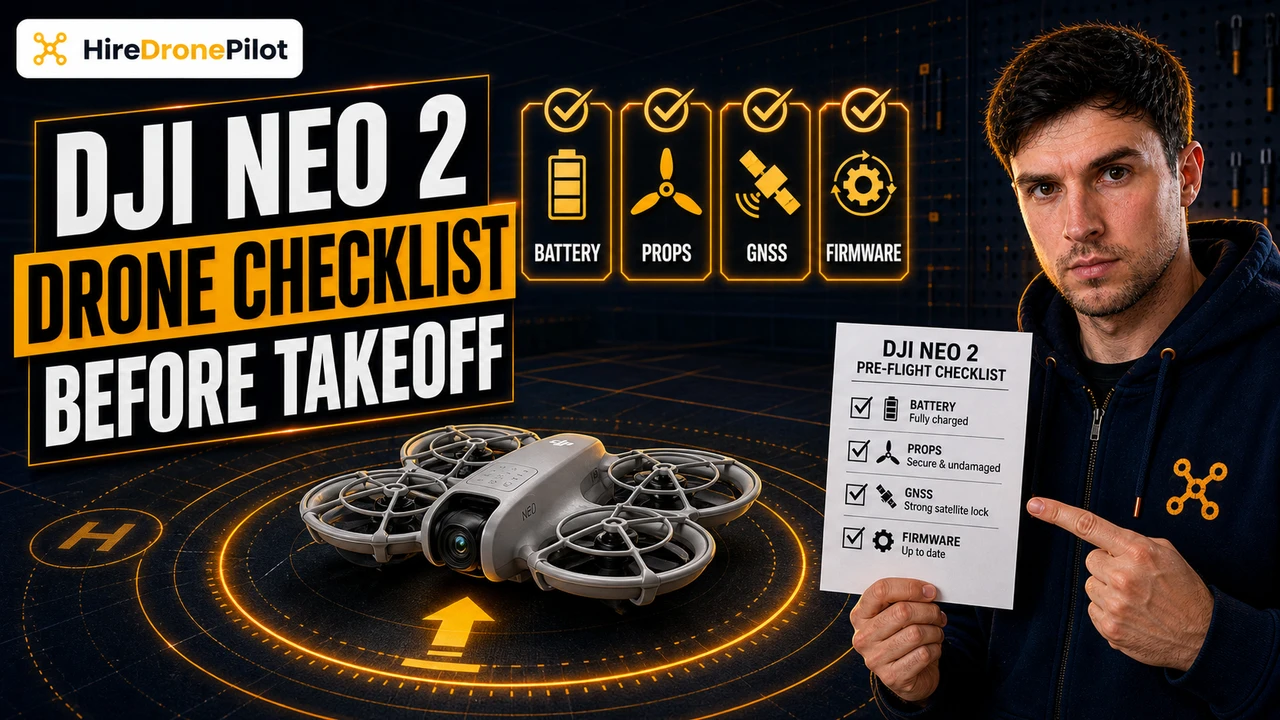
Key Takeaways
- The DJI Neo 2 must be activated in DJI Fly before the first flight, and an internet connection is required
- Power the DJI Neo 2 on with the press-then-press-and-hold sequence before opening DJI Fly
- Activation runs from the Connection Guide button in the bottom right corner of the DJI Fly home screen
- Select DJI Neo 2 as the device model in the Connection Guide and follow the on-screen prompts to complete activation
- Install the firmware update the moment DJI Fly prompts for it, otherwise some features will not be available
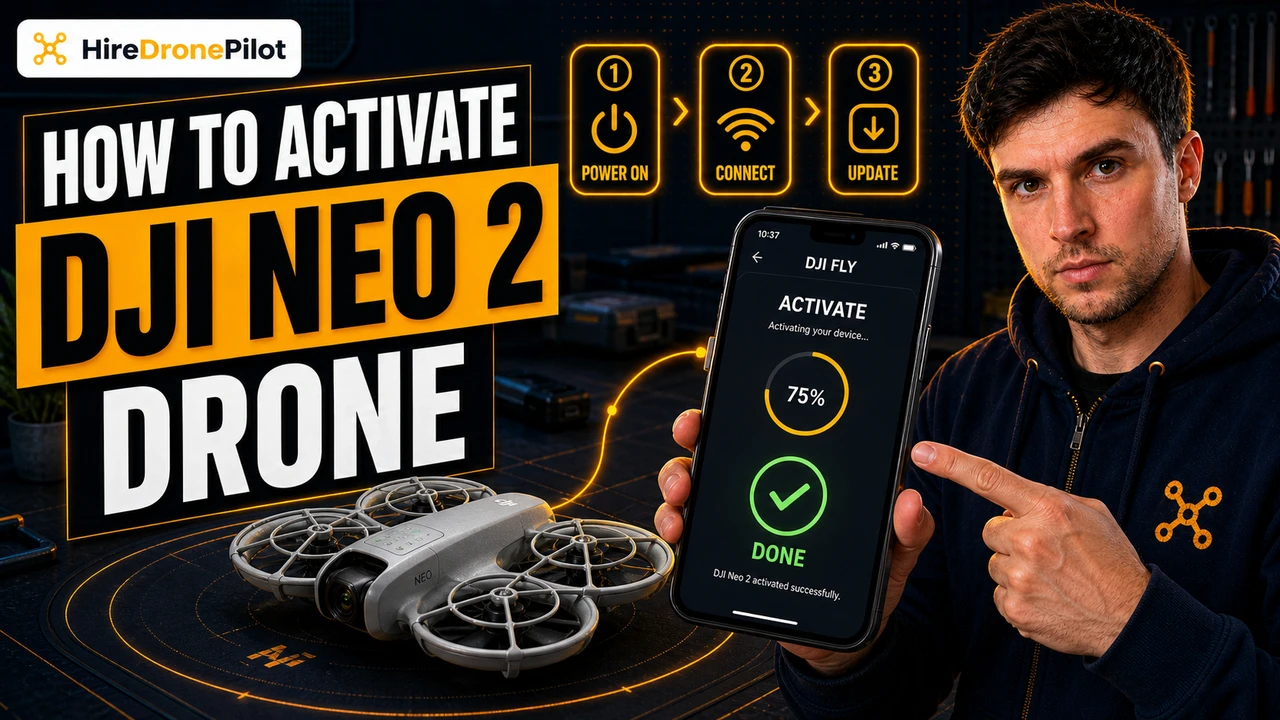
Activating the DJI Neo 2 is a four-step job inside DJI Fly: power the DJI Neo 2 on, open DJI Fly with the phone online, run the Connection Guide from the home screen, and install the firmware update when prompted. The DJI Neo 2 cannot be flown until activation is complete. If you are running through first-time setup, this is the step that binds the DJI Neo 2 to your DJI account.
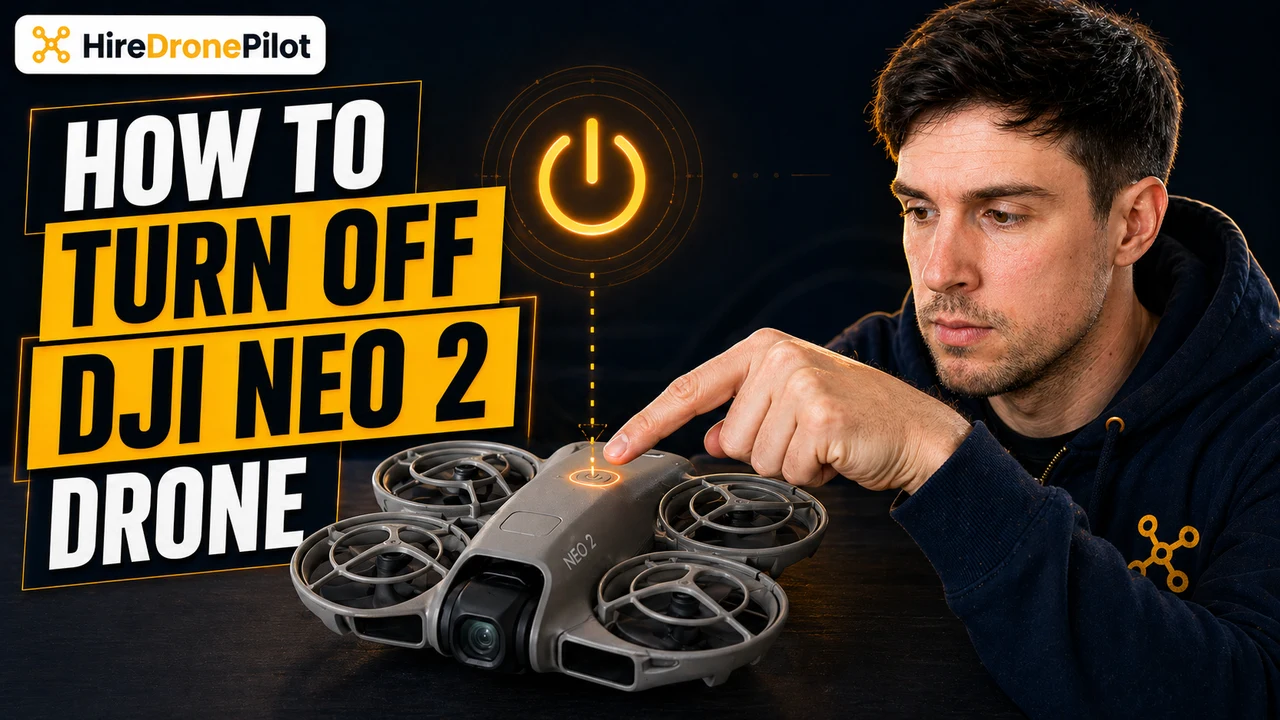
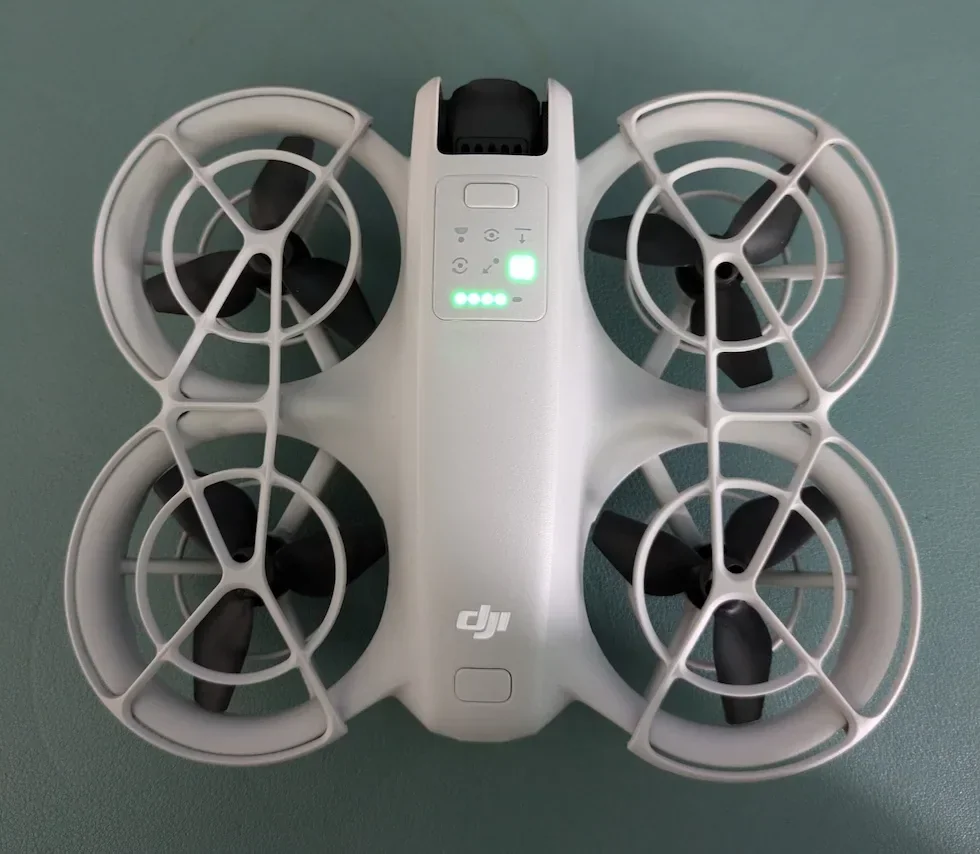
Power the DJI Neo 2 on with press-then-press-and-hold
Set the DJI Neo 2 down on a flat surface with the gimbal protector already removed. Press the power button on top once, then press and hold it for two seconds until the battery LEDs light up. The gimbal will tilt through its full range as part of self-diagnostics. Keep the DJI Neo 2 still while this runs — picking it up mid-check can throw the calibration and you will see a gimbal error inside DJI Fly later.
Open DJI Fly on a phone that is online and signed in
Open DJI Fly on your phone and sign in to (or create) a DJI account. An internet connection is required — Wi-Fi or mobile data, either works, but the DJI Neo 2 cannot be activated offline. If you are using the Fly More Combo, mount the sticks on the DJI RC-N3, plug the phone in, and pick the charge-only option on the Android USB prompt before you open DJI Fly. Without that, the controller will not pass the connection through.
Tap Connection Guide and select DJI Neo 2 as the device model
The Connection Guide button sits in the bottom right corner of the DJI Fly home screen. Tap it, then select DJI Neo 2 as the device model from the list. Follow the on-screen instructions — the guide pairs the DJI Neo 2 with your phone (over Wi-Fi if you are flying without a controller, or through the DJI RC-N3 if it is mounted) and then runs the activation flow. Pick your country, agree to the terms, and wait for the confirmation screen. Activation usually completes inside about thirty seconds.
Install the firmware update the moment DJI Fly prompts for it
Once activation finishes, DJI Fly checks for a firmware update and prompts you to install it. Update the firmware whenever prompted, otherwise some features will not be available. Tap through and wait. Keep the DJI Neo 2 powered on, keep the phone on Wi-Fi or mobile data, and do not close the app. A full update can take ten to twenty minutes, and the DJI Neo 2 will restart on its own when it finishes. If the update stalls partway through, close DJI Fly, reopen it, and the install will normally resume from where it stopped.
If activation fails the cause is almost always the internet connection or the Android USB prompt
Two failure modes account for nearly every stuck activation on a new DJI Neo 2. The first is the internet — the Connection Guide will pair with the DJI Neo 2 happily on Bluetooth and Wi-Fi without a working data path to DJI's servers, then it will sit on the activation step and time out. Switch the phone to a known-good Wi-Fi network, or turn Wi-Fi off and rely on mobile data, and run the Connection Guide again. The second is the Android USB prompt: when you plug an Android phone into the DJI RC-N3, Android throws a "use USB for…" dialog. Pick charge only — any other choice blocks DJI Fly from talking to the controller, and the activation flow never gets started. iPhones do not show this dialog, so iPhone users skip it.
After activation, take two more minutes inside DJI Fly to set safety limits before the first flight — Max Altitude under the UK 120 metre altitude ceiling, Max Distance inside Visual Line of Sight, and a Return-to-Home altitude higher than any tree, building, or wire near your takeoff spot. The DJI Neo 2 sits in the A1 sub-category of the Open Category under the Drone Code, and because it has a camera you also need an Operator ID registered at register-drones.caa.co.uk before you fly. Our UK drone laws guide covers the wider rule set, and the network of drone pilots on this site has registration and qualifications already in place if you would rather hire than fly.
Activation is a one-off — the DJI Neo 2 stays bound to your DJI account from here. Got an activation that is not behaving — Connection Guide not finding the DJI Neo 2, country selector greyed out, firmware loop on the first install? Drop a note to peter@hiredronepilot.uk and I will come back to you directly. If you prefer the video version of this guide, the comments are open on YouTube.
References
Primary source material for this article is the DJI Neo 2 User Manual (2025). External links open in a new tab.
- DJI — Neo 2 User Manual and Quick Start Guide · §1.1 Activation — press-then-hold power-on sequence, Connection Guide flow, internet requirement, firmware update prompt
- UK CAA — The Drone and Model Aircraft Code (CAP2320) · UK altitude ceiling, Visual Line of Sight, and pre-flight legal requirements referenced after activation
- UK CAA — Register a drone or model aircraft · Operator ID registration referenced for camera-equipped drones such as the DJI Neo 2

Peter Leslie
Founder & GVC Drone Pilot
Peter is the founder of HireDronePilot. With thousands of logged commercial flight hours, he writes about drone technology, commercial surveying tactics, and UK aviation compliance.
Connect on LinkedIn