Key Takeaways
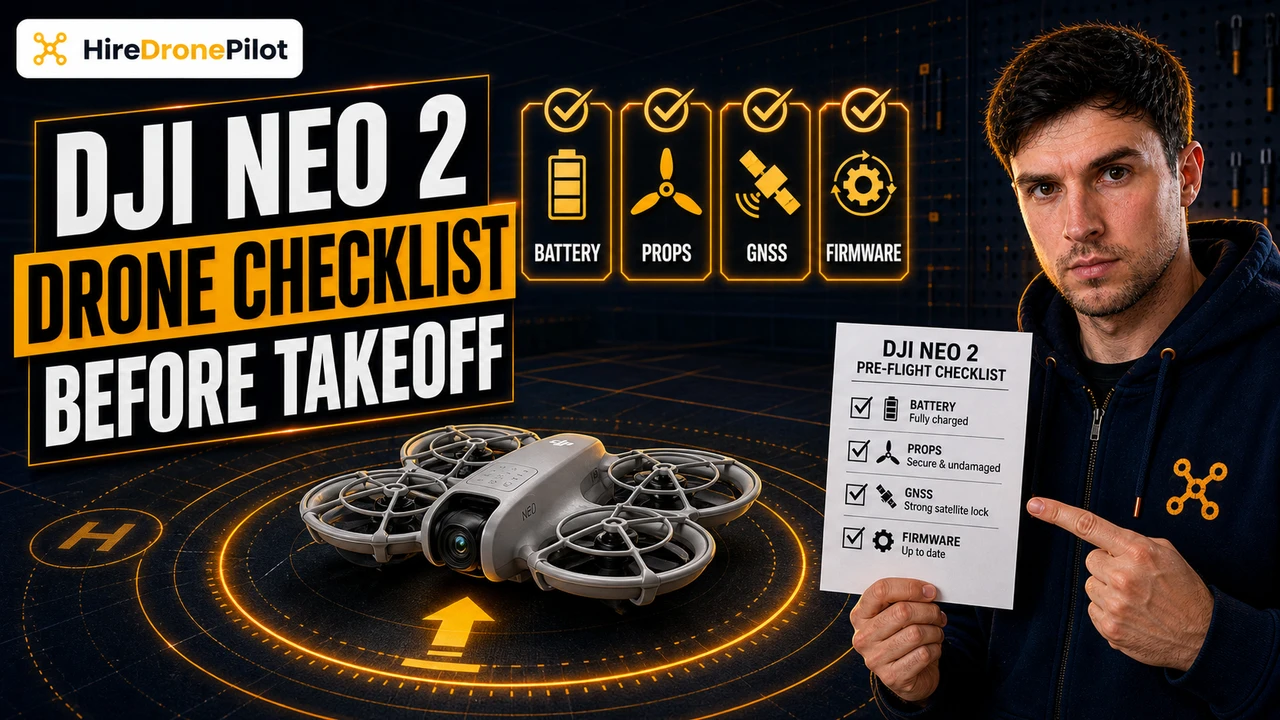
- Run the same eight checks every flight — battery, propellers, gimbal protector, GNSS lock, firmware, environment, controller link, and DJI Fly permissions
- The DJI Neo 2 will not run a clean self-test if the gimbal protector is still clipped over the camera at power-on
- Wait for a solid GNSS lock before takeoff so the home point sets correctly and Return-to-Home behaves the way you expect
- DJI Fly has to be on the latest firmware before takeoff, otherwise some shooting modes and safety features are unavailable
- On Android, pick the charge-only USB option when DJI Fly is connected through the DJI RC-N3 — any other choice breaks the link
A pre-flight check on the DJI Neo 2 is eight short jobs done in the same order every single time. The manual lists them at section 2.4 — battery, propellers and propeller guards, gimbal and camera, motors, lenses, transceiver, app or controller link, and the in-app safety limits. This guide turns that list into a printable workflow you can run in under two minutes before takeoff. The first time you skip one of these is the time you find out which one mattered.
If the DJI Neo 2 is still in its box, the first-time setup guide covers activation, RC-N3 pairing, and the initial firmware install — run that first. This checklist assumes the DJI Neo 2 is activated and the DJI Fly app is signed in.
Confirm the Intelligent Flight Battery, the controller, and your phone are all fully charged
The DJI Neo 2 manual is explicit on this — battery, remote controller, and mobile device all need to be fully charged before takeoff. Press the power button on the DJI Neo 2 once and read the four LED bars on the side of the battery. Anything below three bars and you are cutting the flight short. The DJI RC-N3 has its own battery indicator on the screen. Your phone should be at fifty percent or more, because DJI Fly is a heavy app and a low-battery shutdown mid-flight kills your live view.
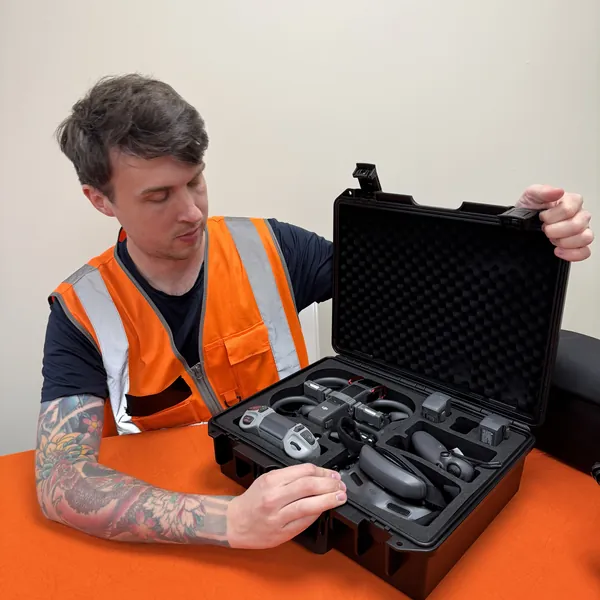
Check every propeller and propeller guard is mounted and firmly secure
Spin each propeller by hand. They should turn freely with no scrape, no wobble, and no clicking. Run a fingernail along the leading edge of each blade — any nick deeper than a thumbnail catch is a propeller you change before flight, not after. The propeller guards have to be clipped on properly before every flight, especially if you are using Palm Control. A loose guard rattles in the airflow and changes the way the DJI Neo 2 handles. Push each guard gently to confirm it is seated.
Pull the gimbal protector off and confirm the gimbal and camera move freely
Press straight down on the top of the gimbal protector and slide it off. Do not power on with the protector still attached — the gimbal self-test will fail and you will see a gimbal error in DJI Fly the moment you connect. With the protector off, watch the gimbal as the DJI Neo 2 powers up. It tilts through its full range as part of startup. If it stalls, ticks, or sits crooked at the end of the test, do not fly — restart and recheck before going any further.
Wait for a solid GNSS lock before you arm the motors
Open DJI Fly and look at the satellite indicator at the top of the live view. Wait for it to show a solid GNSS lock — at least ten satellites is a sensible floor. The home point sets the moment that lock holds, and that home point is what Return-to-Home uses if signal drops or the battery hits the critical threshold. Skip this and the DJI Neo 2 will either refuse to take off, or worse, fly without GPS in Attitude mode and drift on the wind. Stand in the open, well clear of buildings or large metal structures, and give it the time it needs.
Confirm the DJI Neo 2 firmware is up to date before takeoff
DJI Fly checks firmware automatically as soon as the DJI Neo 2 connects. If a banner appears across the top of the home screen telling you a new version is available, install it before you fly. The manual is blunt about why — some shooting modes and safety features are unavailable on out-of-date firmware. Updates can take ten to twenty minutes, so do this at home the night before, not at the takeoff site. Check the DJI RC-N3 firmware in the same flow if you are using a controller, because remote and drone firmware are separate updates.
Scan the environment for obstacles, people, and signal interference
Stand at the takeoff spot and turn a slow three-sixty. You are looking for three things — solid obstacles in the planned flight path (trees, wires, scaffolding), people who would walk into a hover position, and anything that would mess with signal. Wi-Fi-dense areas, large metal sheds, and overhead power lines all degrade transmission. Stay inside Visual Line of Sight and respect the UK 120 metre altitude ceiling. The DJI Neo 2 does not have full obstacle avoidance — what it sees is what you set in DJI Fly under Safety, and what it cannot see is on you.
Confirm the DJI Neo 2 Digital Transceiver is fitted and the controller is linked
The manual is specific — the DJI Neo 2 Digital Transceiver has to be securely installed on the drone before you use the remote controller or motion control. Look at the top of the airframe and confirm the transceiver clicks home with no gap. If you are using the DJI RC-N3, power it on, watch DJI Fly show "Connected", and check the signal strength bars are full. If you are flying through the phone over Wi-Fi only (Palm Control or Mobile App Control), confirm the phone has joined the DJI Neo 2 Wi-Fi network and DJI Fly shows the live feed before you commit to takeoff.
Set the DJI Fly safety limits and confirm app permissions are granted
Open the three-dot menu in DJI Fly, go to Safety, and set three numbers — Max Altitude below the UK ceiling, Max Distance inside what you can actually see, and Auto RTH Altitude higher than every tree, building, and wire near takeoff. Then check app permissions on your phone — DJI Fly needs Location, Camera, and Storage permissions, and Bluetooth on Android. If you are on Android and DJI Fly throws a USB connection prompt with the DJI RC-N3, pick the charge-only option. Any other choice will break the data link between phone and controller. With the eight checks done, the DJI Neo 2 is ready to take off.
Run the same eight checks every flight, and the DJI Neo 2 will fly the way it is meant to
The discipline matters more than the order. Two minutes spent on a checklist costs you nothing. Two minutes you skipped costs you a propeller, a gimbal calibration, or in the worst case the whole drone. The professional drone pilots on this site run the same kind of pre-flight on every job, every time, and so should you. If you fly commercially, the wider rules in our UK drone laws guide sit on top of this — registration, insurance, and the Open Category sub-categories under the Drone Code.
Printable single-paragraph summary
Before every DJI Neo 2 takeoff, run the same eight checks in order: confirm the Intelligent Flight Battery, the DJI RC-N3 if you have one, and your phone are all charged; spin every propeller by hand and confirm the propeller guards are clipped on tight; pull the gimbal protector off and watch the gimbal complete its self-test cleanly at power-on; wait for a solid GNSS lock with at least ten satellites before the home point sets; confirm DJI Fly is showing the latest firmware and the DJI RC-N3 firmware is current too; turn a full three-sixty at the takeoff spot and scan for obstacles, people, and signal interference; confirm the DJI Neo 2 Digital Transceiver is clicked home and the controller or phone is showing a live link; and finally open the DJI Fly Safety menu to set Max Altitude under the UK one hundred and twenty metre ceiling, Max Distance inside Visual Line of Sight, Auto RTH Altitude above every nearby obstacle, and grant Location, Camera, Storage, and Bluetooth permissions to the app — if a USB prompt appears on Android, always pick charge-only.
Got a step on this list that catches you out — a stubborn GNSS lock, a firmware loop, a transceiver that will not seat? Drop a note to peter@hiredronepilot.uk and I will come back to you directly. If you prefer the video version, the comments are open on YouTube.
References
Primary source material for this article is the DJI Neo 2 User Manual (2025) and the UK Civil Aviation Authority. External links open in a new tab.
- DJI — Neo 2 User Manual and Quick Start Guide · §2.4 Pre-Flight Checklist (pages 25–27) — battery, propellers, gimbal, motors, lenses, transceiver, app/controller link, and Max Altitude/Distance/RTH guidance
- UK CAA — The Drone and Model Aircraft Code (CAP2320) · UK altitude ceiling, Visual Line of Sight, and pre-flight legal requirements referenced in the environment scan

Peter Leslie
Founder & GVC Drone Pilot
Peter is the founder of HireDronePilot. With thousands of logged commercial flight hours, he writes about drone technology, commercial surveying tactics, and UK aviation compliance.
Connect on LinkedIn